What is a junk journal?
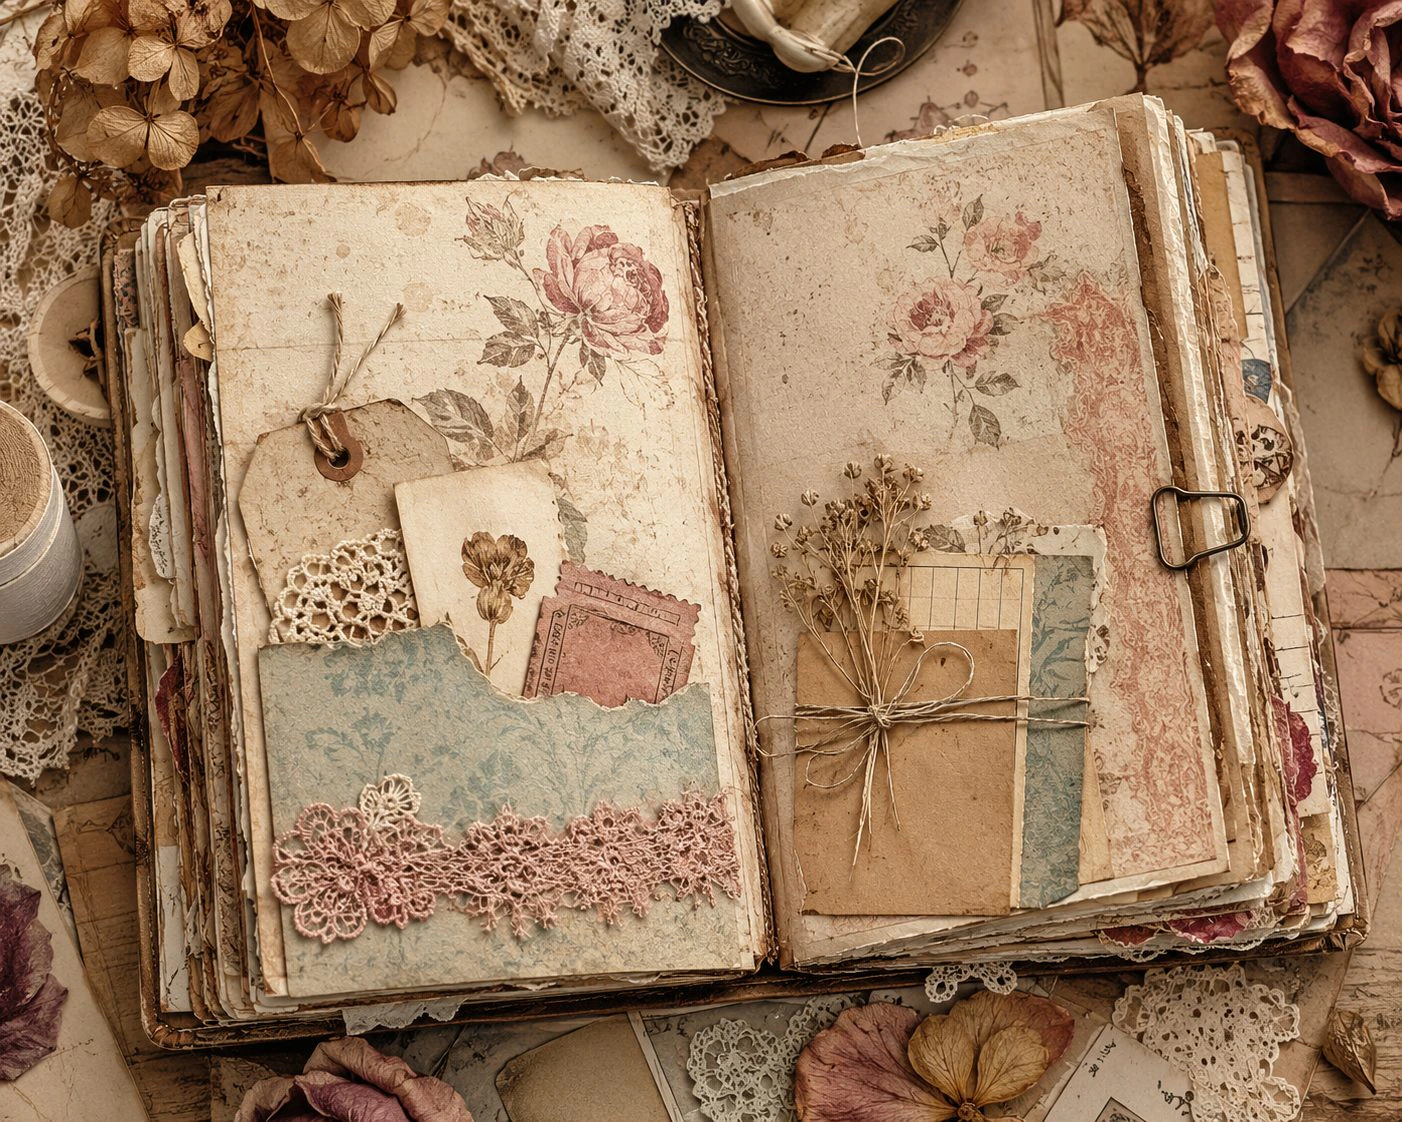
There's something about opening a book made entirely out of things that were almost thrown away — a torn ticket, an old letter, a scrap of lace — and finding they've become something new.
A junk journal is a handmade book, usually built from recycled or found materials, made for keeping memories, making art, or simply having somewhere beautiful to put your hands to work. There isn't one right way to make one. That's kind of the whole point. Some people call this style a mixed media journal or an art journal too — the names overlap more than they differ.
Why is it even called a "junk" journal?
"Junk" here just means the stuff people usually throw away — old mail, packaging, book pages, scraps. A junk journal rescues that junk and turns it into something worth keeping. It's less about the materials being worthless and more about giving overlooked things a second life.
Does mine count?
If you've ever wondered whether your journal "counts" because you used bought papers instead of found ones, or digitals instead of vintage ephemera — yes, it counts. The definition has grown a lot over the years, and most of us mix found materials with things we bought. What makes it a junk journal isn't where the paper came from. It's the spirit of rescuing something and giving it a new life.
Junk journal, glue book, or scrapbook — what's the difference?
- A junk journal is about making the book itself — the binding, the layers, the construction.
- A glue book is about filling the pages — pure collage, no rules, sometimes made in an old book you already have (this is also called an altered book journal when you repurpose a real novel or ledger as your base).
- A scrapbook is about keeping memories in order — photos and mementos, usually chronological.
All three are valid. Most junk journal makers dip into all three at some point.
Watch
If this way of making appeals to you, read the full story on the blog.
Hear when new handmade journals are ready to find their home.
BECOME A COLLECTORWhy make one & what's it for?
Reason one: it's art, full stop.
You don't need a bigger reason than wanting to make something beautiful. The joy of layering paper and choosing colors is allowed to be the whole point.
Reason two: it's the cheapest therapy you'll ever find.
There's real science behind this, not just a nice feeling. Creative flow — the state you fall into while cutting, gluing, layering — releases dopamine and lowers cortisol, the stress hormone. Even a short stretch of creative time, done imperfectly, does this. Your brain doesn't care if you're a beginner or a master. It lights up the same either way. It's slow creativity in the truest sense — a form of mindful crafting that doesn't ask anything of you except a little time.
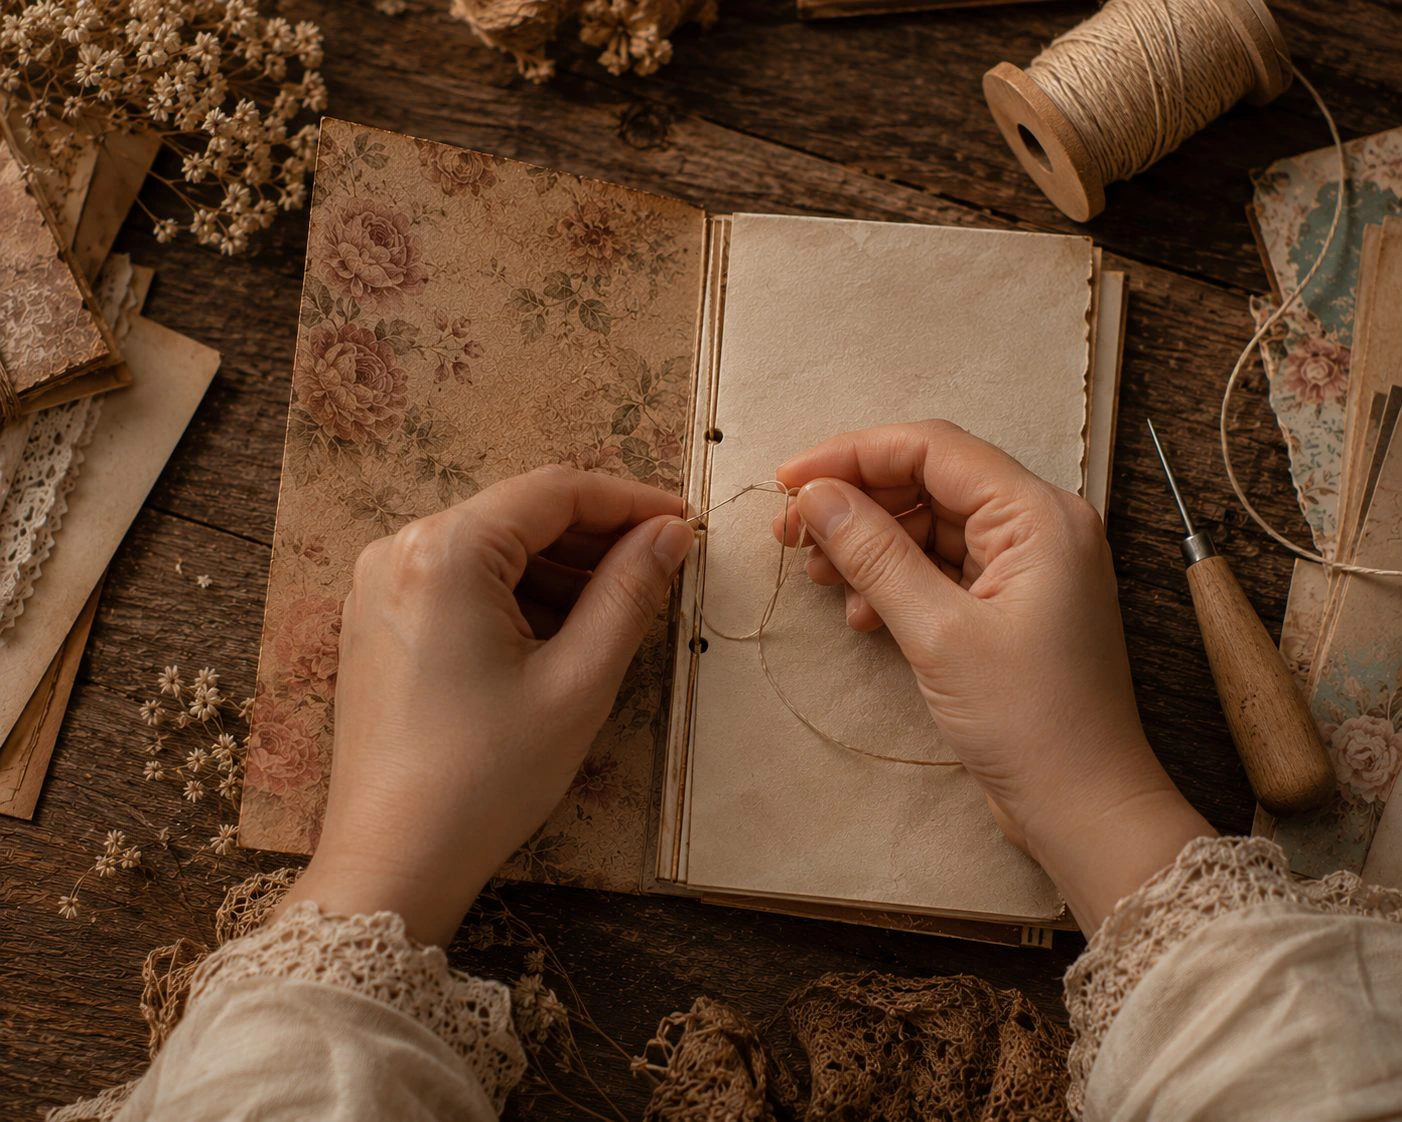
Reason three: it holds every skill you already have.
Painting, sewing, collage, writing, quilting — a junk journal is one of the only crafts where all of it fits in a single object. That's why no two people's journals ever look the same.
Reason four: it's reuse, recycle, repurpose, made visible.
Every rescued envelope, every scrap of fabric that would've been thrown away, becomes part of something you'll keep. It's sustainable art making without ever feeling like a lecture about sustainability — just a quieter, slower way of making that happens to be eco-friendly and zero-waste by nature, not by effort.
Watch
So what do you actually do with one?
There's a journal style for almost anything — tap "Watch" under any style below for a quick real-life example:
And writing in it is completely optional. Plenty of makers never write a single word in theirs.
Read
Discover how a junk journal might fit your interests.
TAKE THE QUIZJargon glossary
Tap a tag to flip it over and reveal the definition on the back.
Bring your colours and ideas together in a digital kit.
EXPLORE THE KIT BUILDERIngredients
You need less than you think to start. Here's the real junk journal supplies list — everything that actually goes into a junk journal, no filler.
Papers
Old book pages, tea- or coffee-dyed paper, vintage or specialty papers, music sheets, wallpaper scraps, magazine pages, dictionary or ledger pages, tracing paper, doilies.
Found materials & things to rescue
Junk mail envelopes (instant pockets), cereal boxes and sturdy packaging, paper bags, bubble mailers, greeting cards, file folders, receipts, ticket stubs, postage stamps, maps, playing cards, fabric scraps, ribbon, buttons — the small vintage ephemera that gives a page its history.
Tools (the actual short list)
Scissors, a needle and thread or an awl, a bone folder. That's genuinely the minimum to get started.
Adhesives
A glue stick (acid-free where possible), wet glue for anything heavier — used carefully, since too much can warp your pages — and double-sided or score tape for cardstock.
Embellishments
Washi tape, stamps and ink, stickers, lace, brads, charms.
Watch
Read
Hear when new handmade journals are ready to find their home.
BECOME A COLLECTORHow it's made
Curating your signature (paper selection)
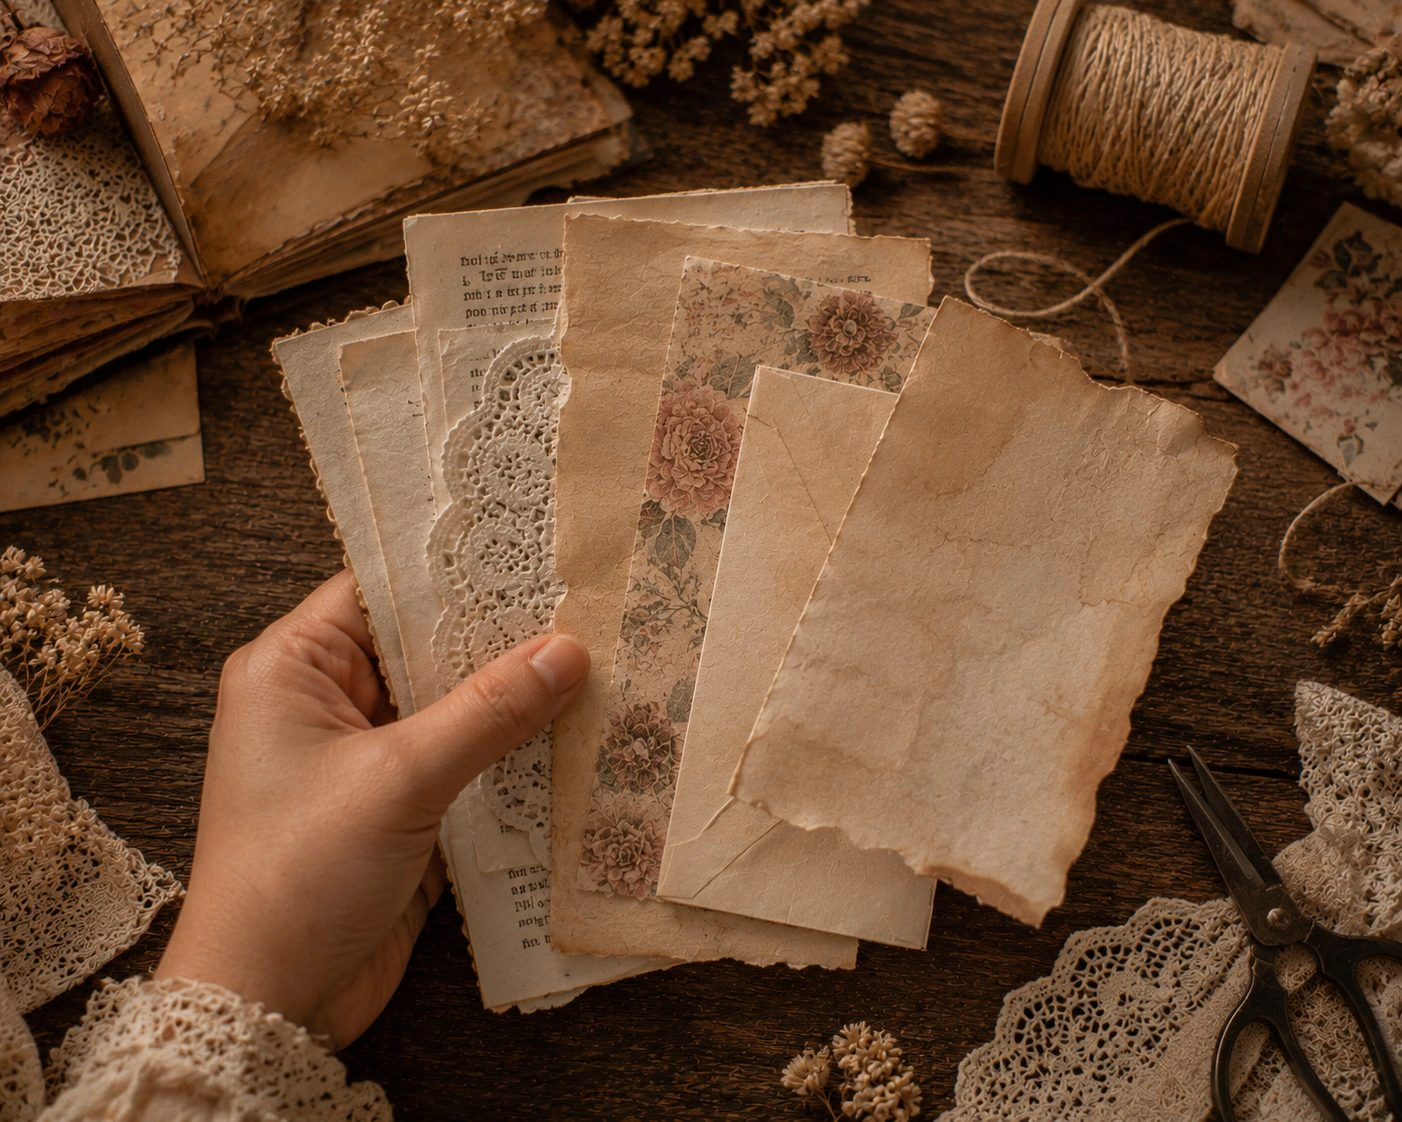
A "signature" is just a small gathering of folded papers, nested inside each other, ready to be bound. The trick to a good one is variety — mix smooth pages with rough ones, tall with short, so every page turn feels a little different. A simple way to build one:
- Pick your biggest, sturdiest paper as the outer wrapper — it protects everything nested inside it.
- Alternate as you layer in: a plain writing page, then something textured (a doily, crinkled paper), then a smaller vintage page, then another writing page, then maybe an envelope with the flap left open.
- Don't line everything up perfectly — a shorter page tucked in the middle lets a bit of the page behind it peek through, which is part of the charm.
- Save a strong, good-looking paper for the very center — that's where your stitching will show the most.
- Keep it to roughly 10–15 sheets. Much more than that and it turns into what makers call a "gator mouth" — too thick to close or sew properly.
Start simple. Your first journal doesn't need to be impressive — it needs to be finished. A single-signature journal with the easiest binding you can manage is a genuinely great place to begin. Finishing something builds the confidence to try something harder next time.
A good build order to follow:
- Choose your cover
- Choose and curate your signature (see above)
- Decorate your pages before you bind them — flat is always easier to work with than bound
- Bind the signature
- Add your removable pieces last — tags, tucked ephemera, belly-band contents
Binding methods, easiest to hardest:
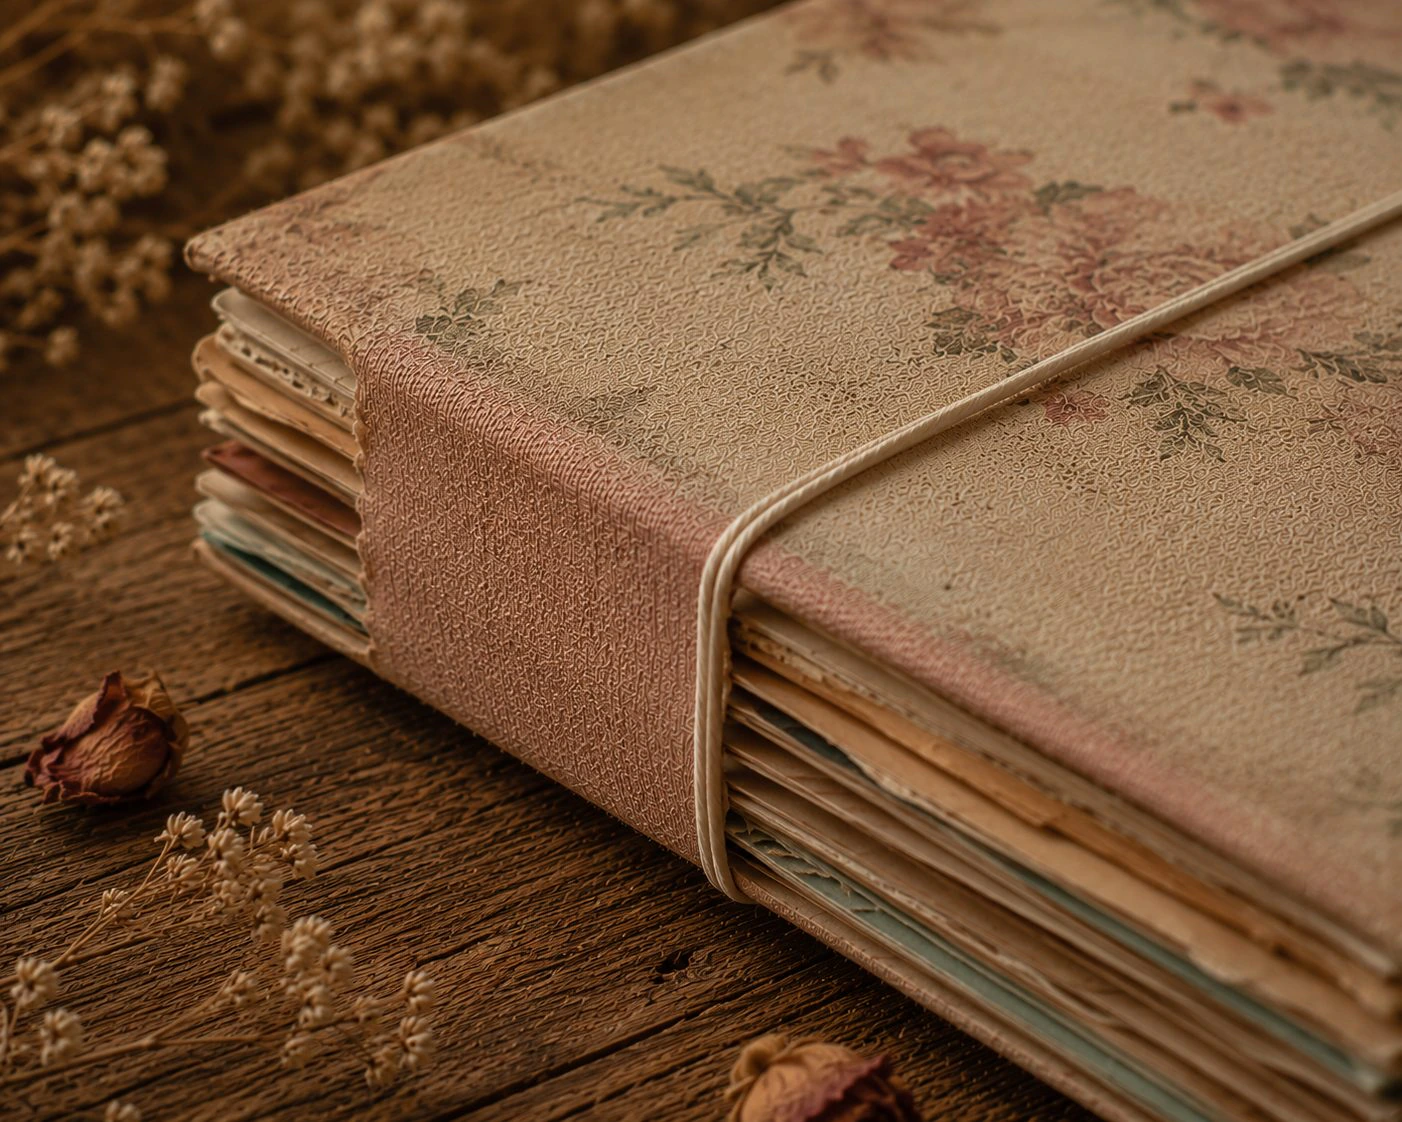
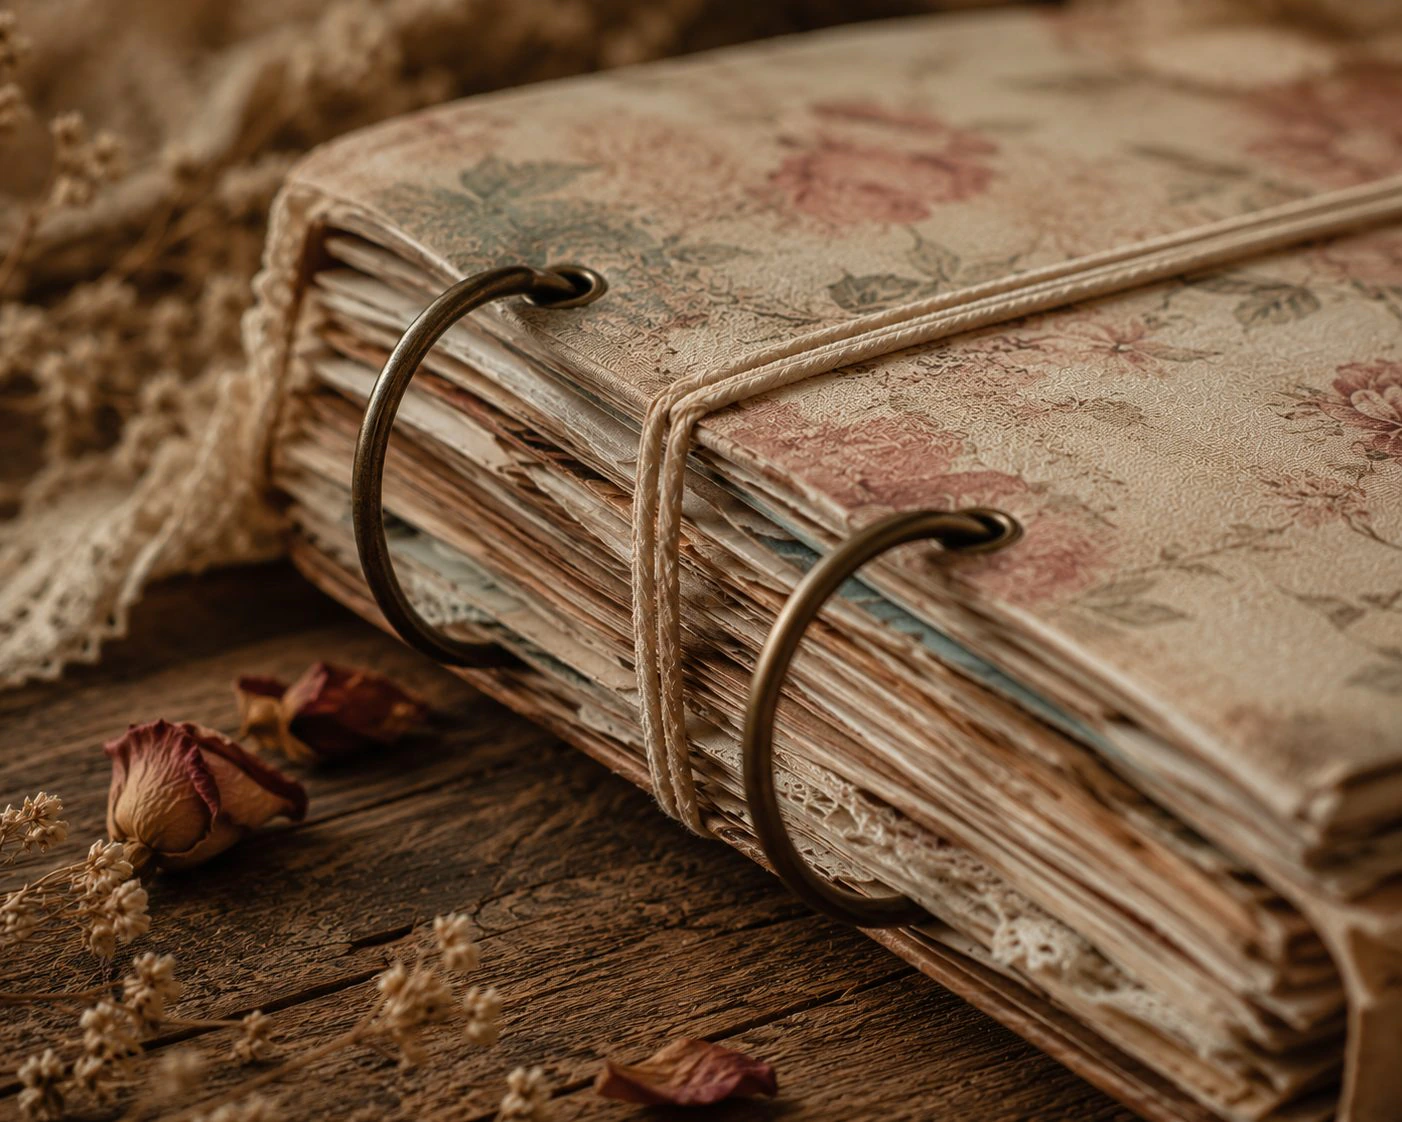
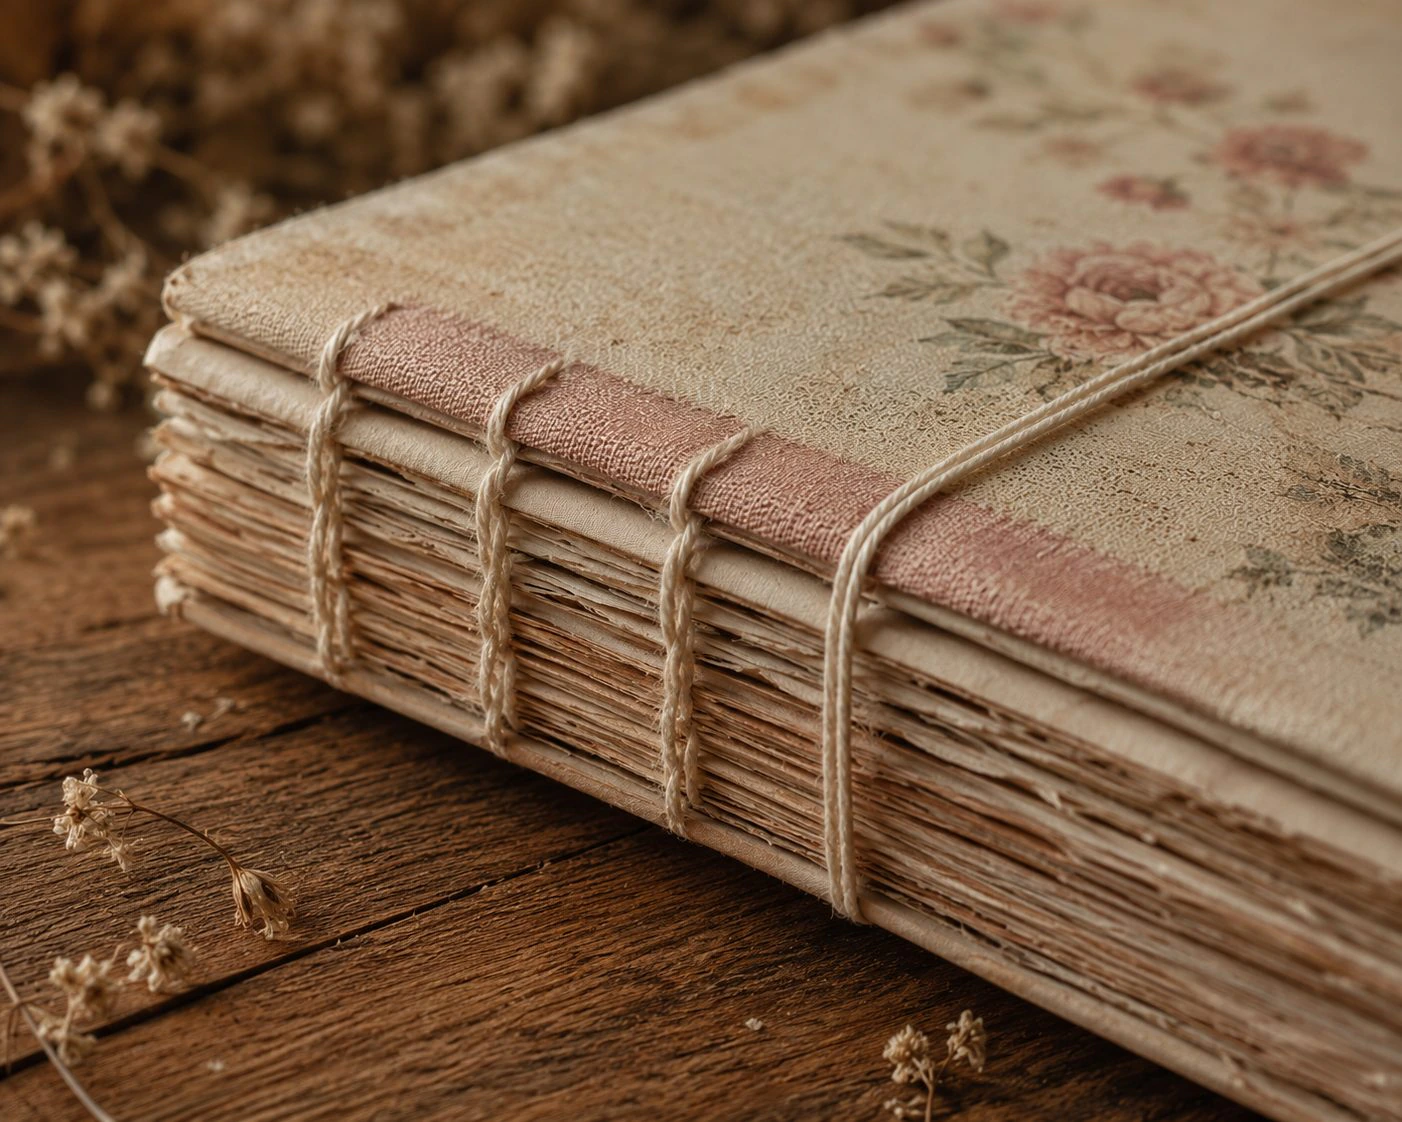
- Elastic/traveler's-notebook binding — no sewing at all, just wrap and go. This is the same simple setup behind a traveller's notebook (sometimes called a Midori-style notebook) — one cord holding your signature into a cover, easy to swap out later.
- Ring binding — punch and thread through rings, no sewing required. Just as easy as elastic binding, and it lets you add or remove pages later.
- 3-hole pamphlet stitch:
- Punch 3 holes along the fold: one centered, one near the top, one near the bottom.
- From inside, push the needle out through the center hole, leaving a tail.
- From outside, go into the top hole, back through to the inside.
- Travel along the inside down to the bottom hole, and back out to the outside.
- Bring the needle back into the center hole one last time.
- Tie the two ends together at the center with a square knot.
- 5-hole pamphlet stitch — same idea, extended across 5 holes (top to bottom: 1, 2, center-3, 4, 5), weaving out to each end and back to the center before tying off. More secure for thicker or bulkier signatures.
- Coptic stitch — advanced, lay-flat, exposed spine stitching.
Closures
Whatever keeps your journal shut has its own personality — a wraparound ribbon, a flap, a button, a small clip. This is often where beginners get stuck, so don't feel like you need to overthink it. A simple ribbon tie is a completely valid choice.
Watch
Read
Discover how a junk journal might fit your interests.
TAKE THE QUIZComposing a page
You don't need to plan every inch. A page comes together with just a few honest habits:
Build in layers. Start with a background paper, add a structural piece on top (a pocket, a frame, a large tag), then finish with the small details — a label, a flower, a stamp, a button. Let each layer peek out from under the one before it.
Each layer peeks out from under the one before it.
Give it one focal point. One dominant piece — a large tag, a cluster of flowers, a framed label — gives the eye somewhere to land first.
Don't fill every inch. Blank space isn't wasted space. It lets your focal piece breathe and actually stand out more.
Repeat, don't duplicate. Reusing a motif, a color, or a shape across a spread makes it feel cohesive — but change its size or color each time so it doesn't feel copy-pasted.
There's no single right layout. A few natural starting shapes: elements gathered along one bottom corner, elements flowing diagonally across the page, or everything clustered in the middle like a little bouquet with quiet space around the edges.
Watch
Read
Bring your colours and ideas together in a digital kit.
EXPLORE THE KIT BUILDERColor palettes
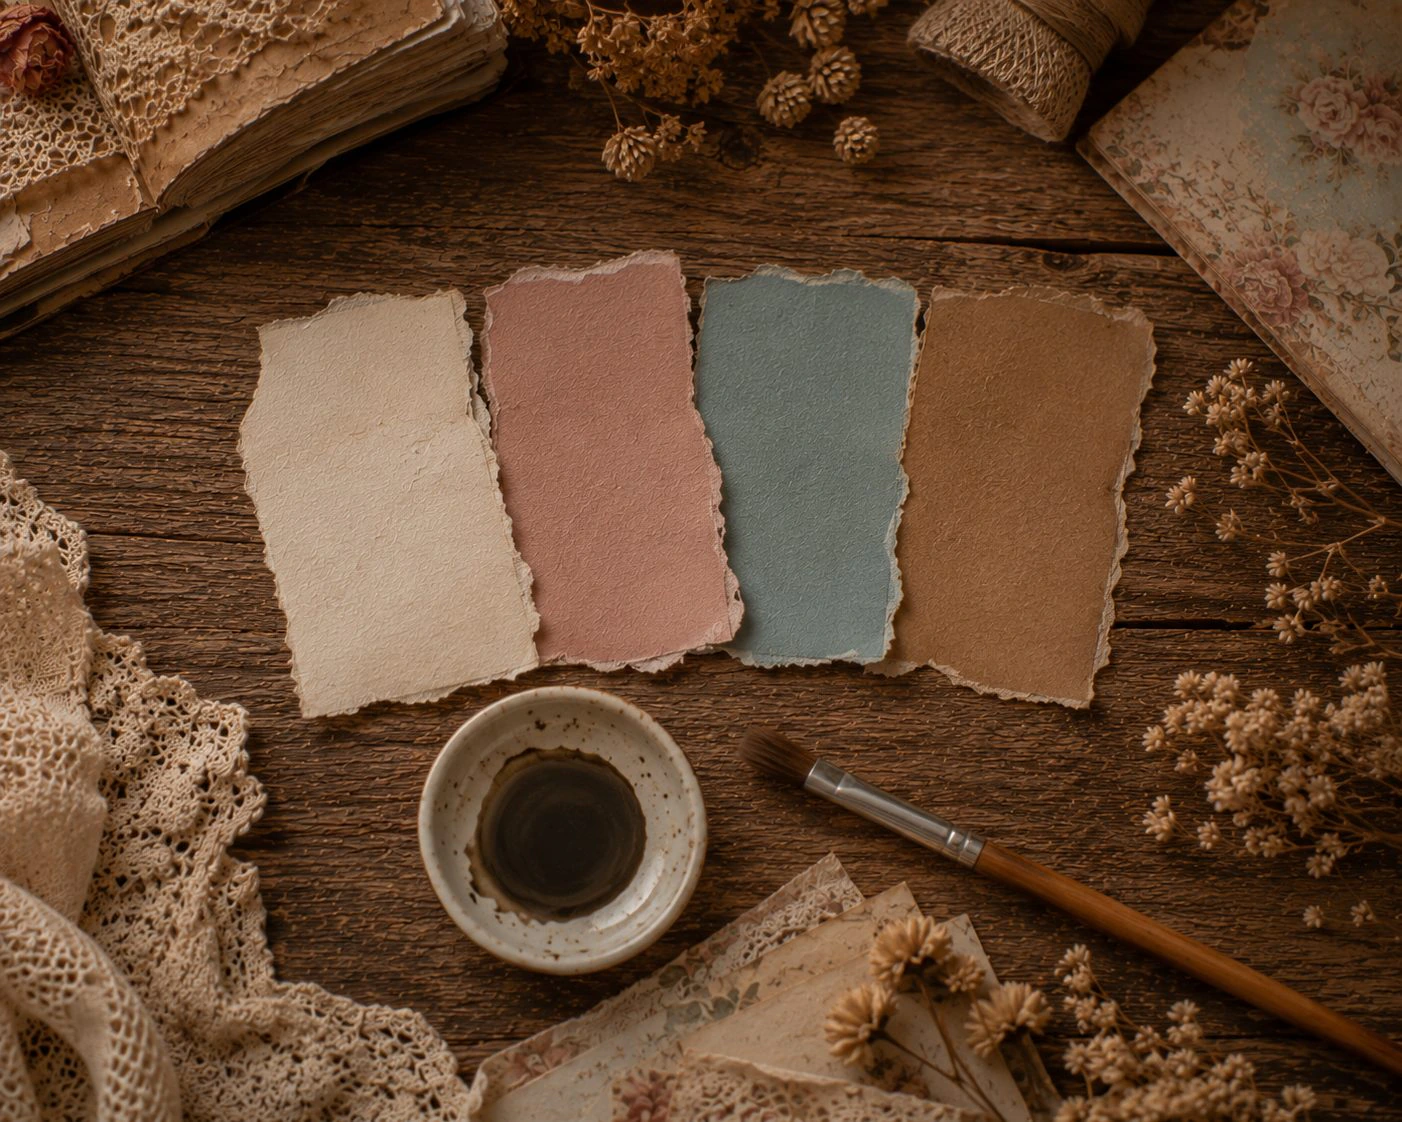
Fewer colors, chosen well, almost always look better than more colors chosen at random. A simple formula to lean on:
- A base color (the majority) — your background papers, your main pages.
- One or two supporting colors — for structure, layering pieces, frames.
- One accent color (used sparingly) — for the small details that catch the eye: a tag, a stamp, a ribbon.
Trinketz's own palette already gives you a starting point: muted sepia, dusty rose, faded teal, and antique ivory work as a base-and-accent set on their own — the same soft, worn-in tones people usually mean by a "shabby chic" journal. If you want more options, Trinketz Studio's Kit Builder has its own full palette system built in — the same source your kits are built from — so the colors you see there will always feel like they belong in this world too.
Read
Hear when new handmade journals are ready to find their home.
BECOME A COLLECTORTechniques
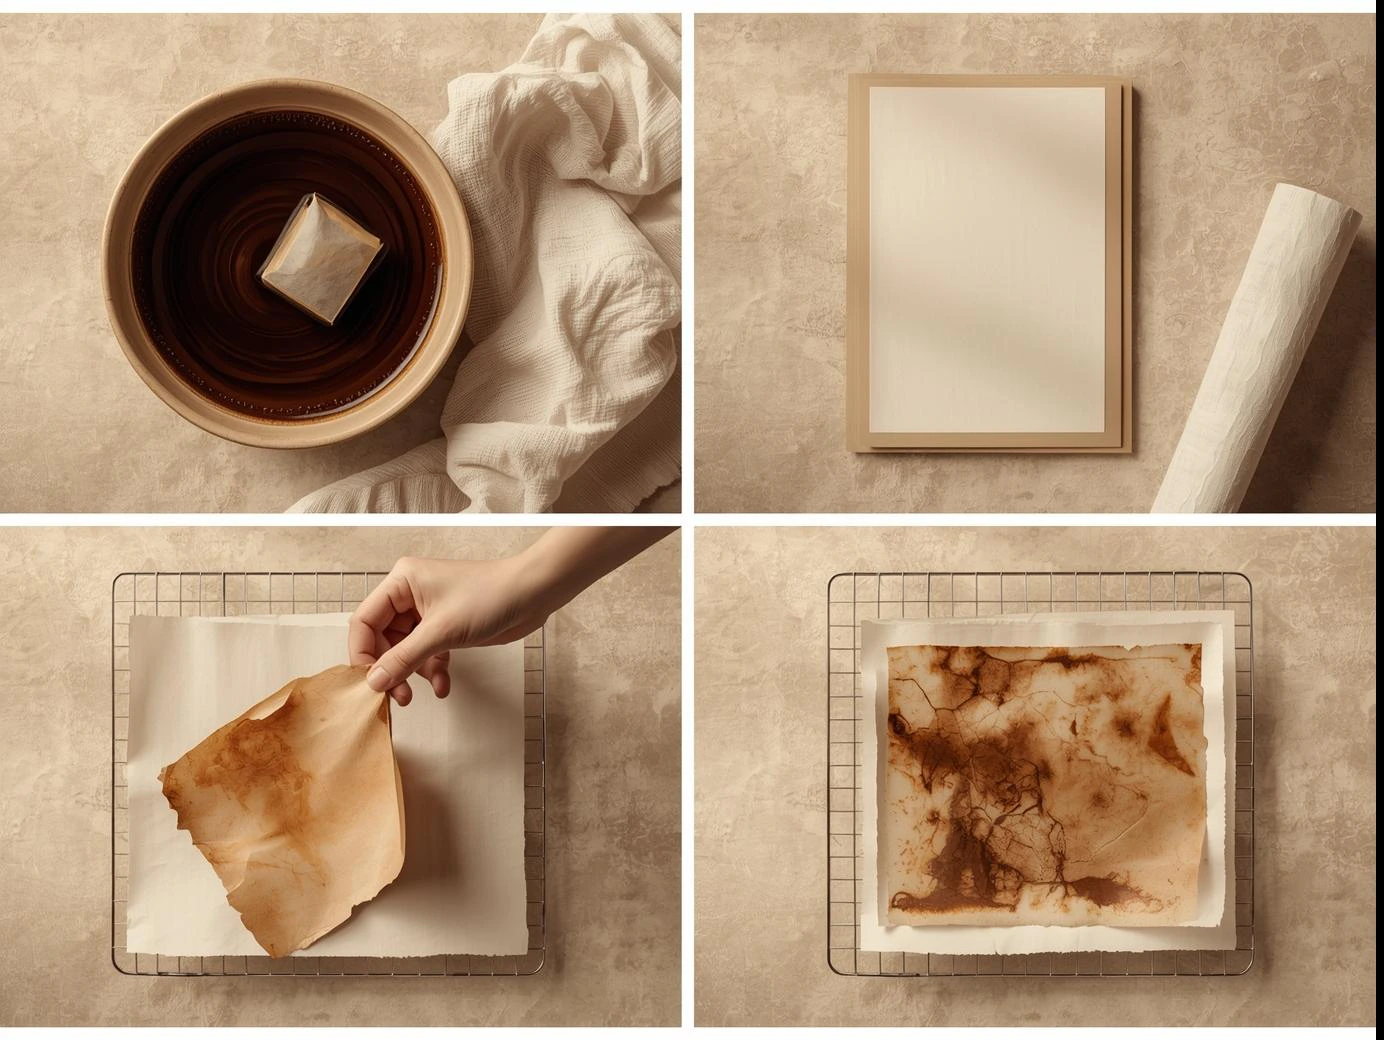
Tea or coffee dyeing — Brew a strong pot, dip your pages in, let them dry flat. The color comes out a little different every time — sometimes pale honey, sometimes deep amber — and that variation is part of the charm.
Distressing — Aging paper on purpose, through methods like ink rubbing or even a bit of shoe polish, to give it that soft, worn-in look.
Layering — Building up paper, lace, and fabric on top of each other to create depth and texture — this is where a lot of the "3D feel" of a good junk journal page comes from. I almost always reach for lace and leftover fabric scraps here — a bit of trim from my tailor, a scrap of sari silk — tucked under or over a paper layer so it catches the light differently than paper alone. It's a small habit, but it's the thing that makes a page feel touchable, not just looked at.
Fussy cutting — Cutting an image closely along its own outline instead of in a straight rectangle, so you keep just the flower, the bird, the illustration itself.
Watch
Read
Discover how a junk journal might fit your interests.
TAKE THE QUIZBeginner tips (10 things I wish I knew)
Everything I'd tell someone just starting out with junk journaling for beginners — the honest version, not the polished one.
- You don't need to use actual "junk" — bought digitals or kits are completely fine if they get you making.
- Start small. Finish one simple project before attempting a fancy one — finishing is what builds confidence.
- You don't have to sew. Staplers, rings, or twine through punched holes all count as binding.
- Making the journal and filling the journal are two separate hobbies. You're allowed to love only one of them.
- A journal is never really "done." You can return to it for years.
"There's no such thing as doing it wrong. Experiment until you find what feels like yours."
Read
Bring your colours and ideas together in a digital kit.
EXPLORE THE KIT BUILDERUsing a digital kit
A digital kit — sometimes sold as a printable journal kit or a set of digital ephemera sheets — is a set of printable images you print at home and use just like any other material. Using one doesn't make your journal any less "real."
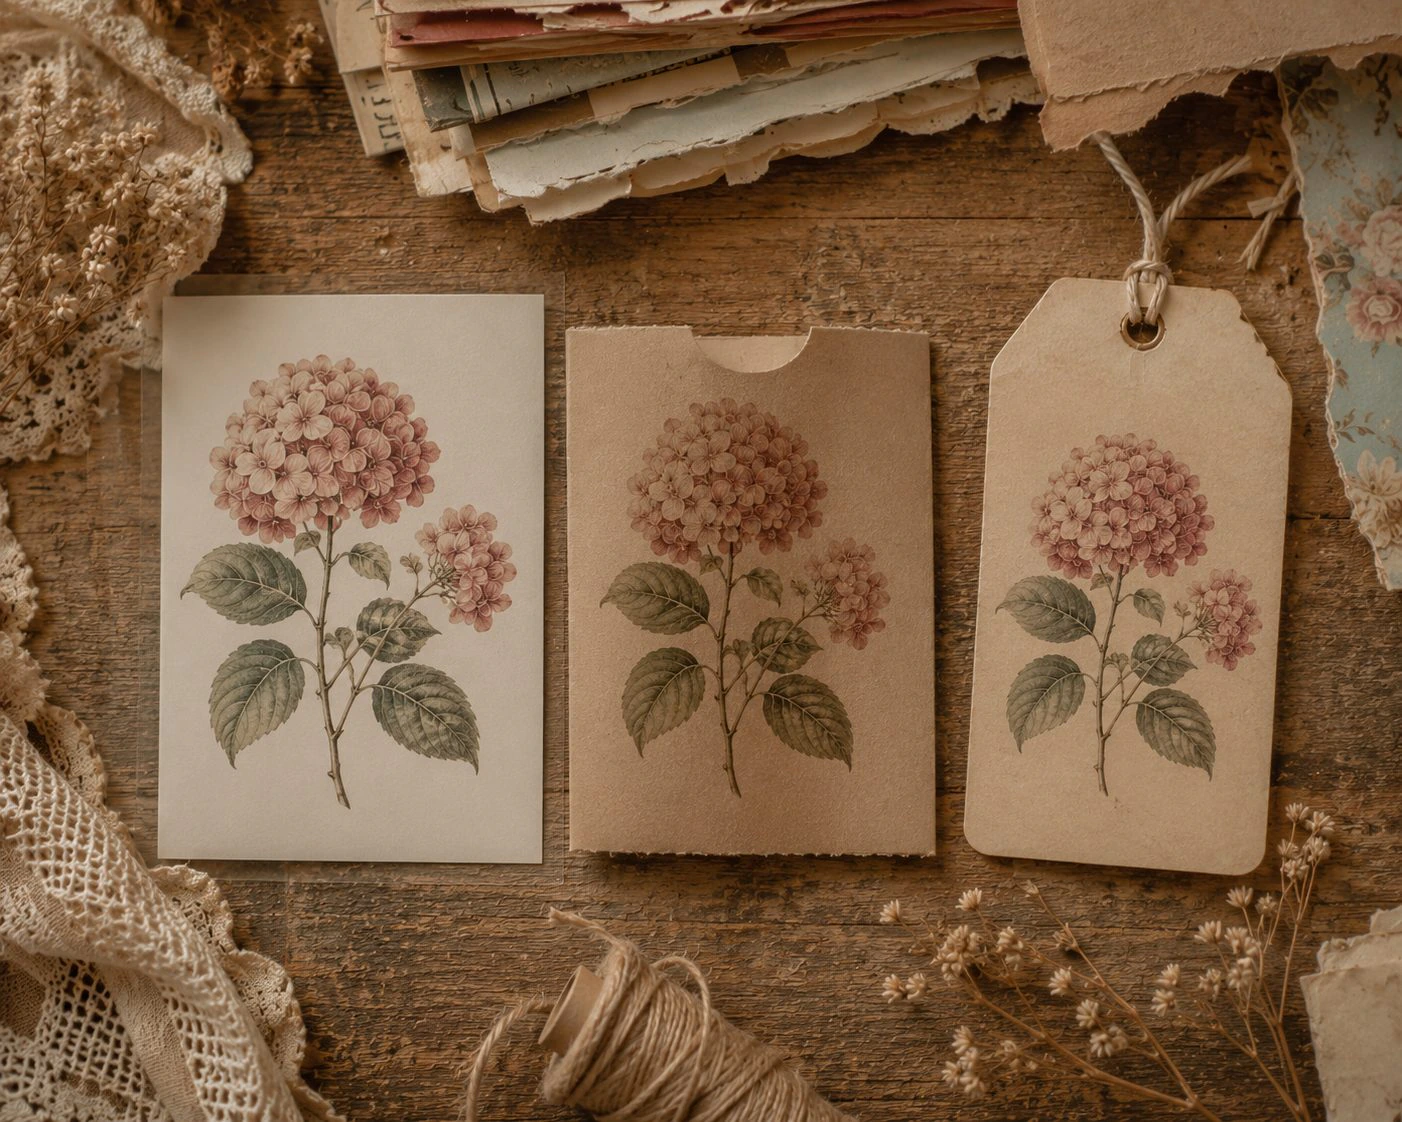
The trick most beginners don't know: the same image can become several different things depending on what you print it on. Print it on smooth white paper, and it's a pretty page. Print it on sturdy cardstock, and it folds into a pocket. Print it on thin file-folder paper, and it becomes a tag. One kit goes a lot further than it looks like it will.
A kit is an ingredient, not the whole journal. Most makers mix kit pieces with their own stash — a recycled book cover, coffee-dyed paper, a bit of vintage lace — so the kit provides the special pieces and your stash provides the bulk.
One thing worth knowing before you mix: match the mood of your kit, not just the colors. A soft vintage kit paired with something bold or modern-looking — even if the color matches — can feel jarring rather than cohesive.
Want to build a kit like this yourself? That's exactly what Trinketz Studio's junk journal kit builder is for — free, and made for makers just like you.
Hear when new handmade journals are ready to find their home.
BECOME A COLLECTORYour Next Chapter
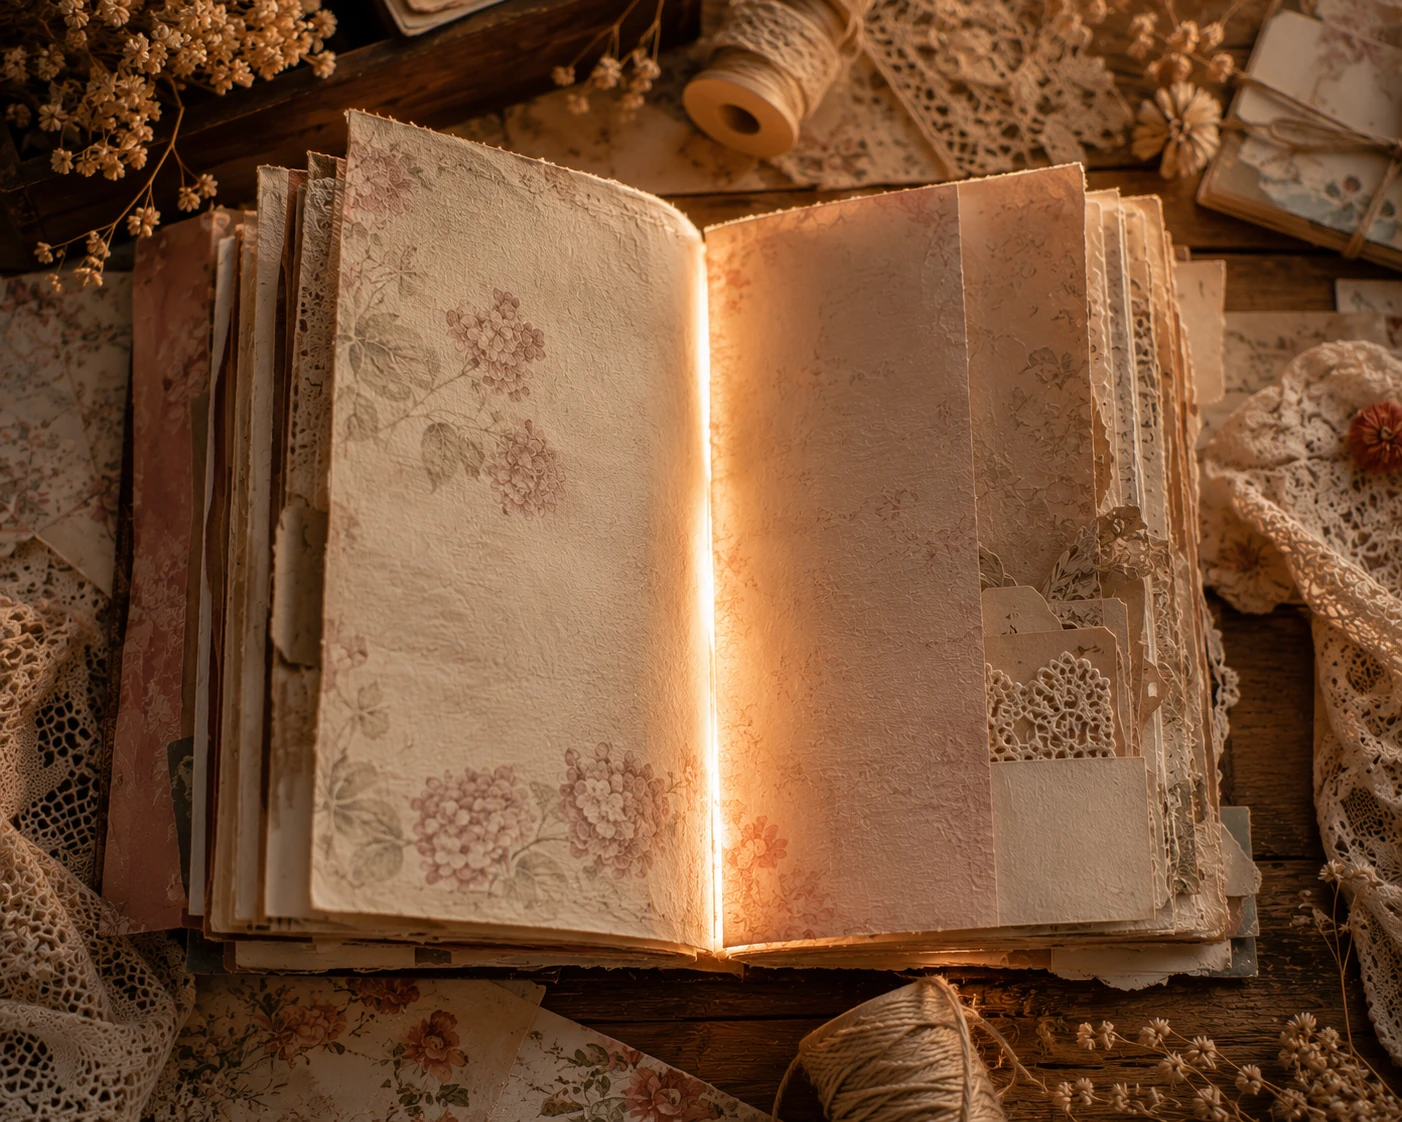
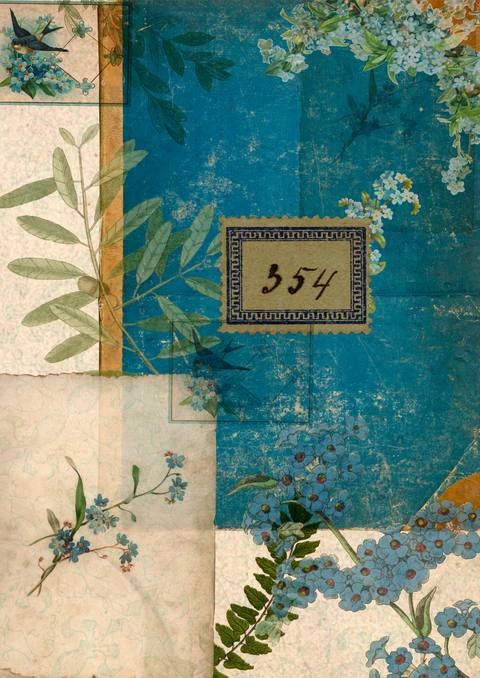
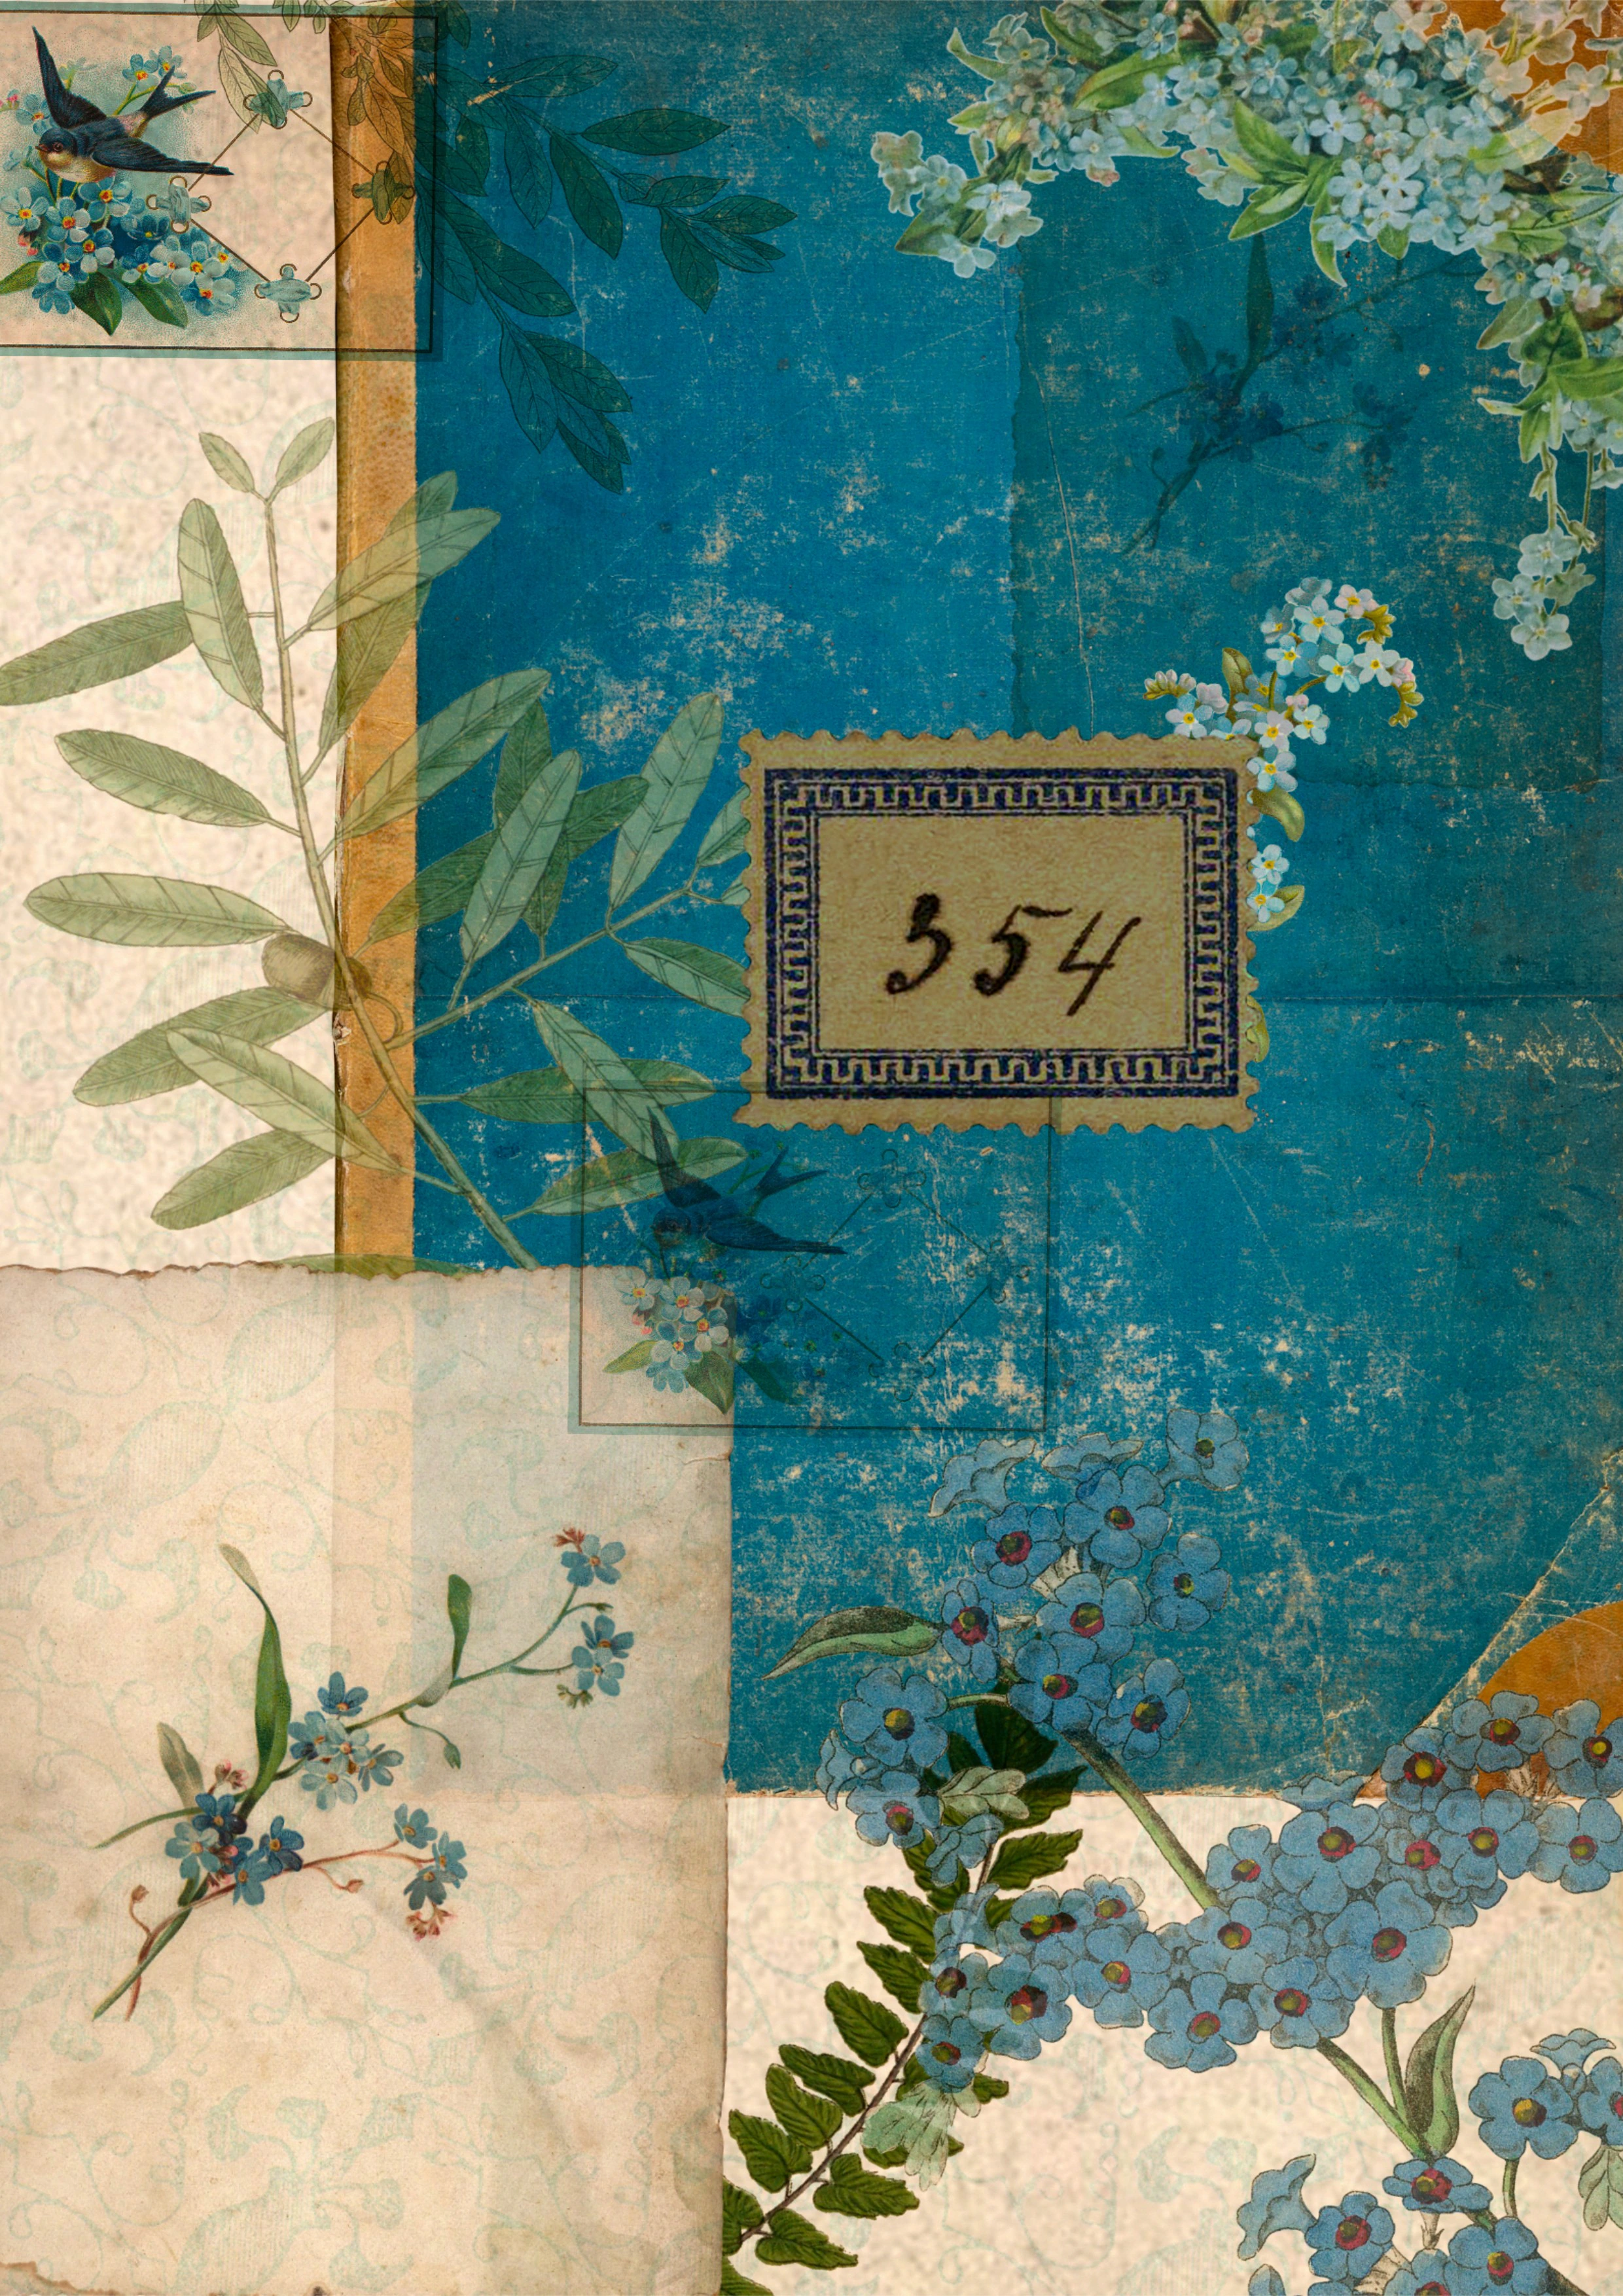
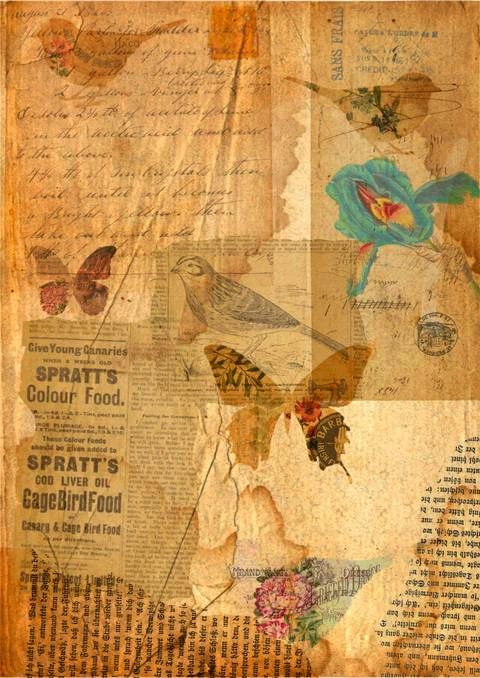
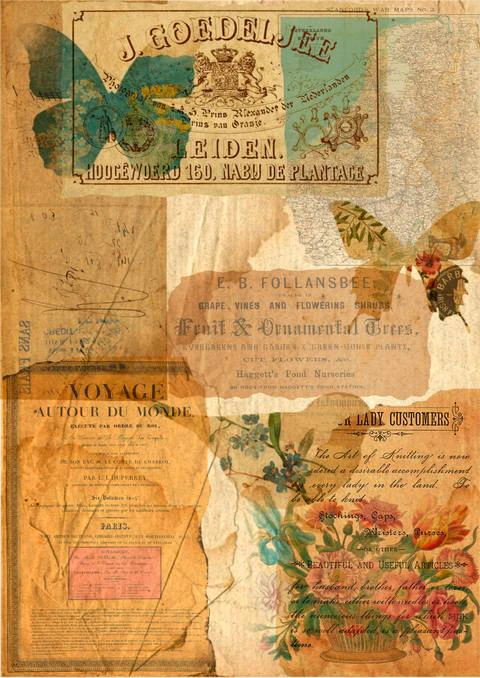
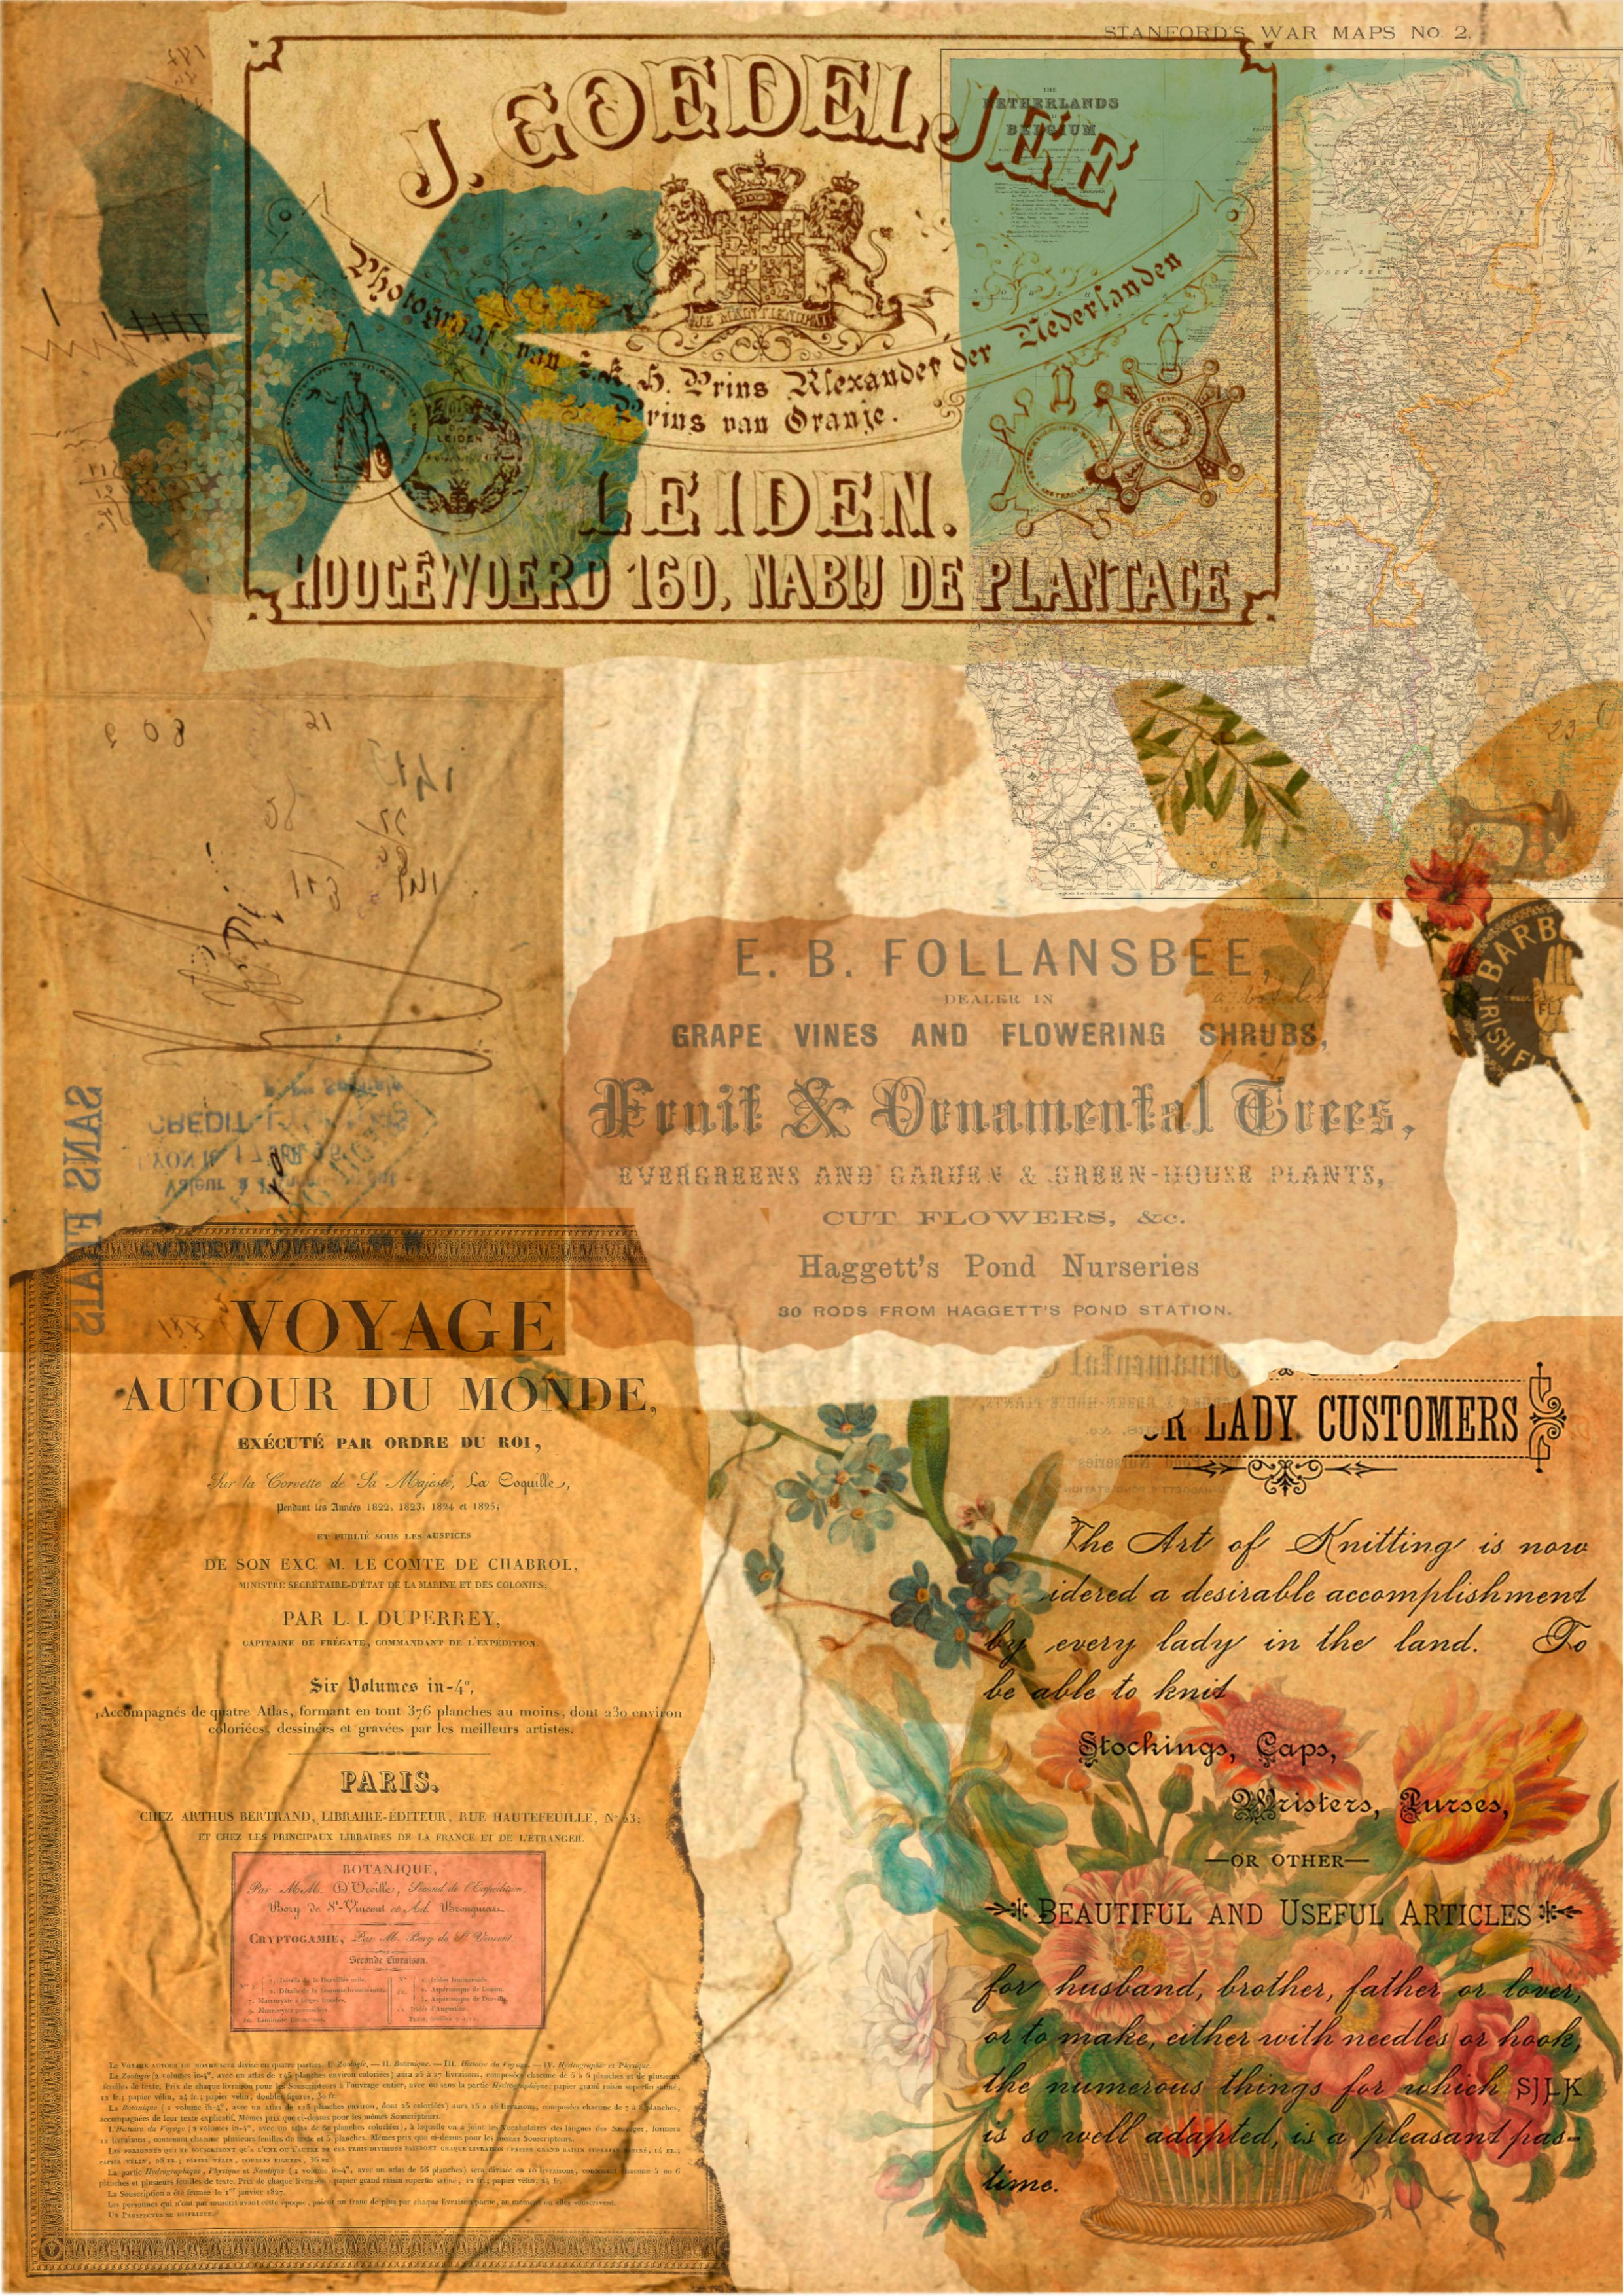
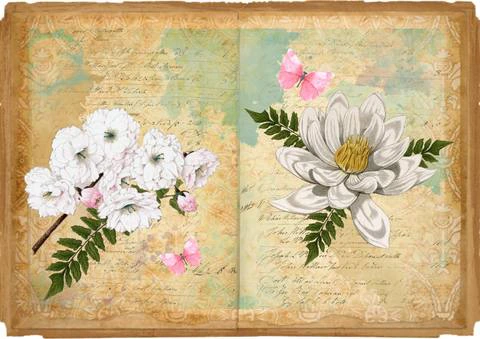
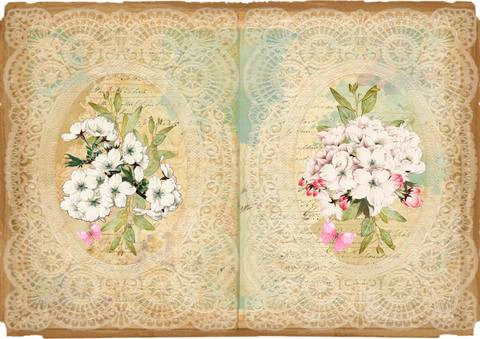
Your free collage sheets
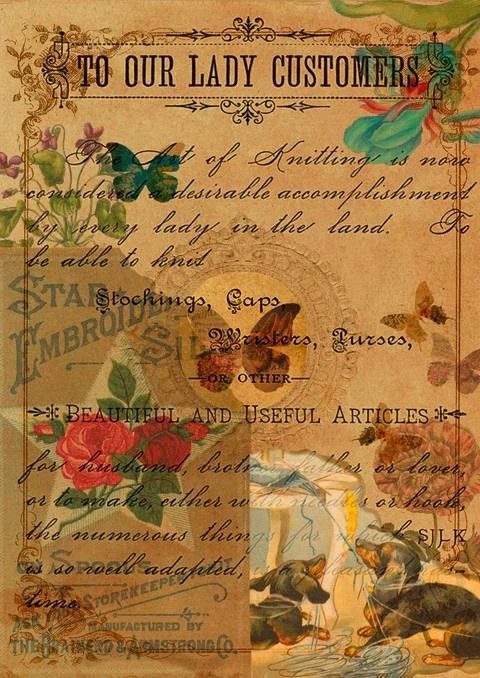
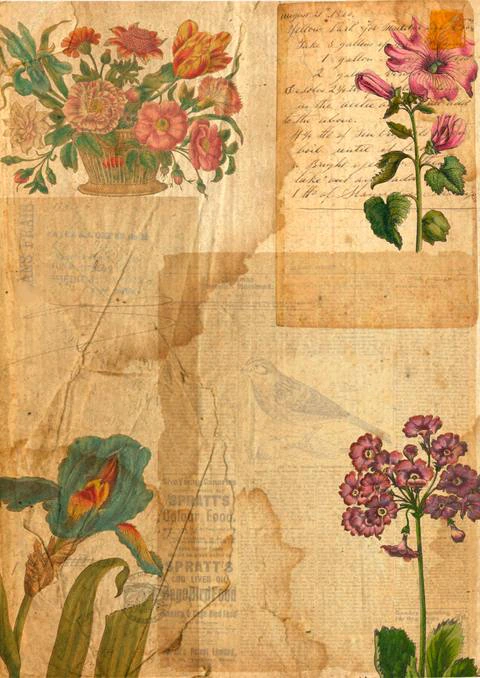
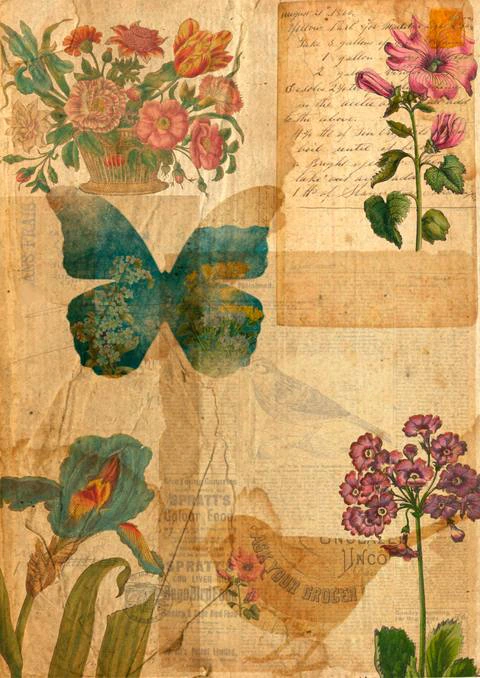
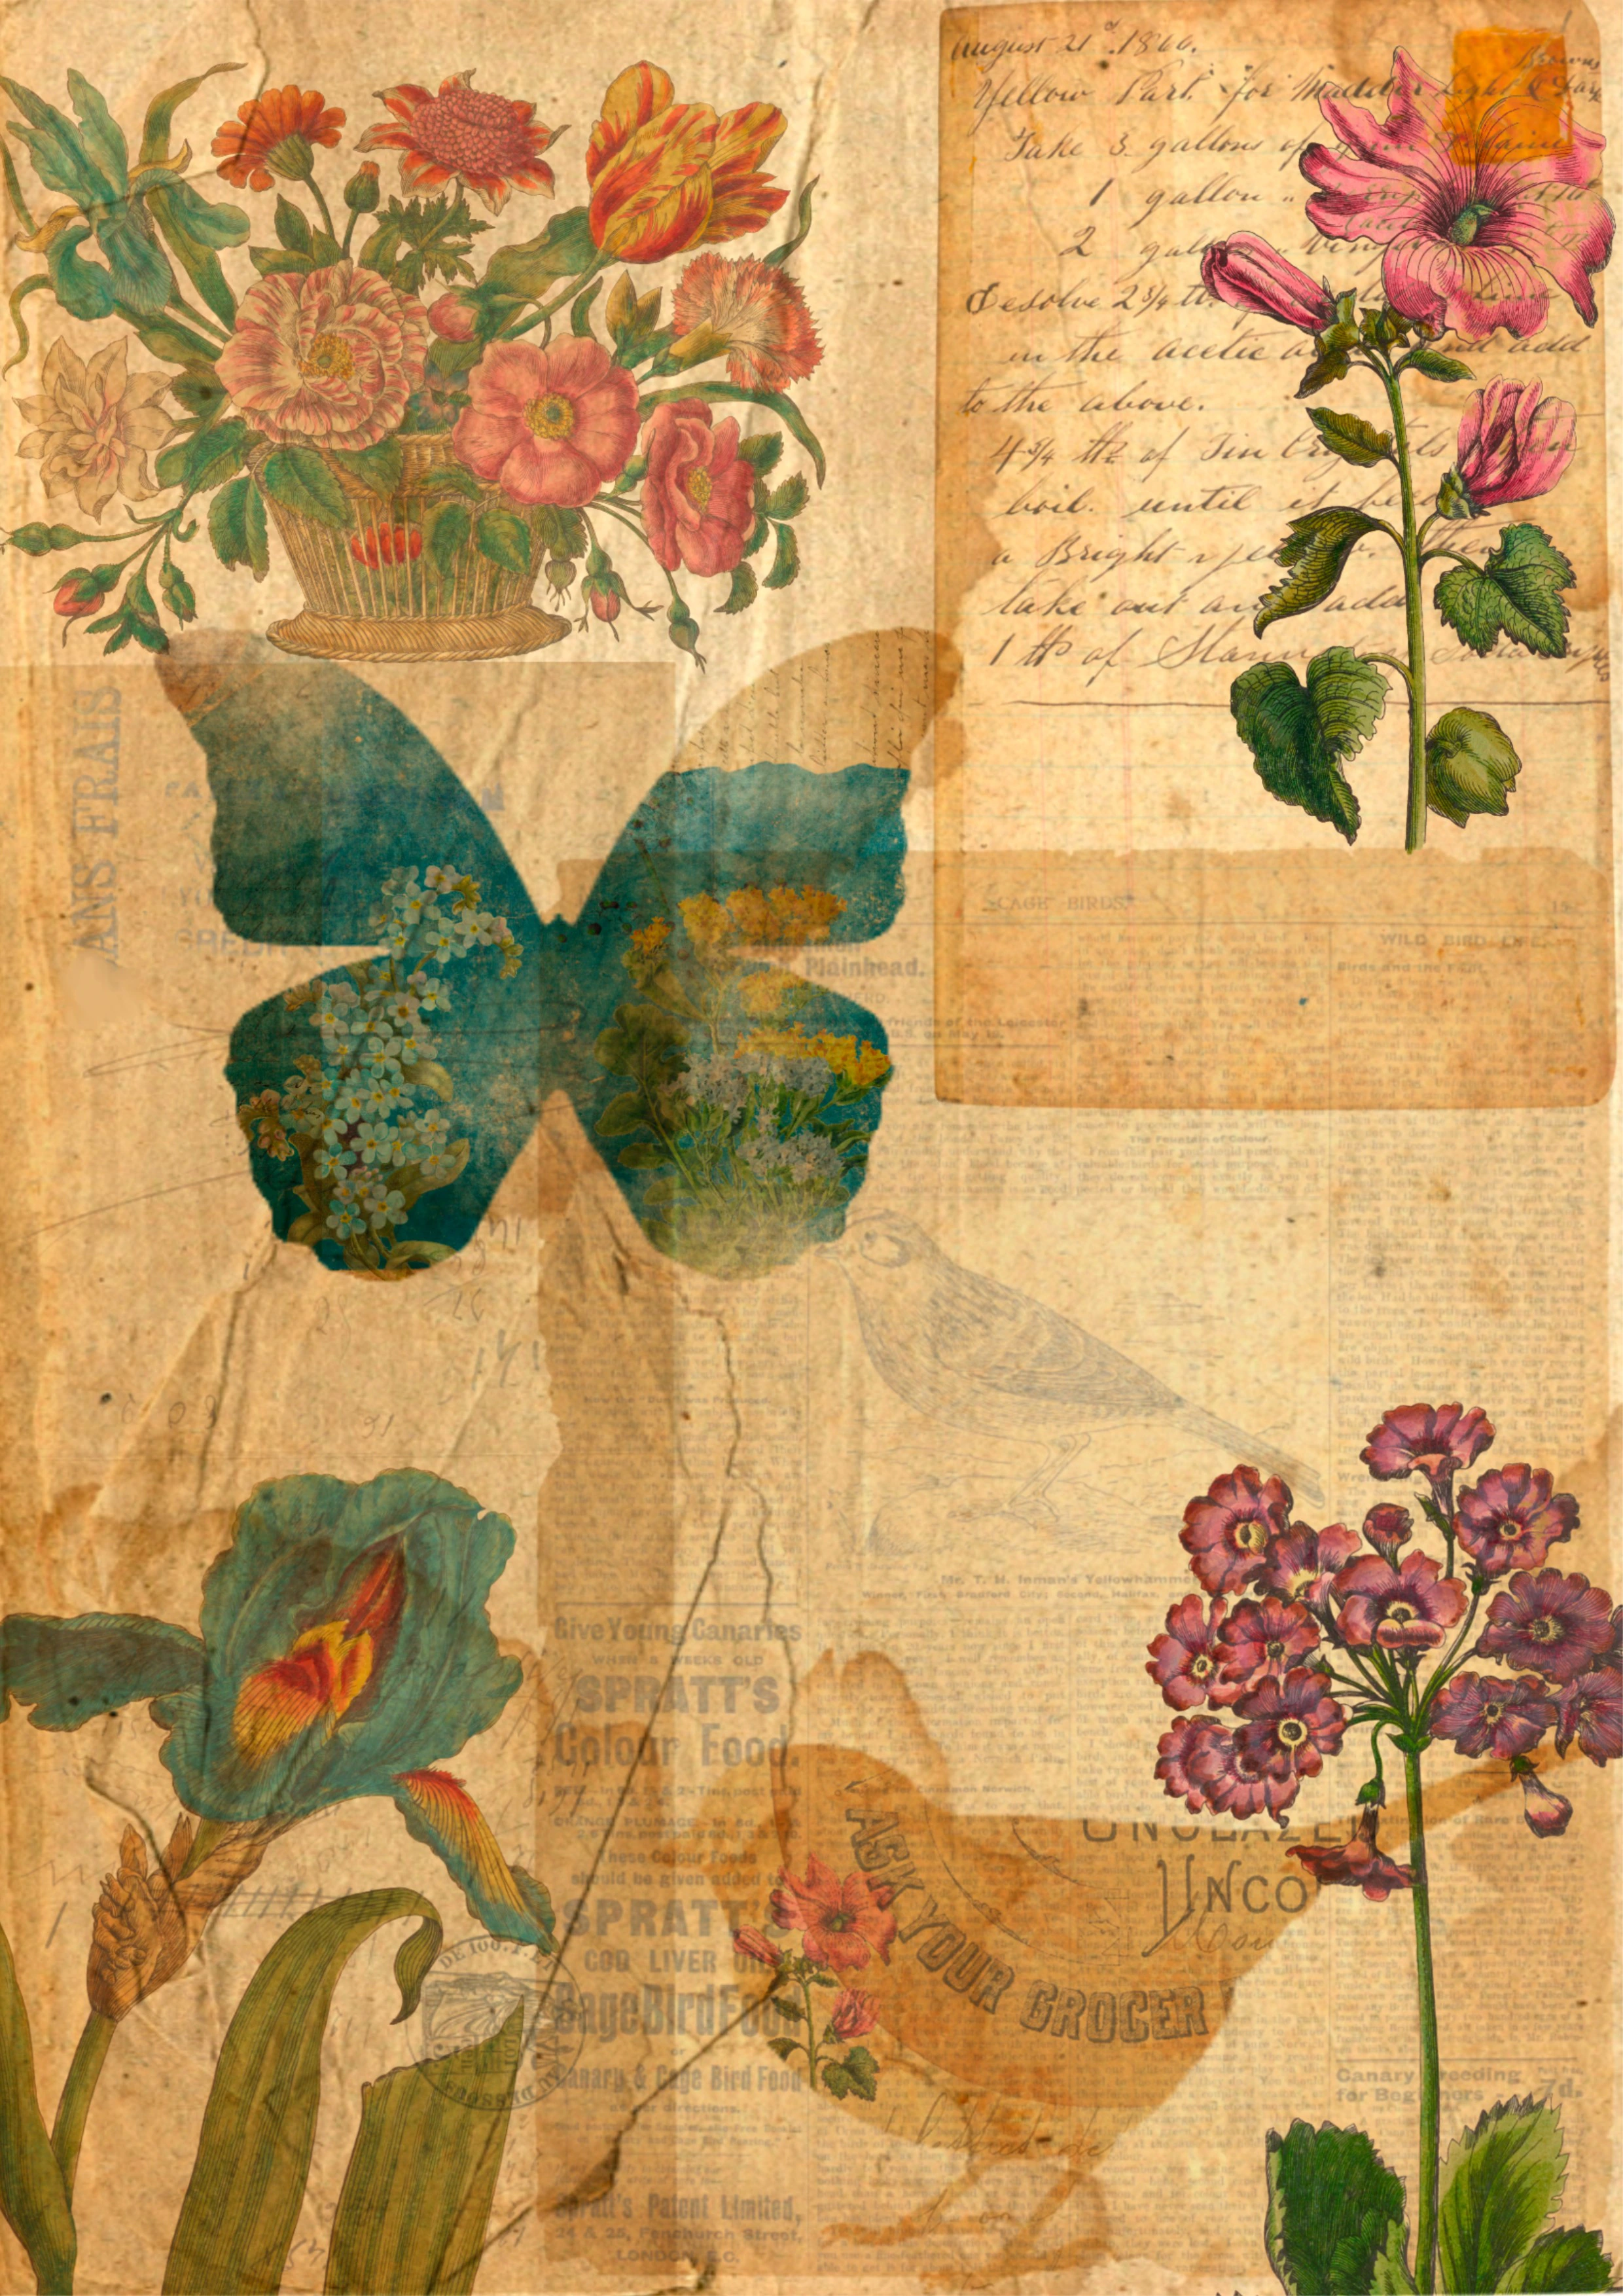
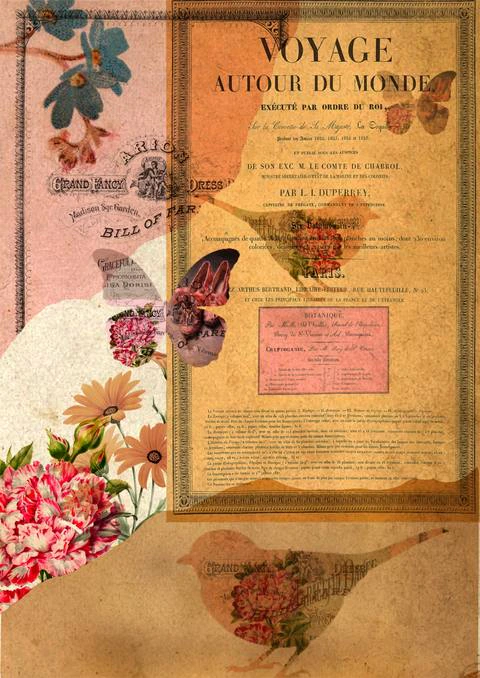
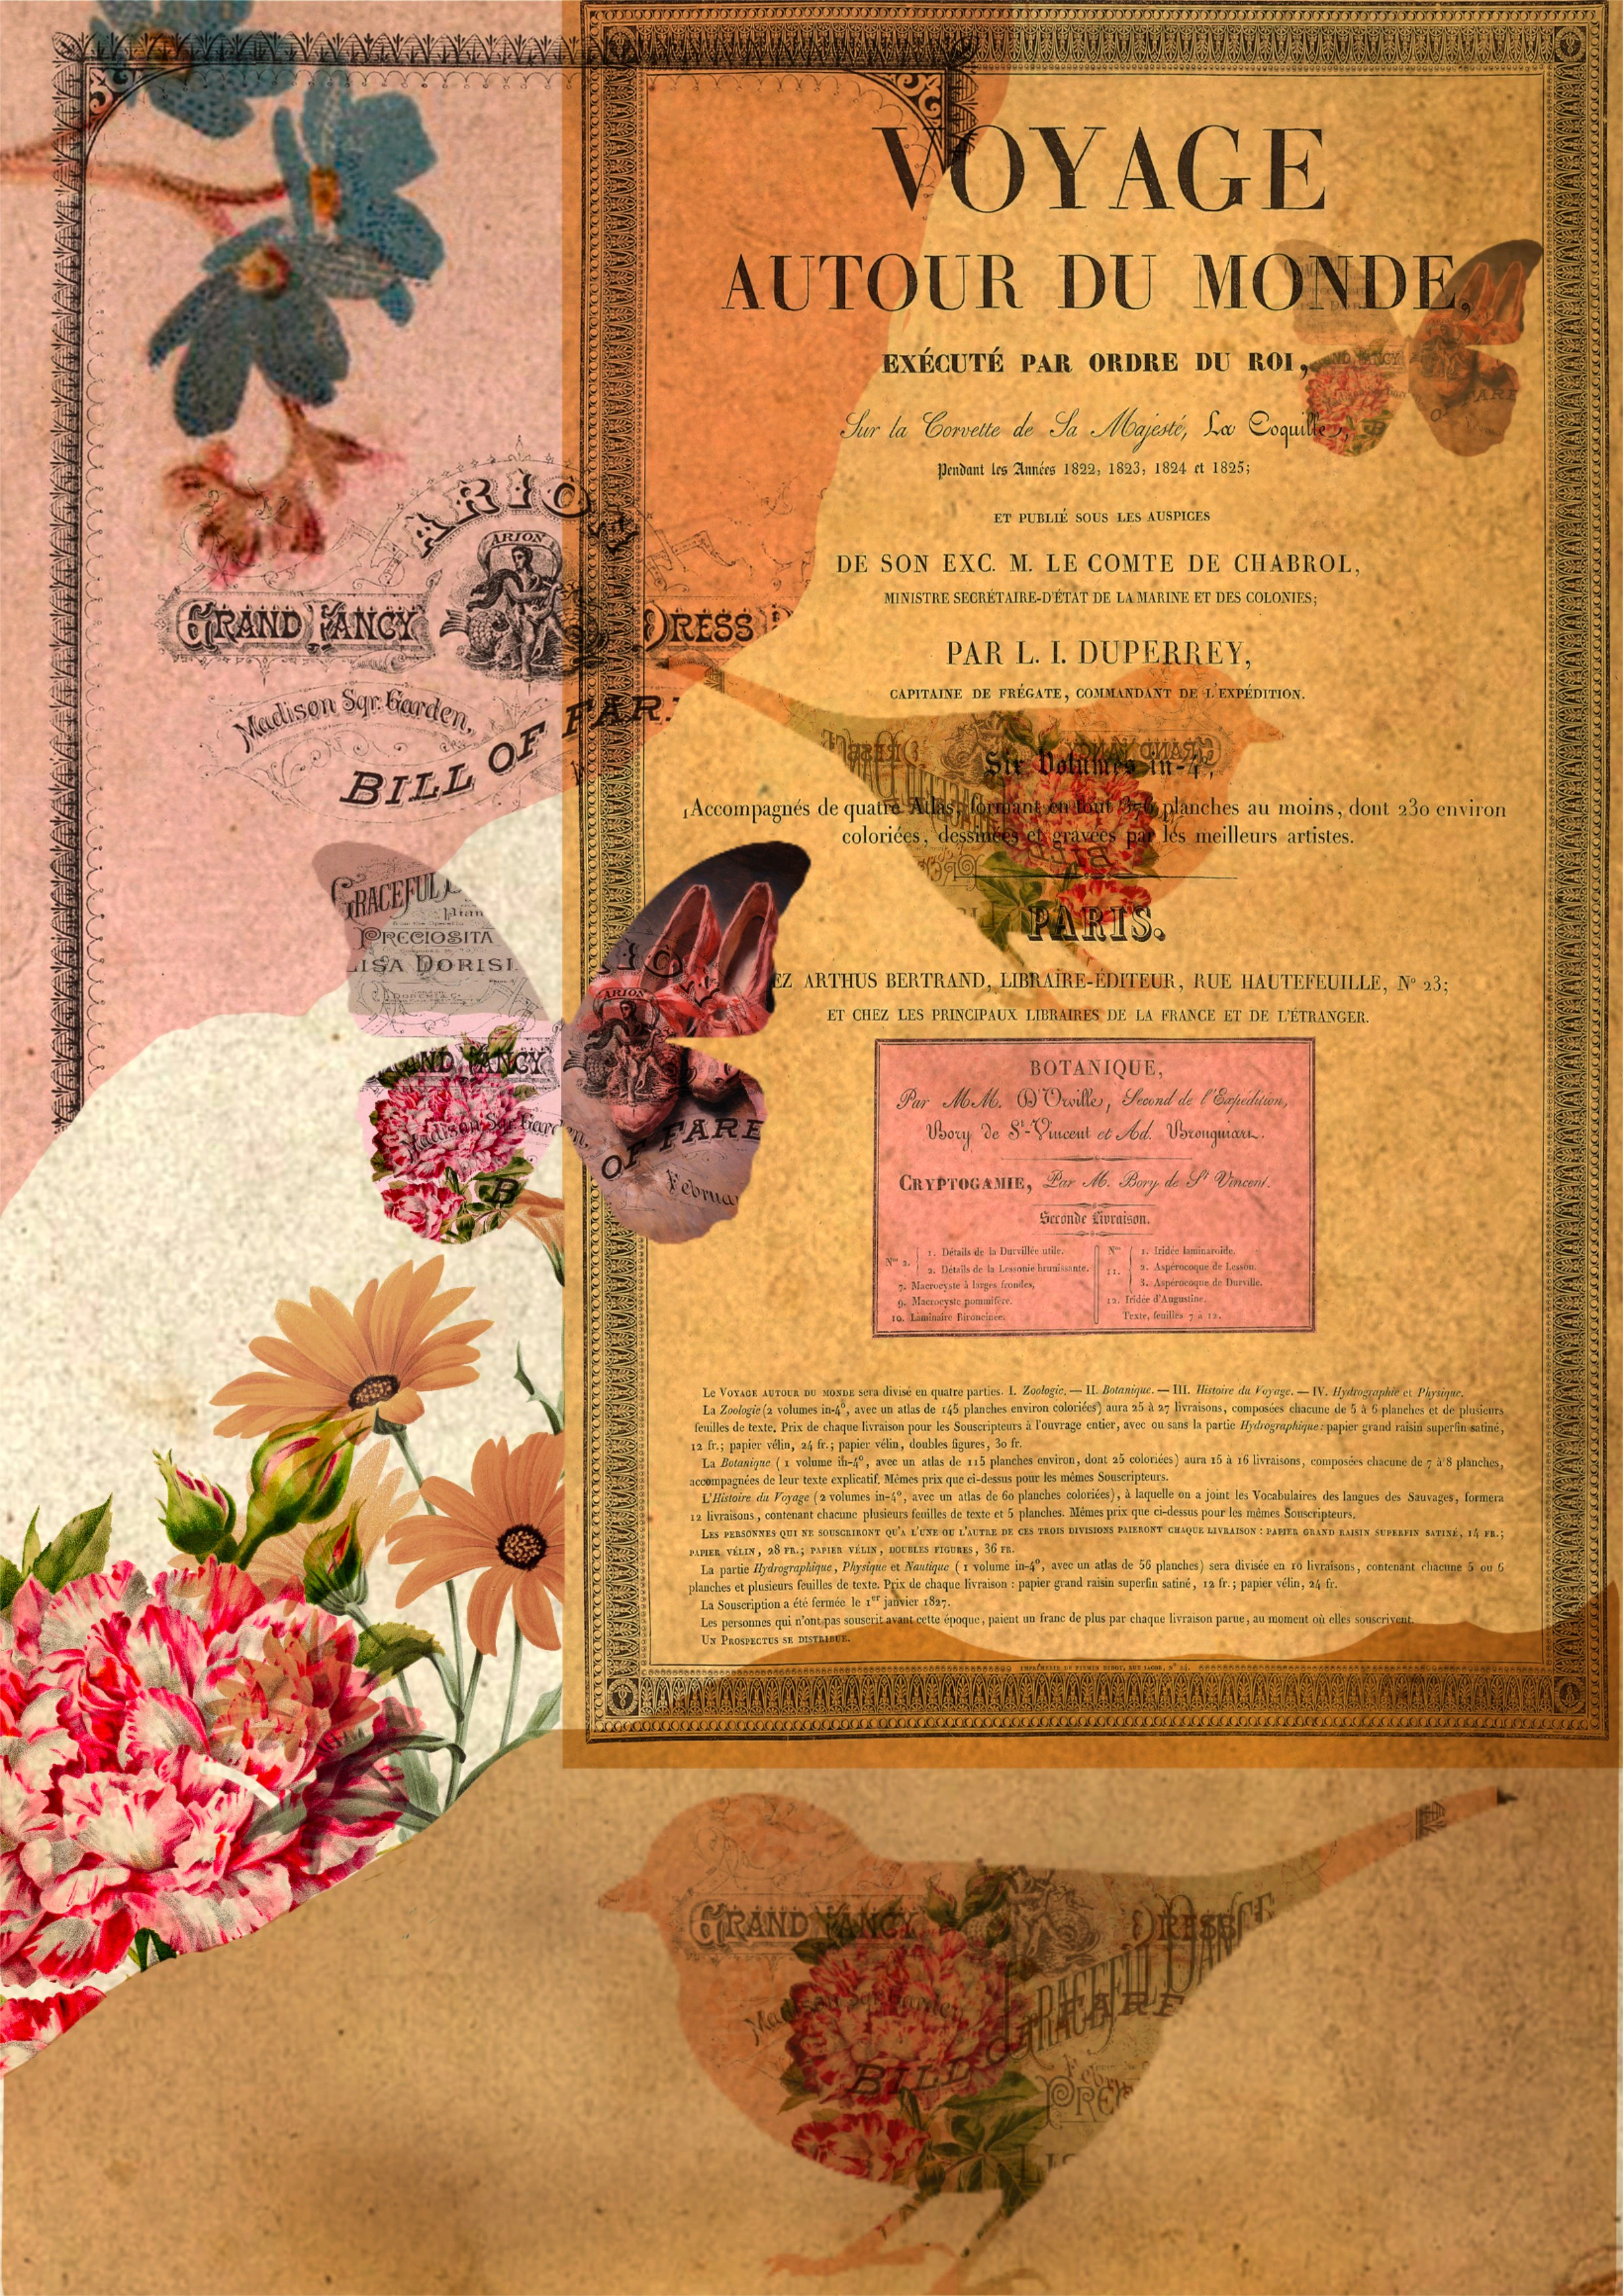
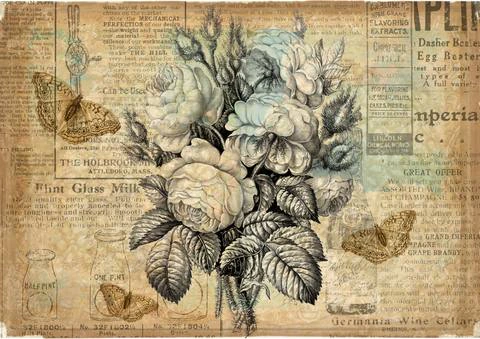
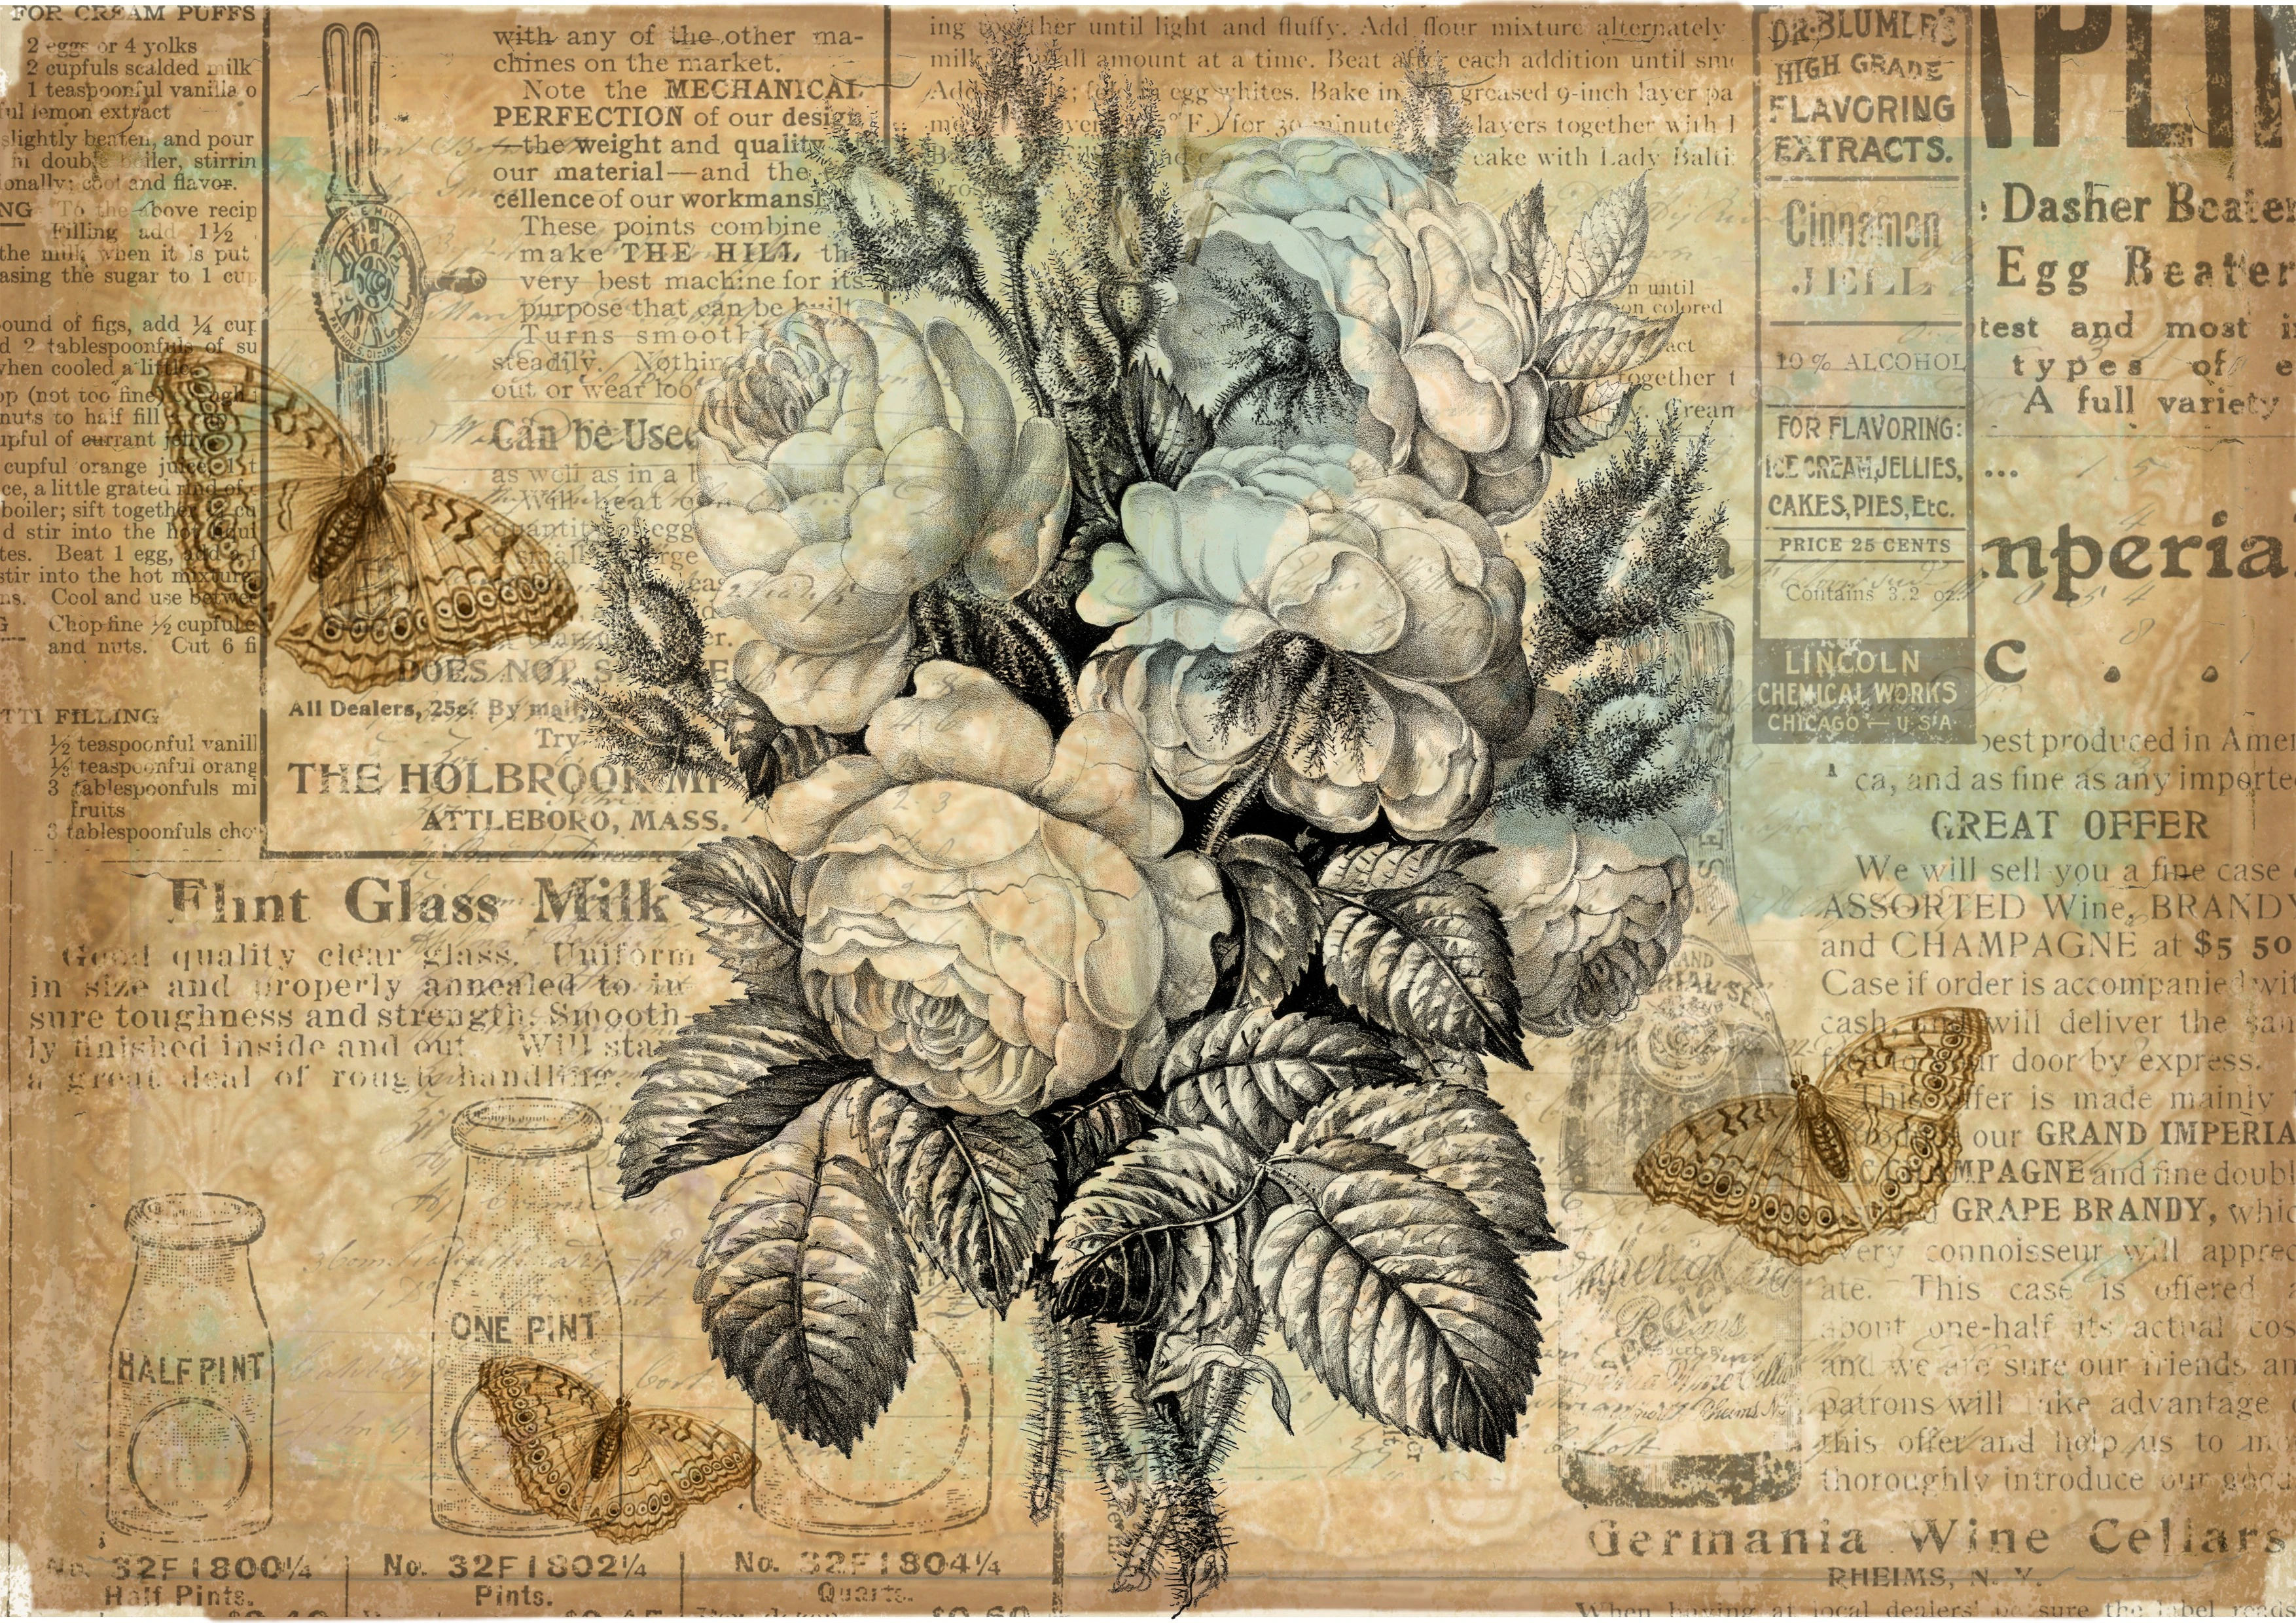
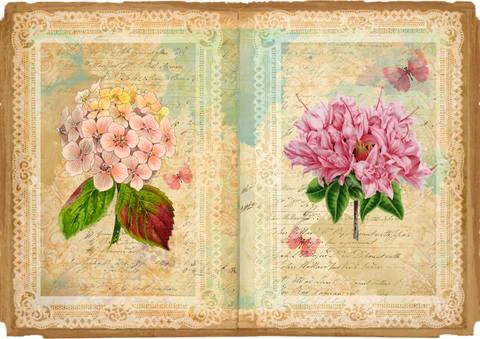
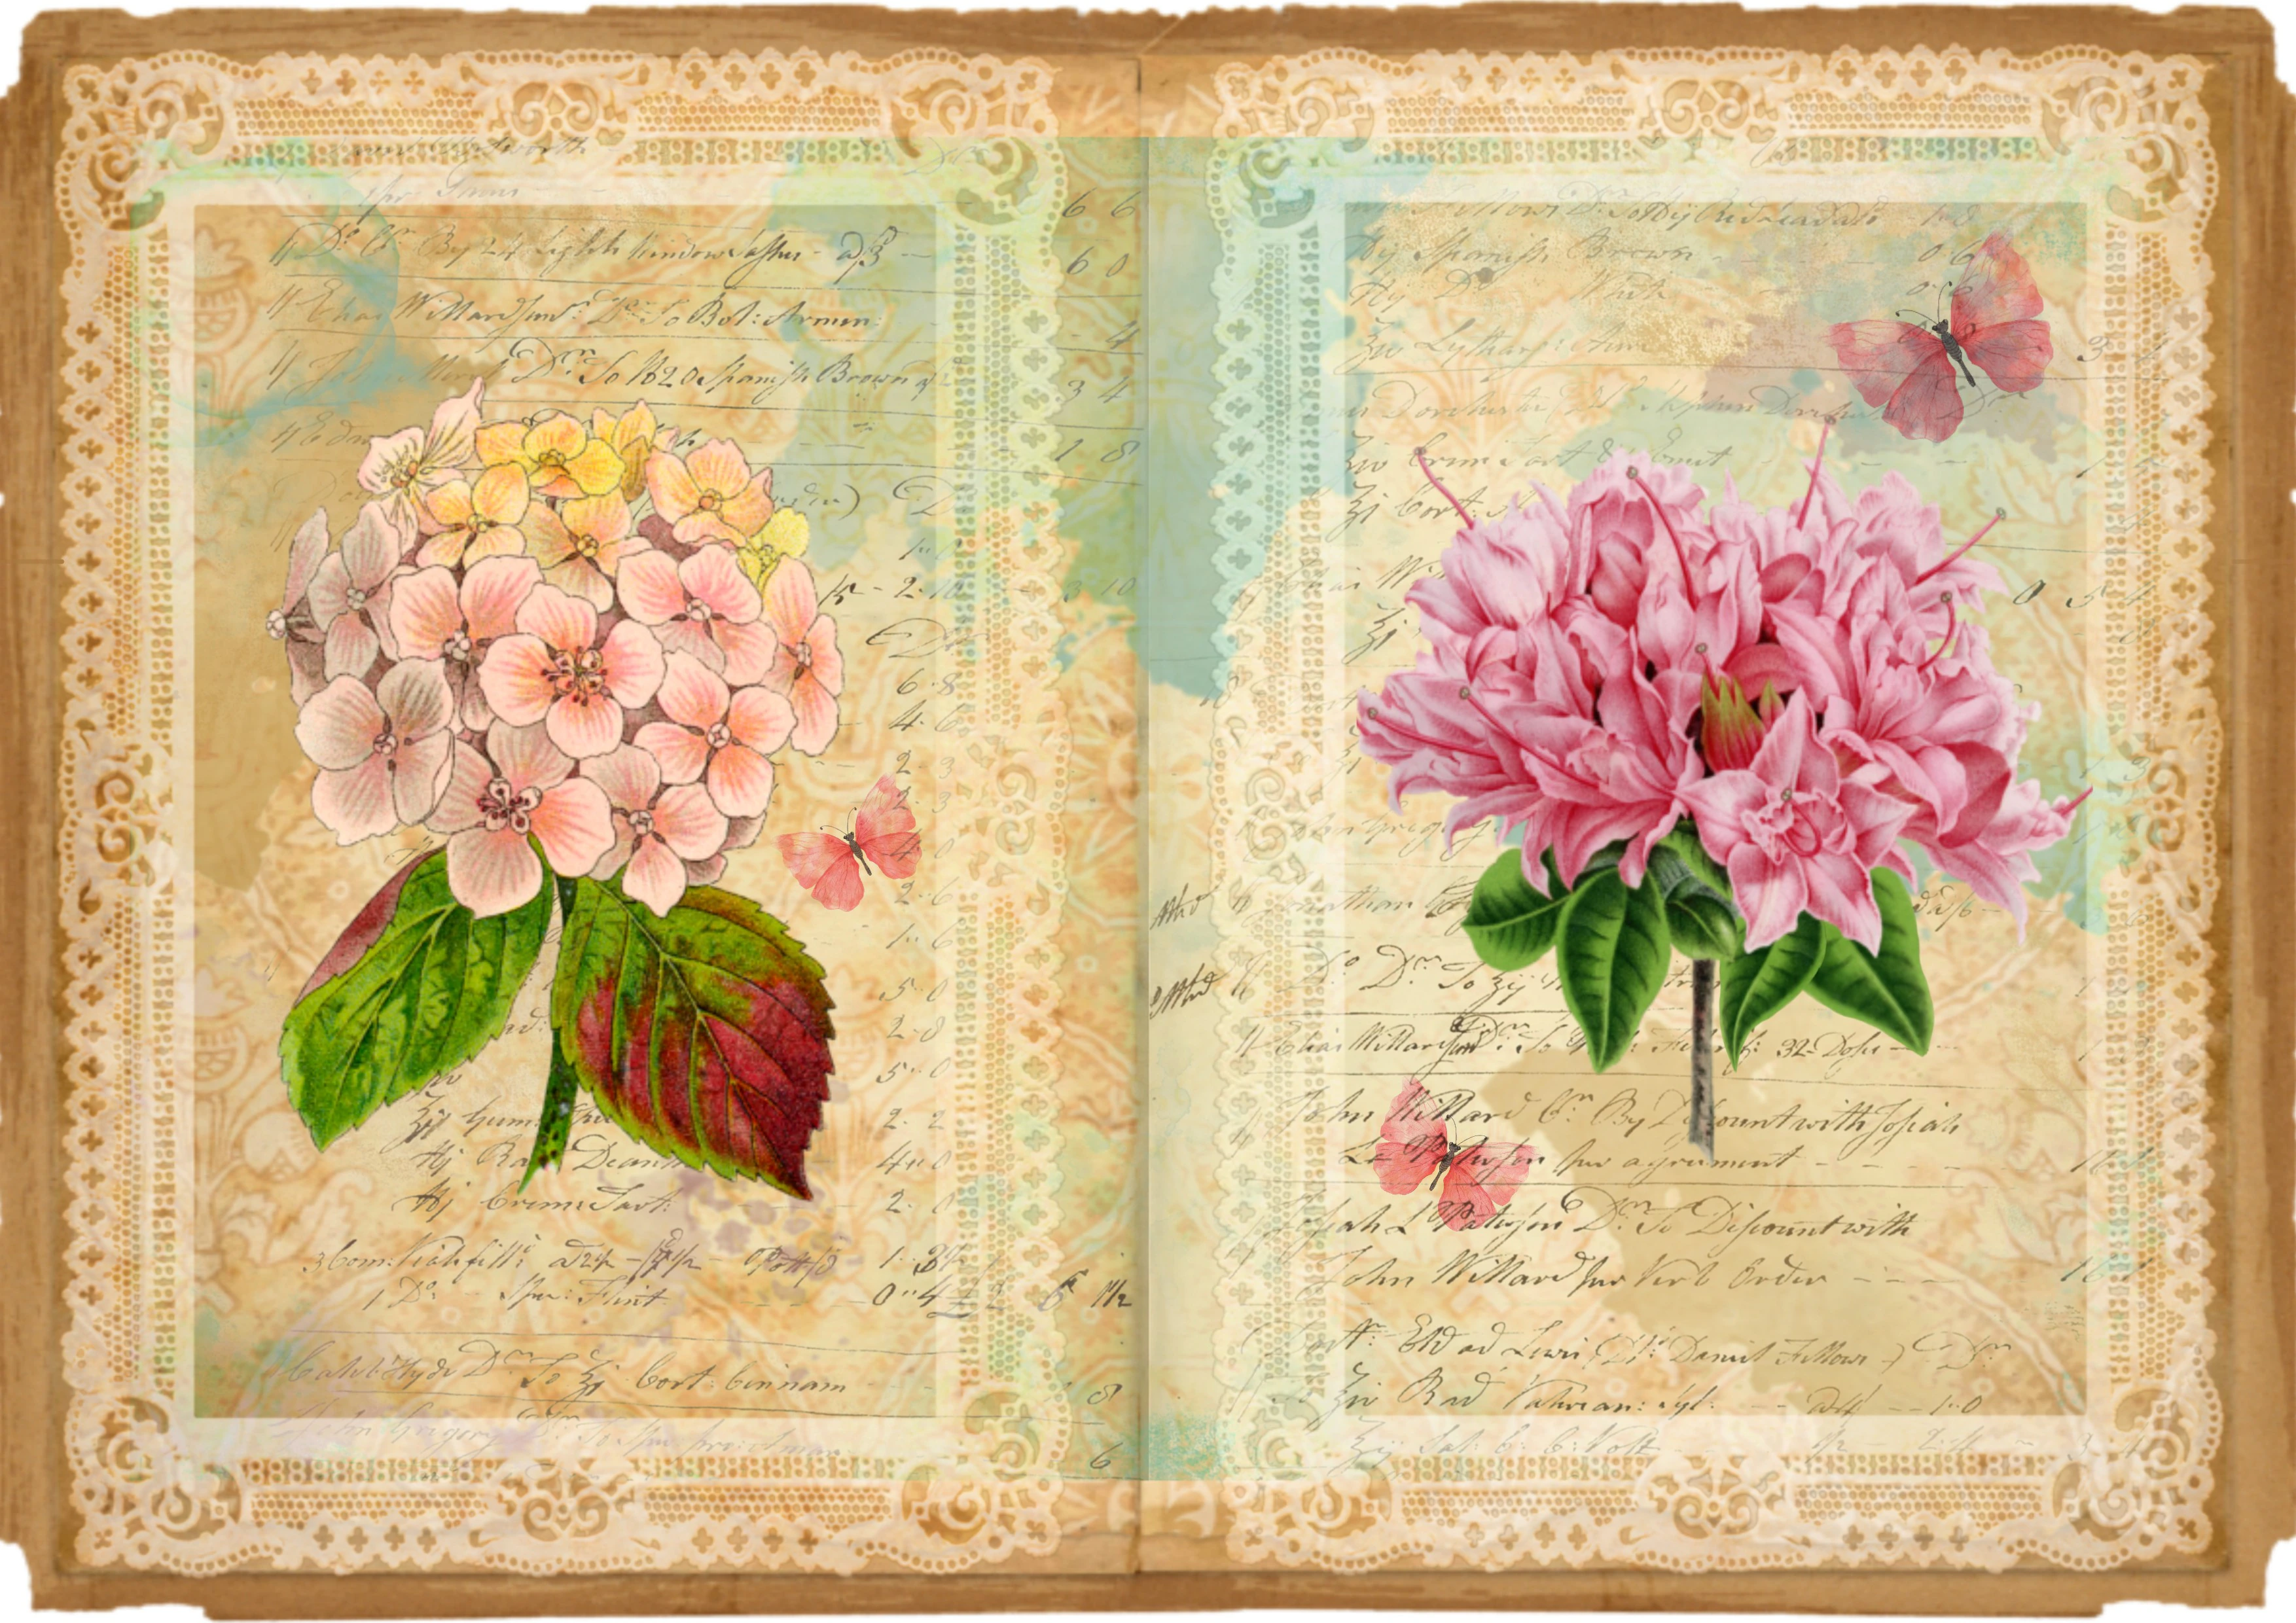
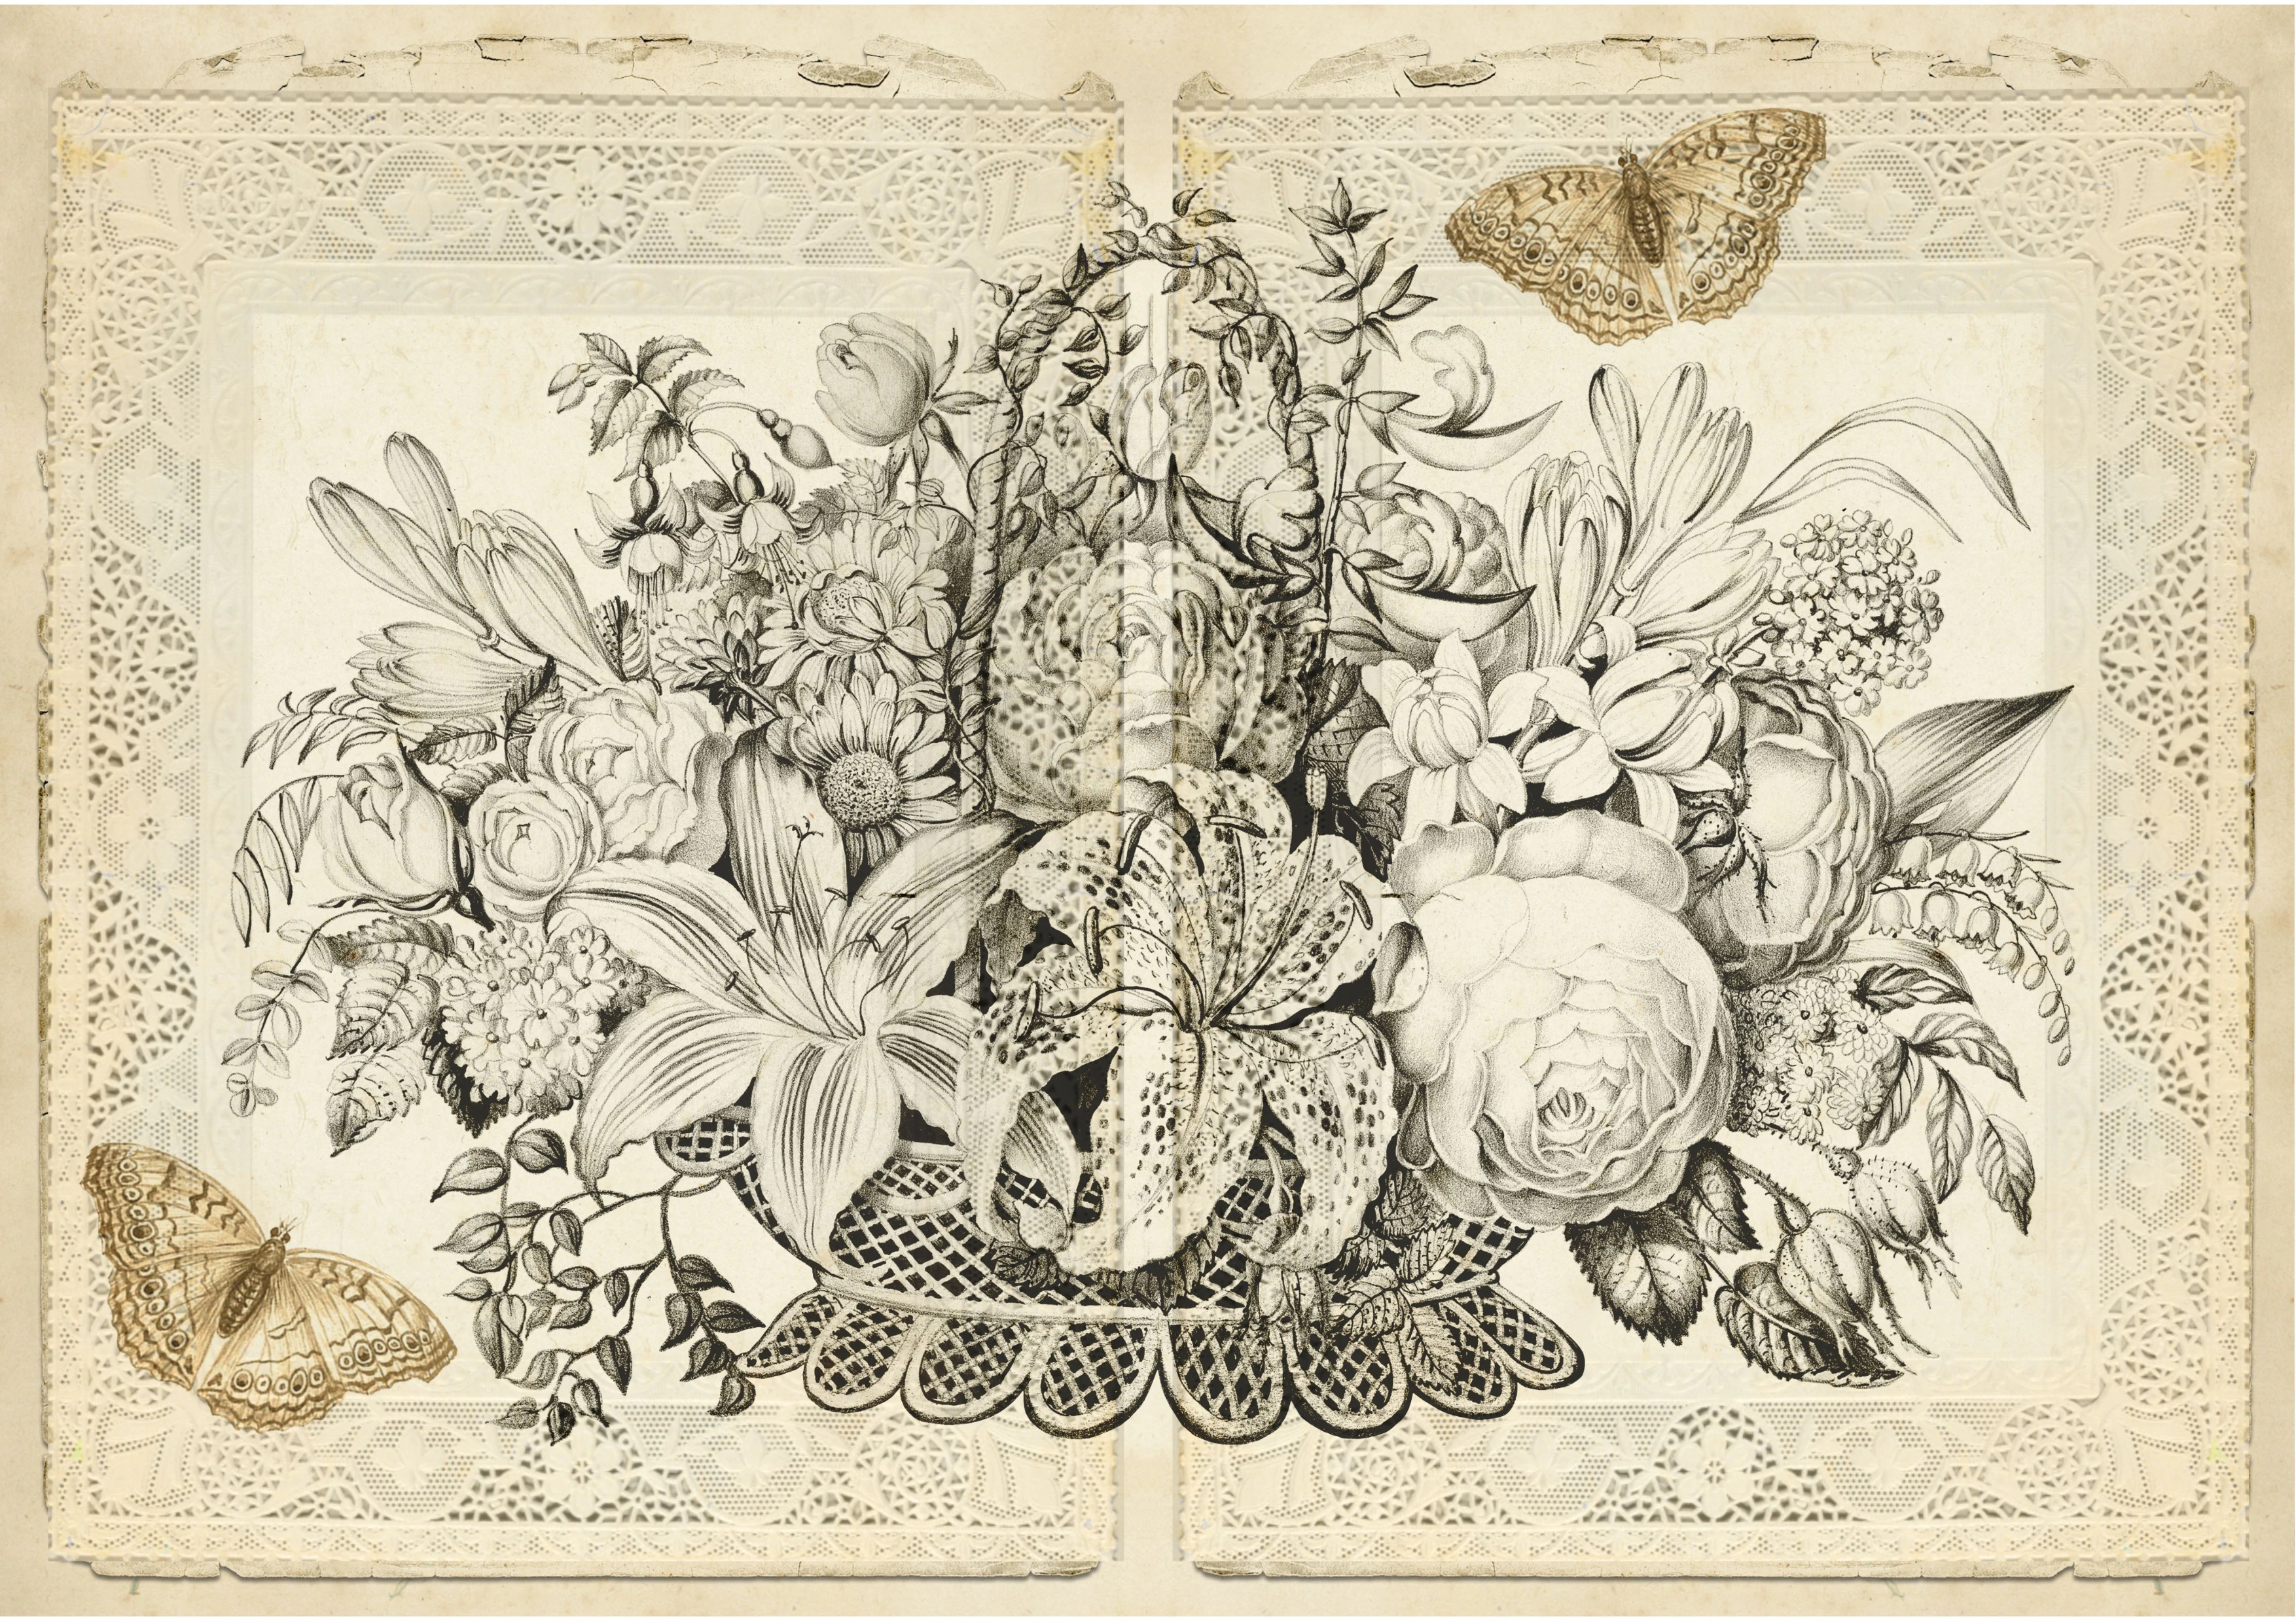
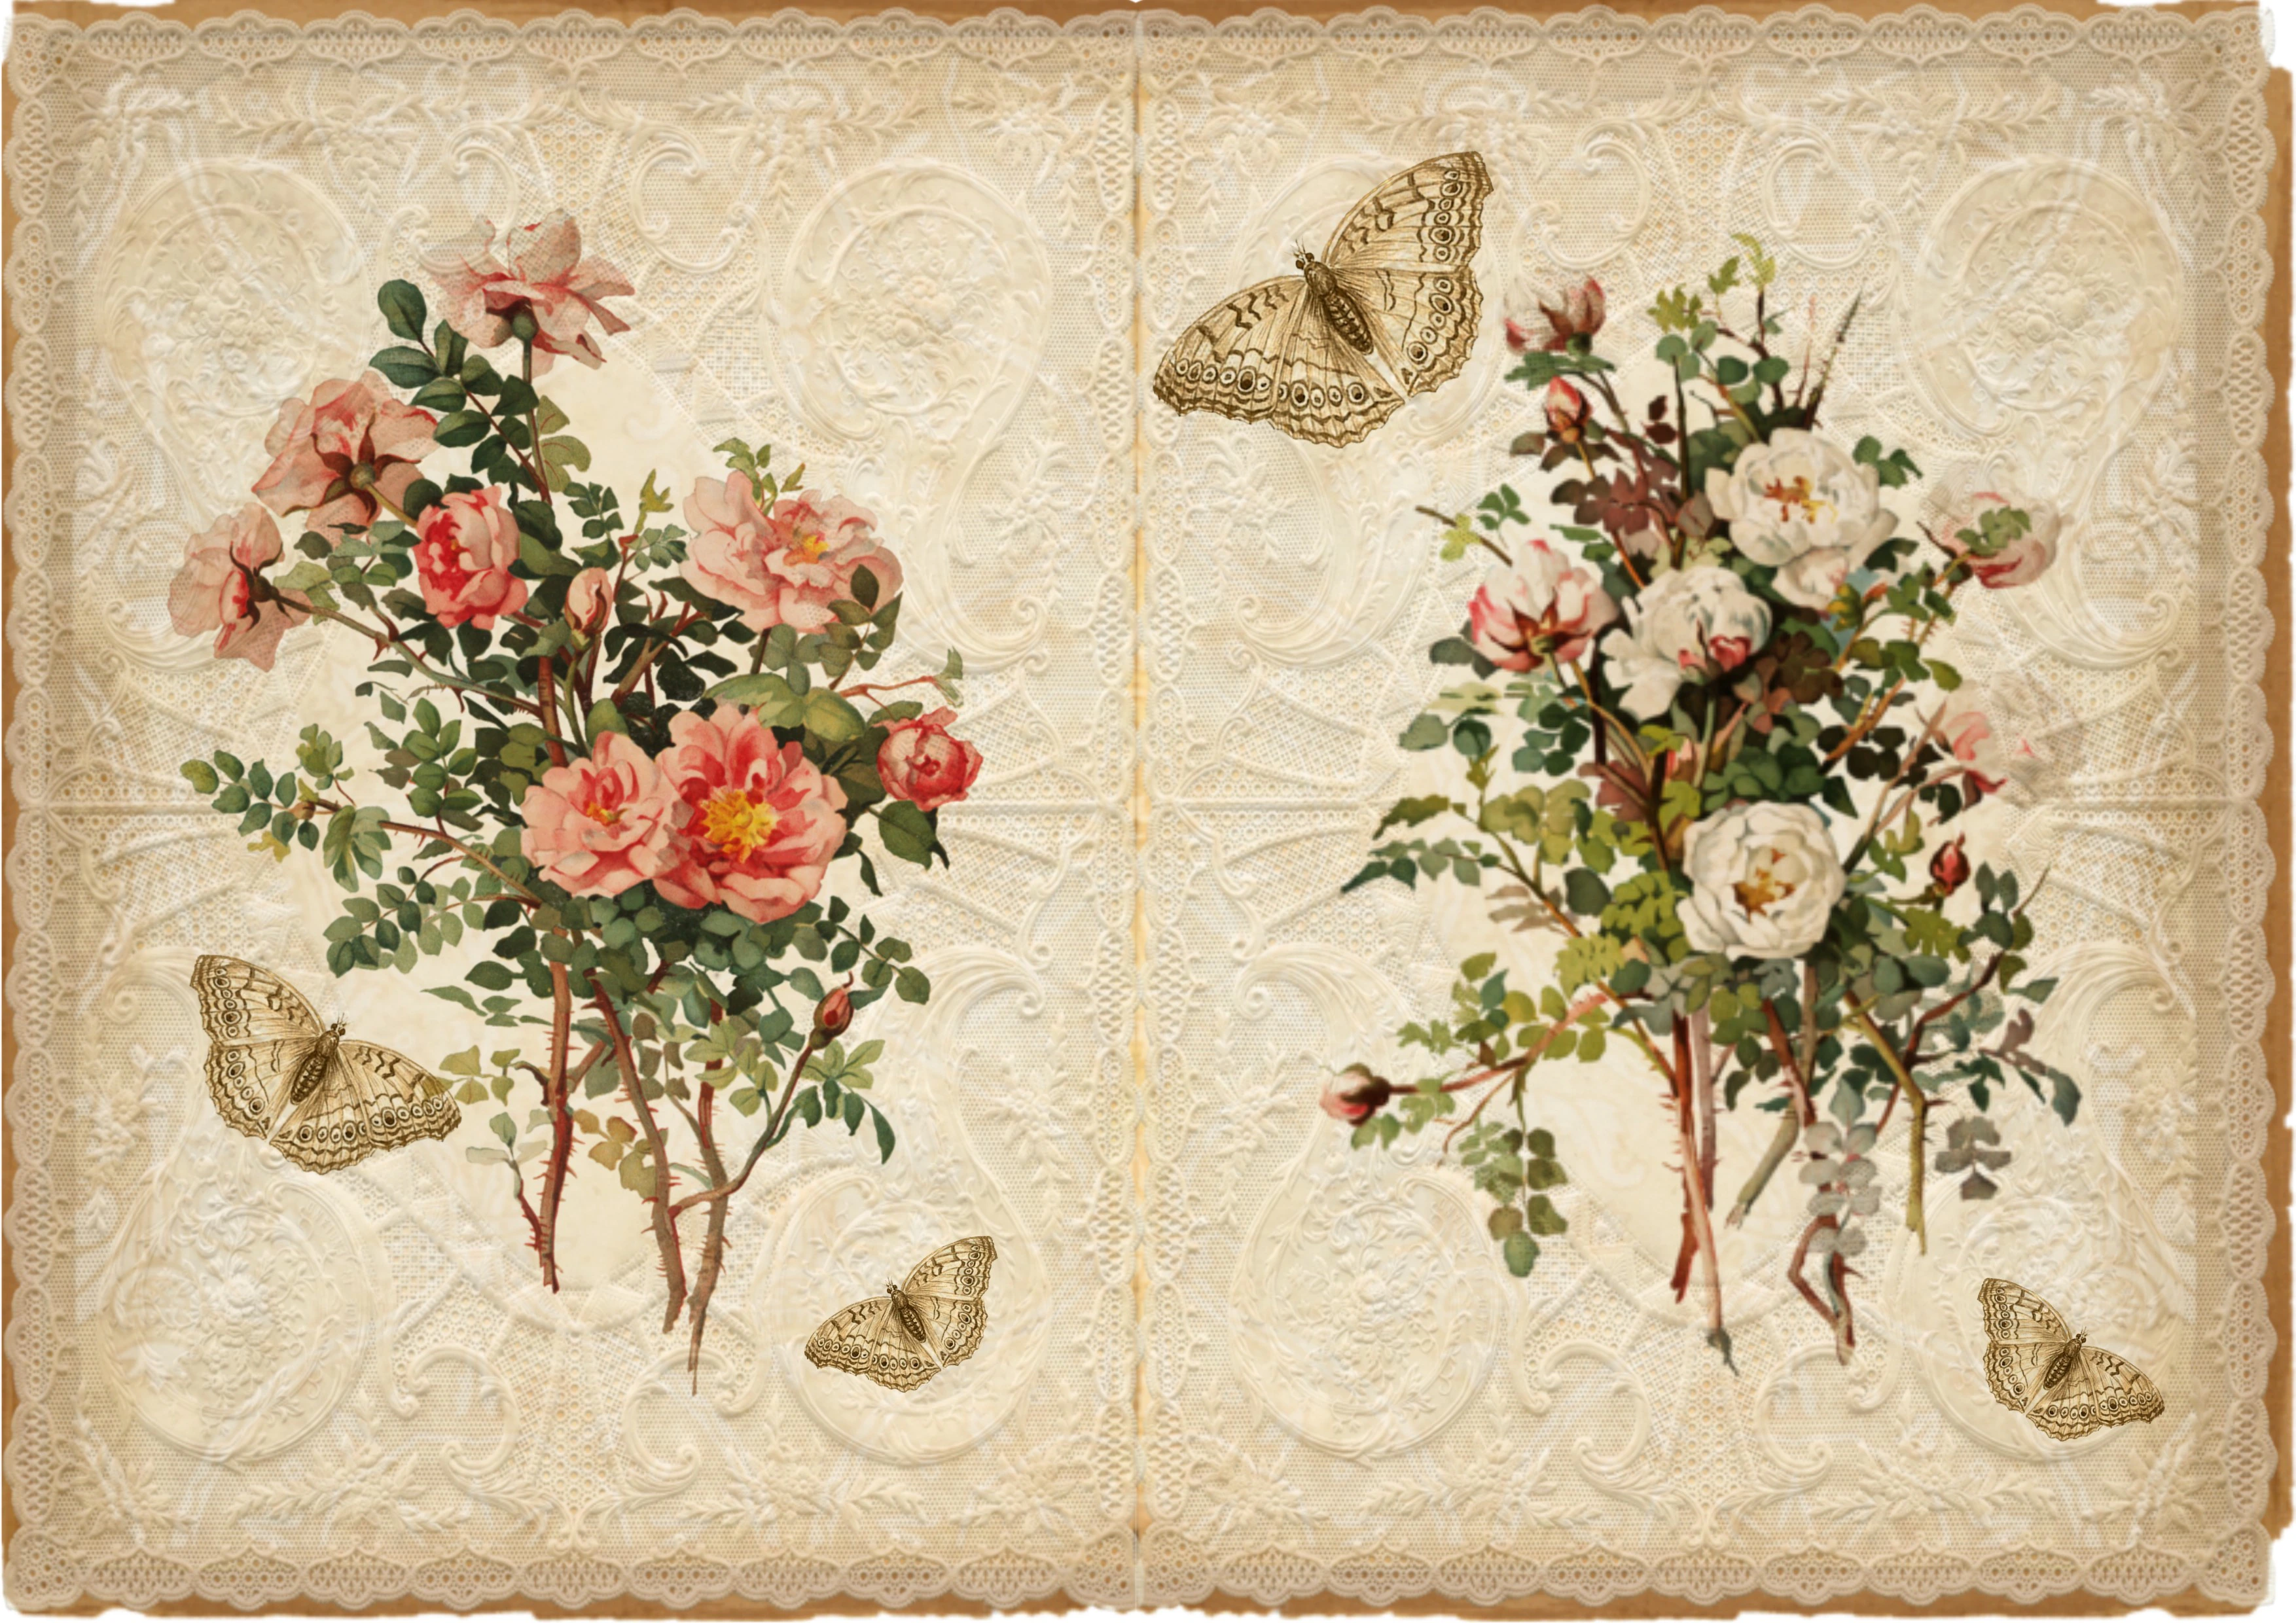
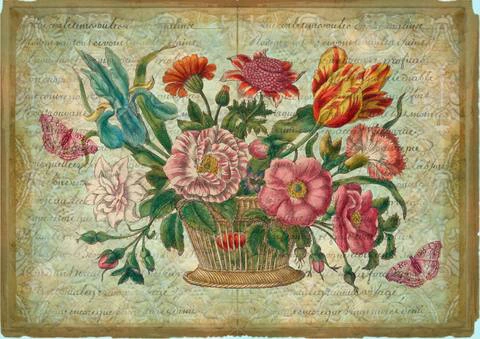
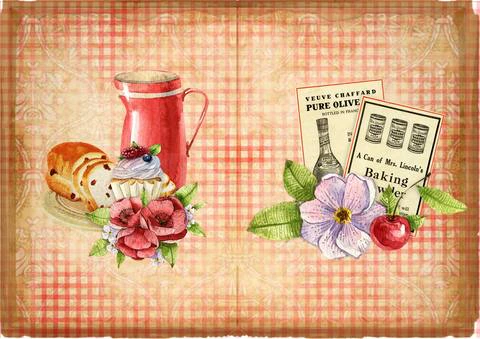
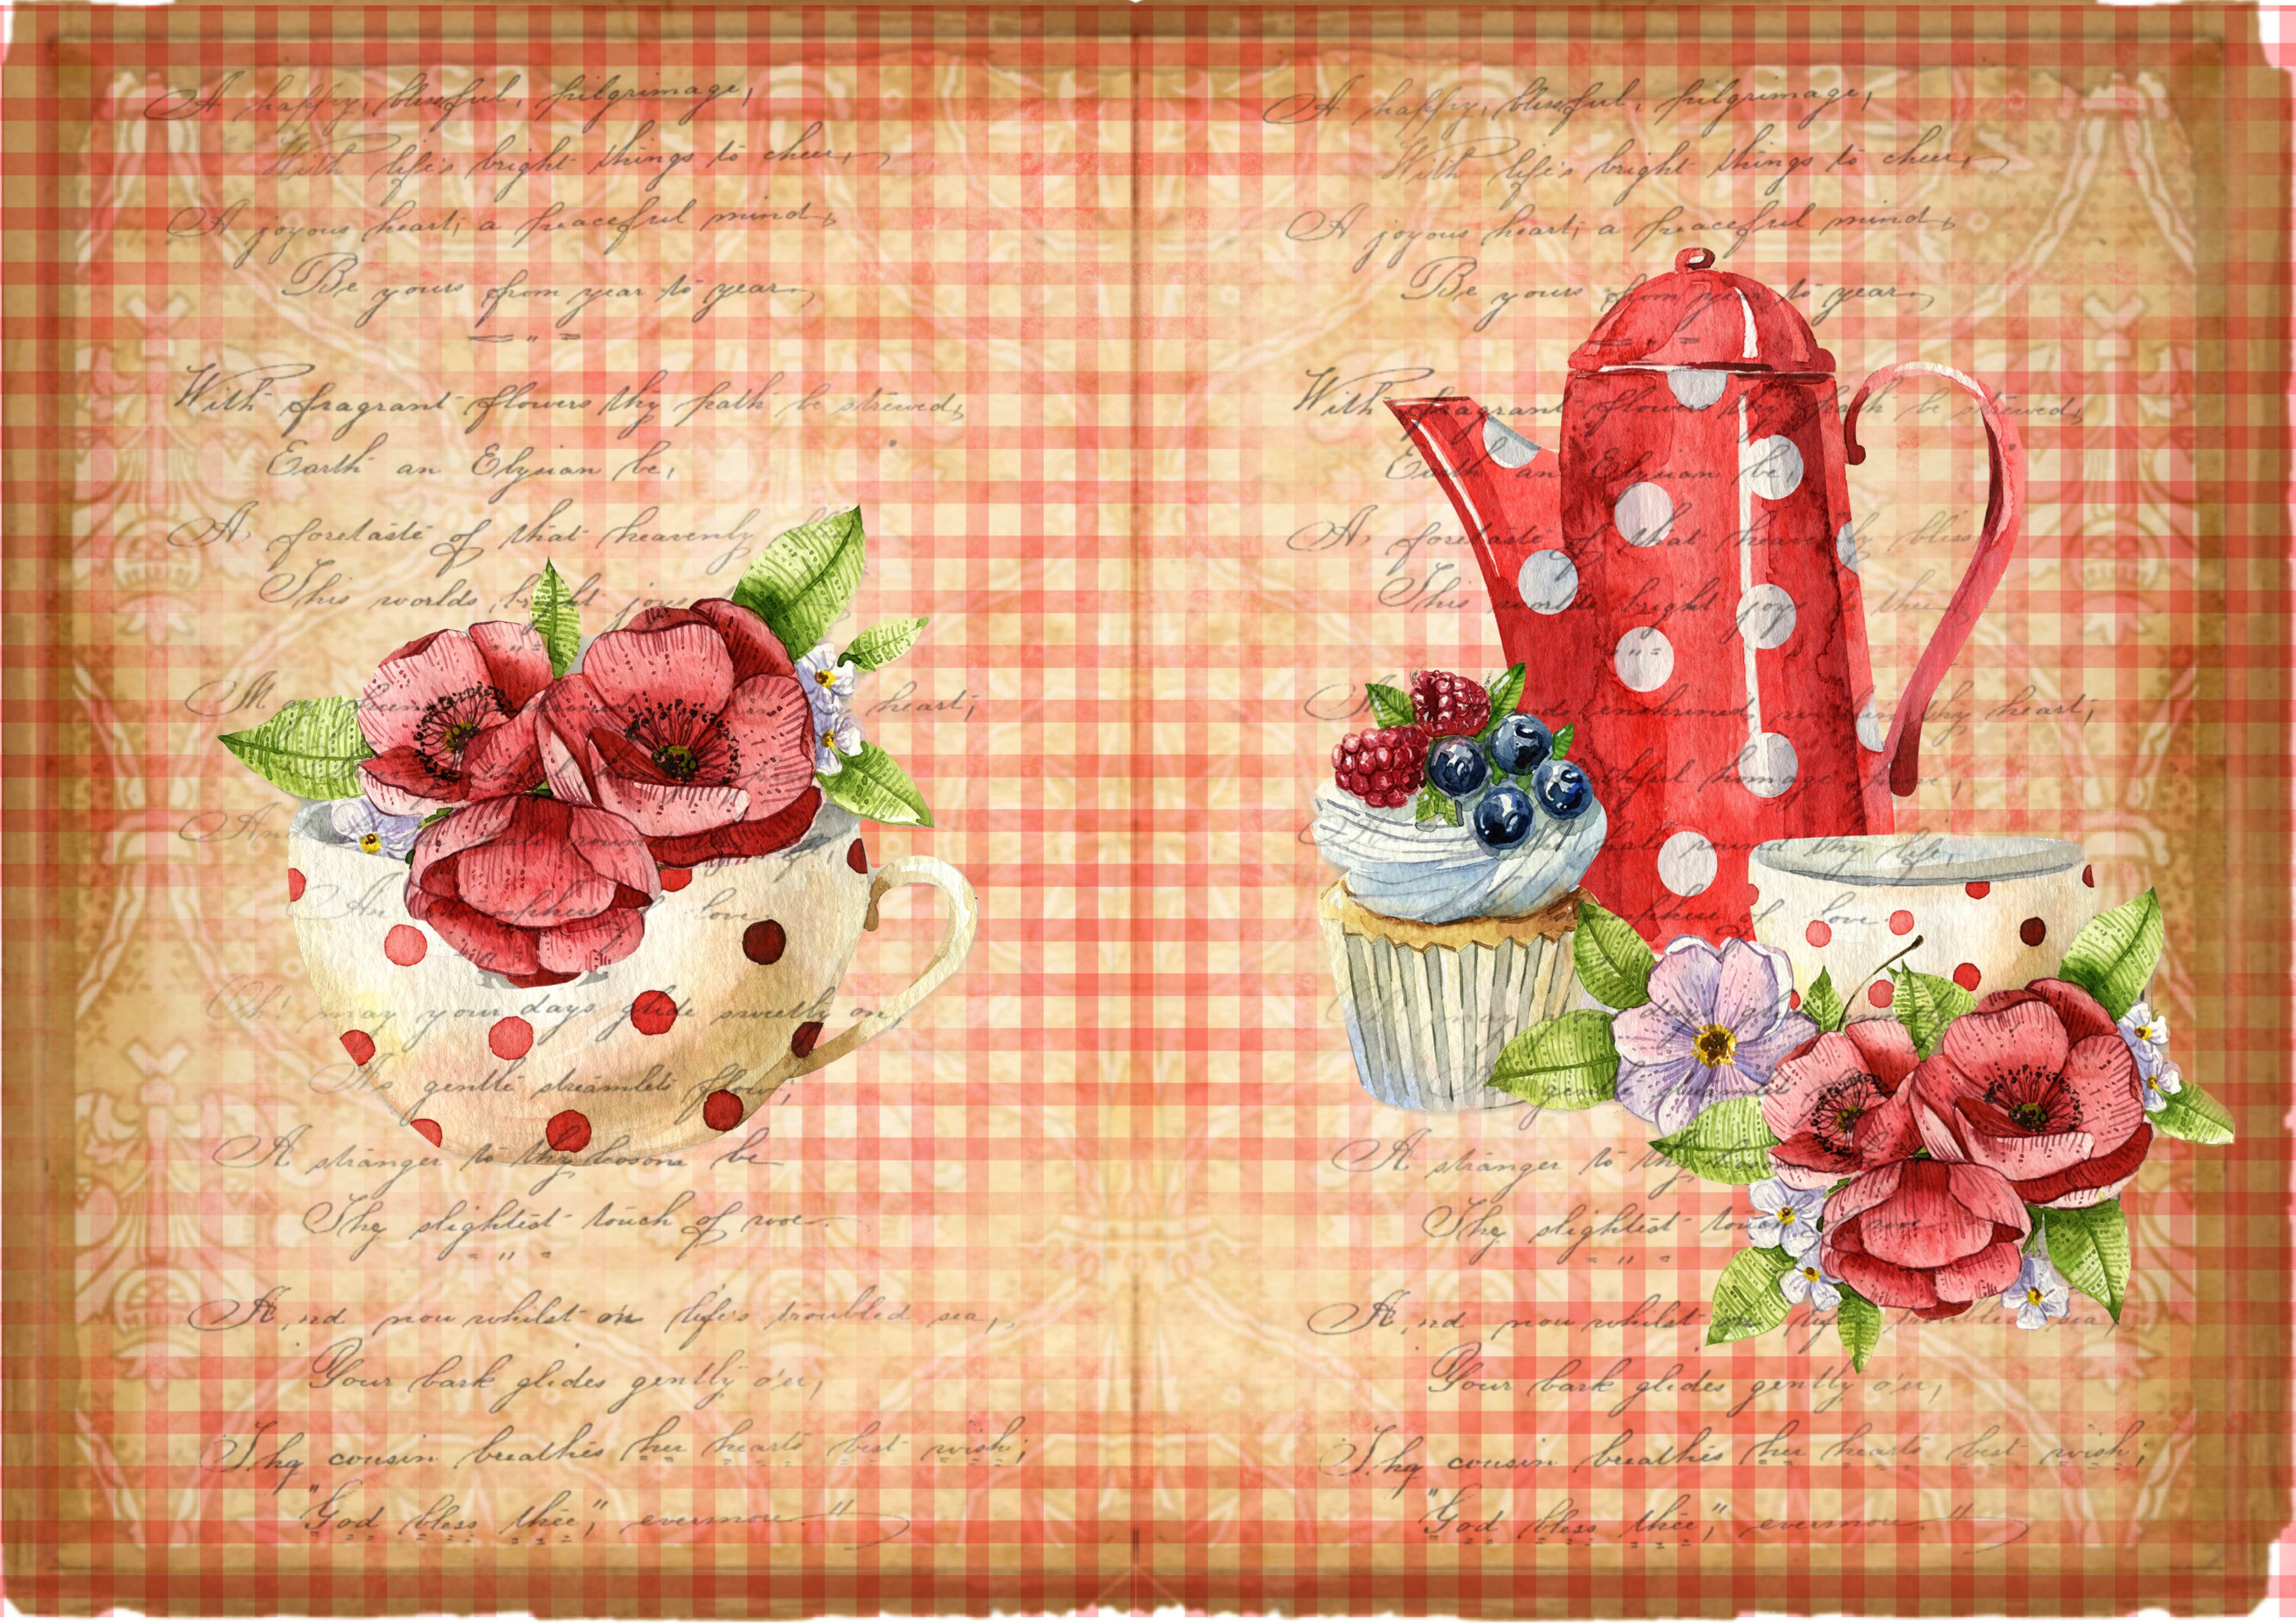
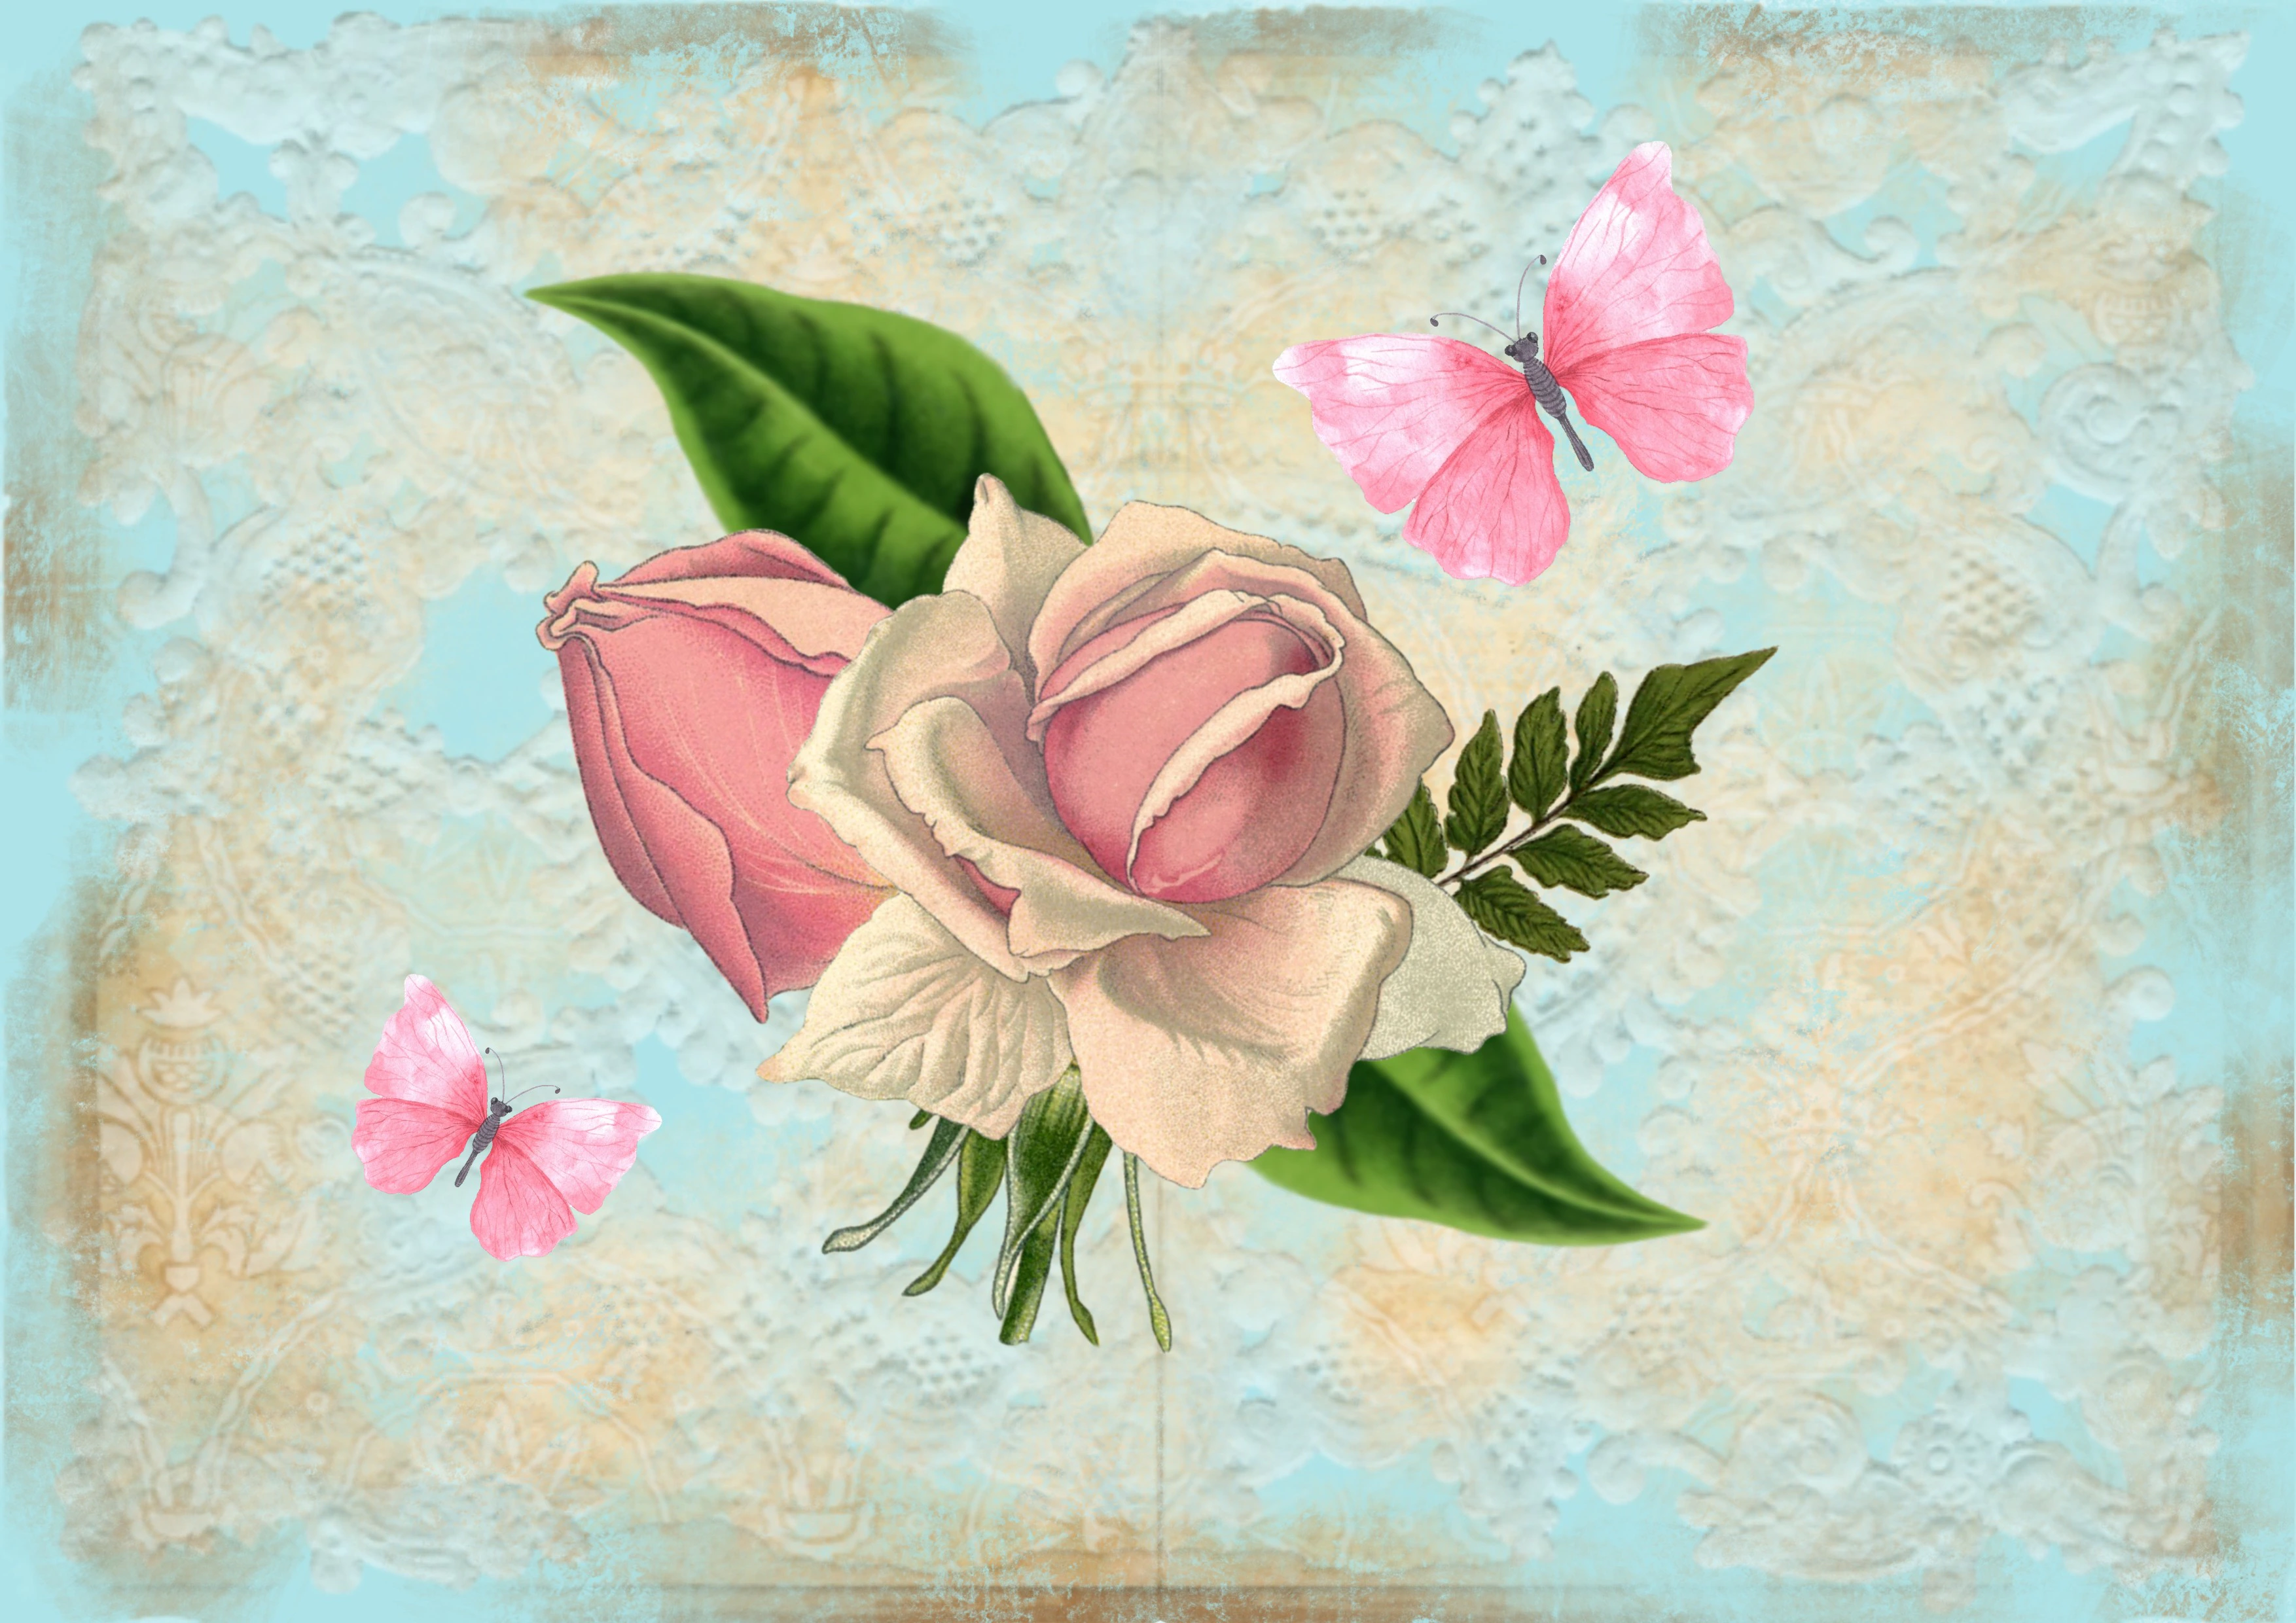
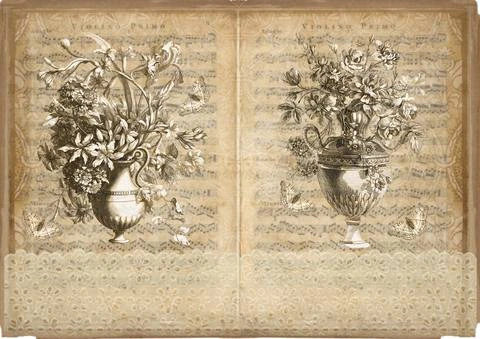
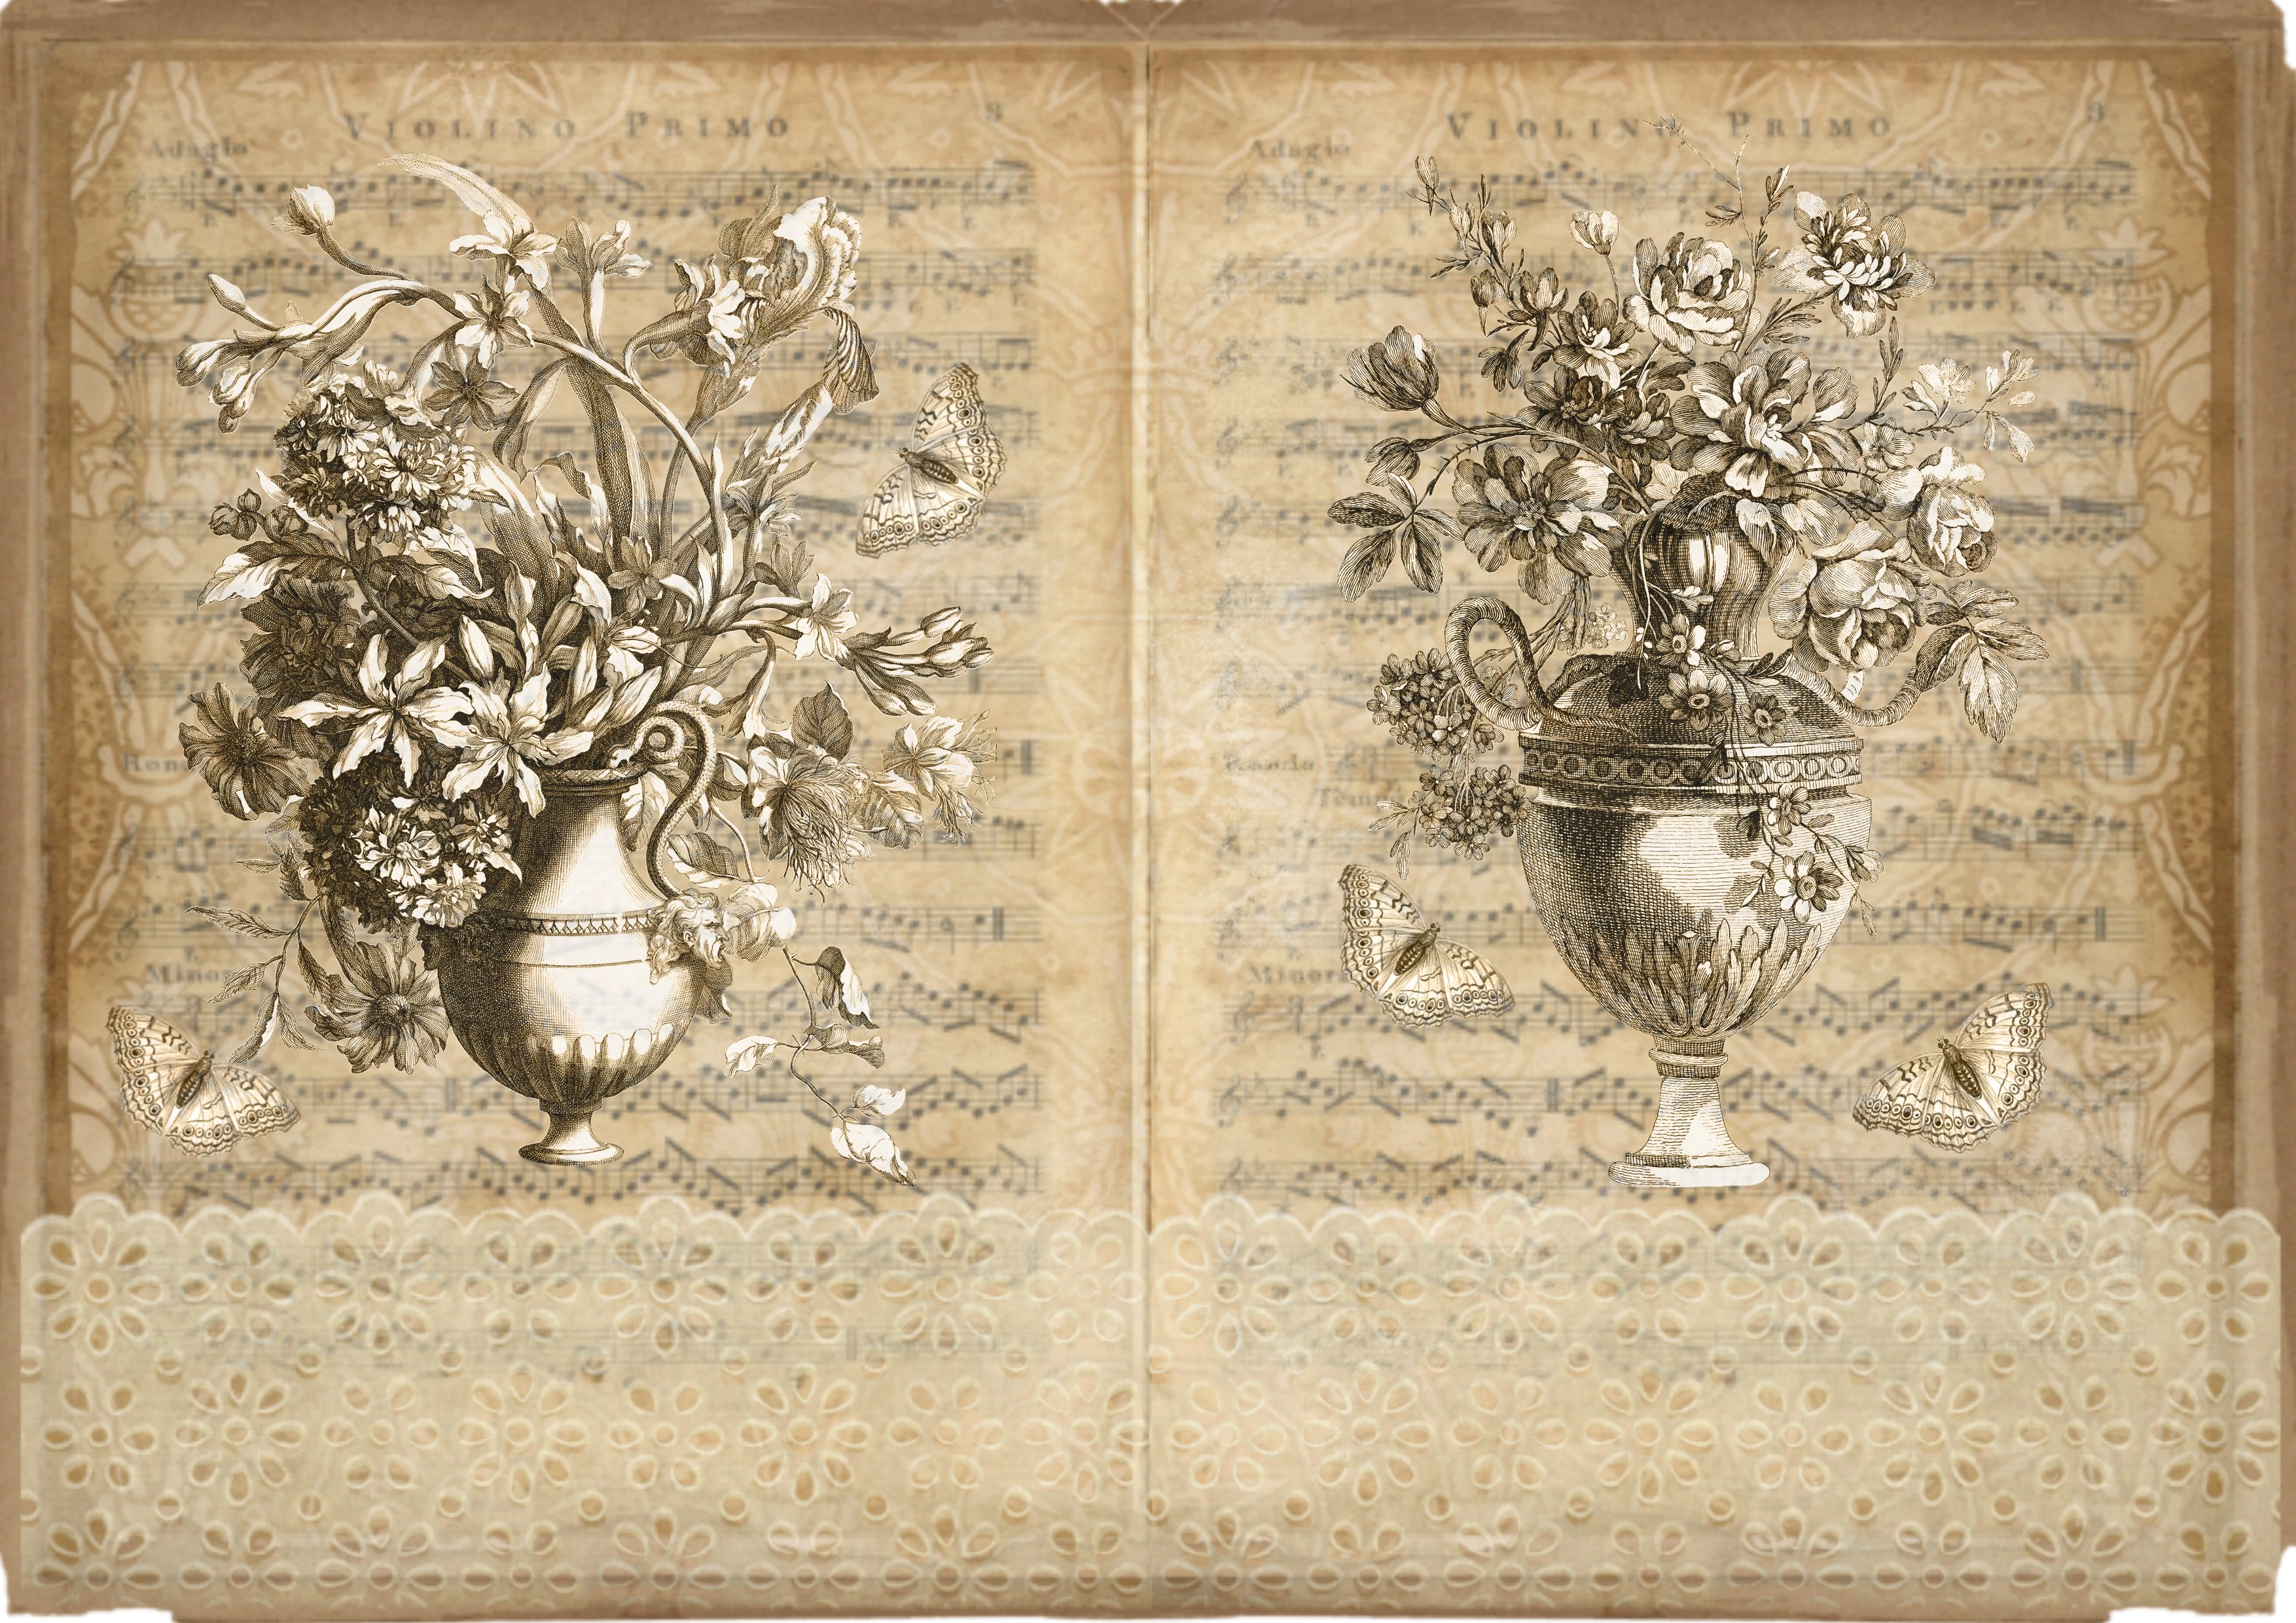
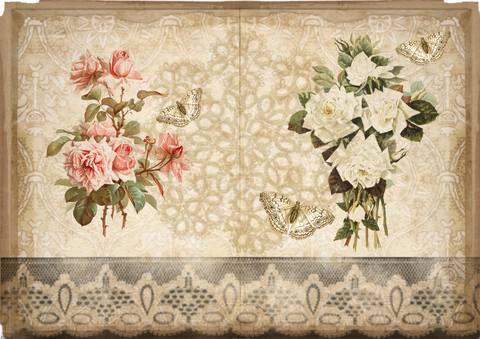
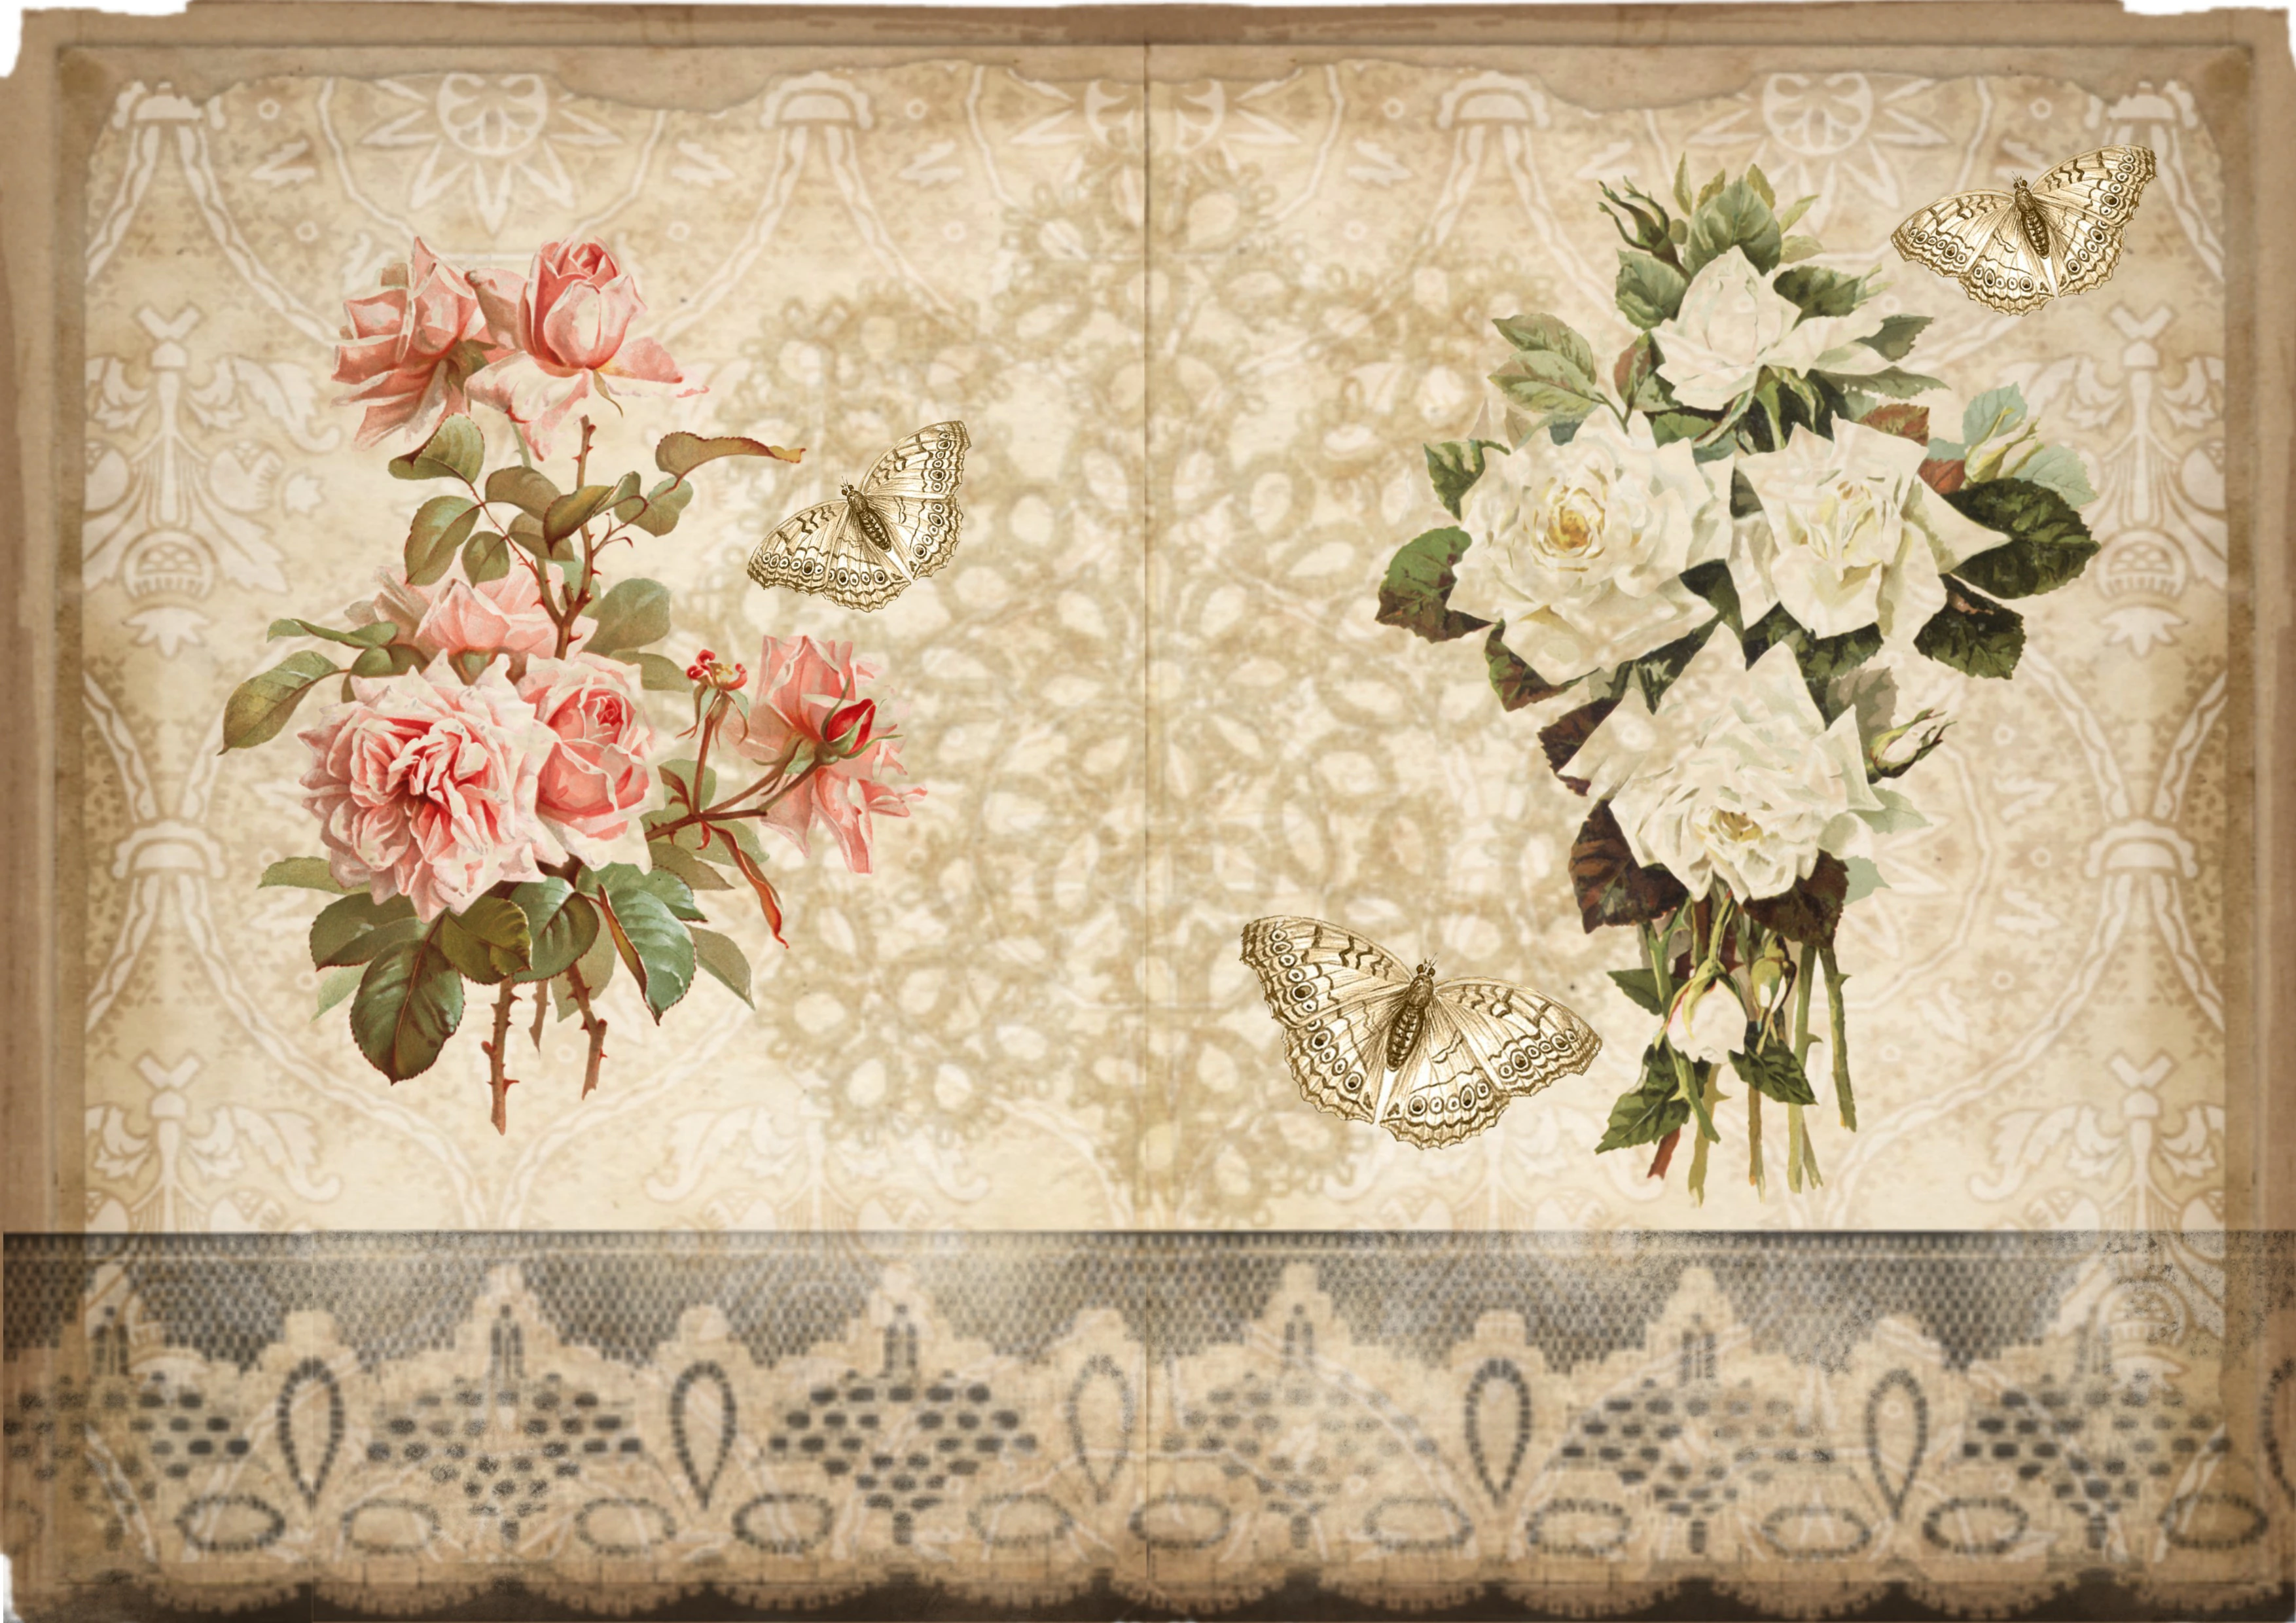
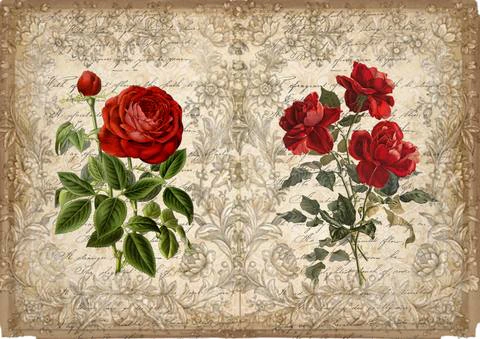
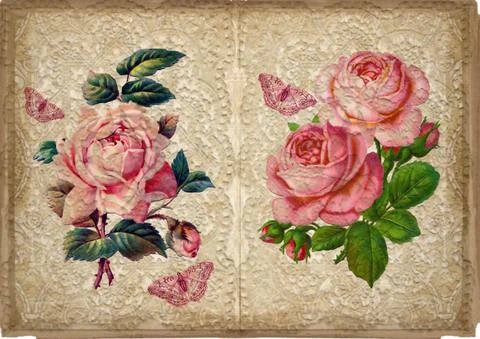
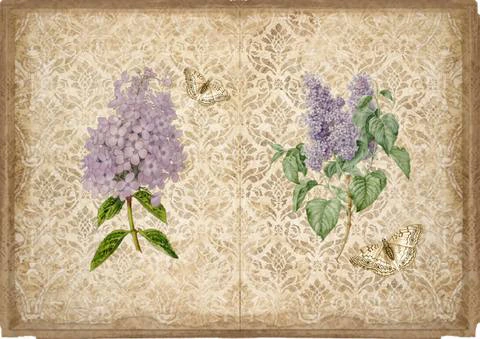
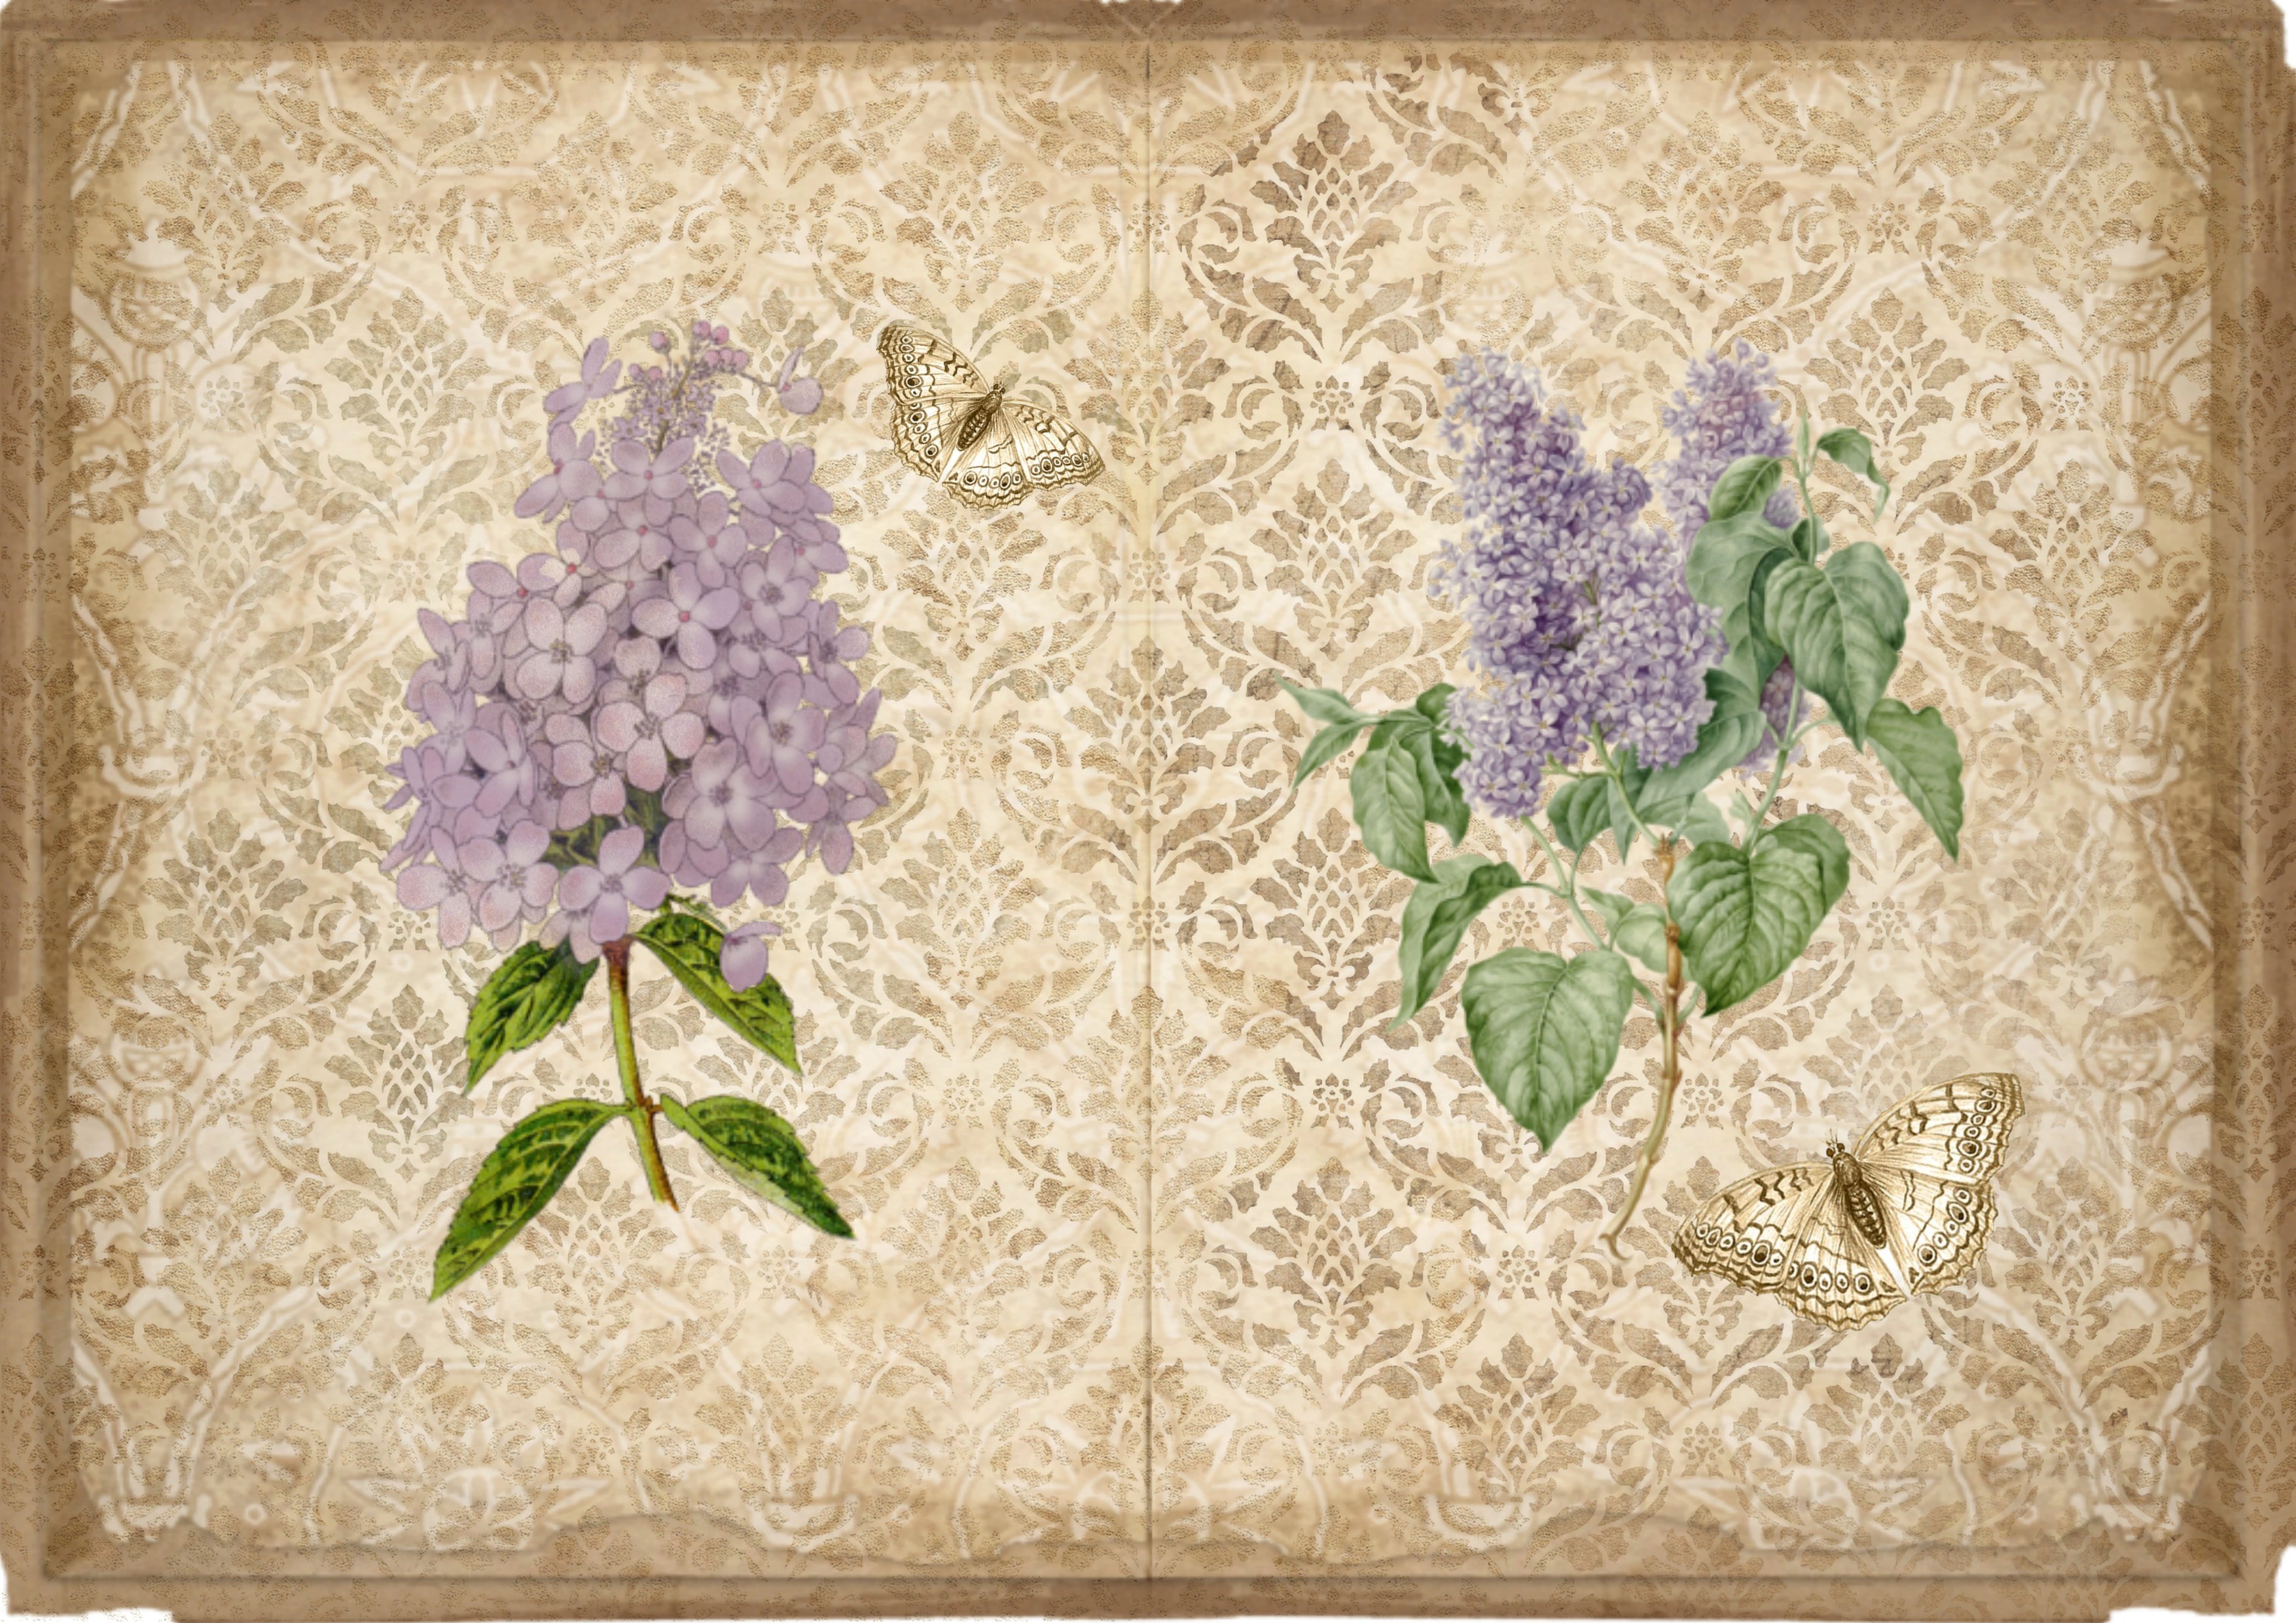
22 print-ready A4 collage sheets — mixed florals, vintage script, and botanical scraps. Click any sheet to download it on its own, or grab the whole set at once below.
I hope whichever piece of this you take with you helps you start your own first page.

Discover how a junk journal might fit your interests.
TAKE THE QUIZ