
Tag: slow living crafts
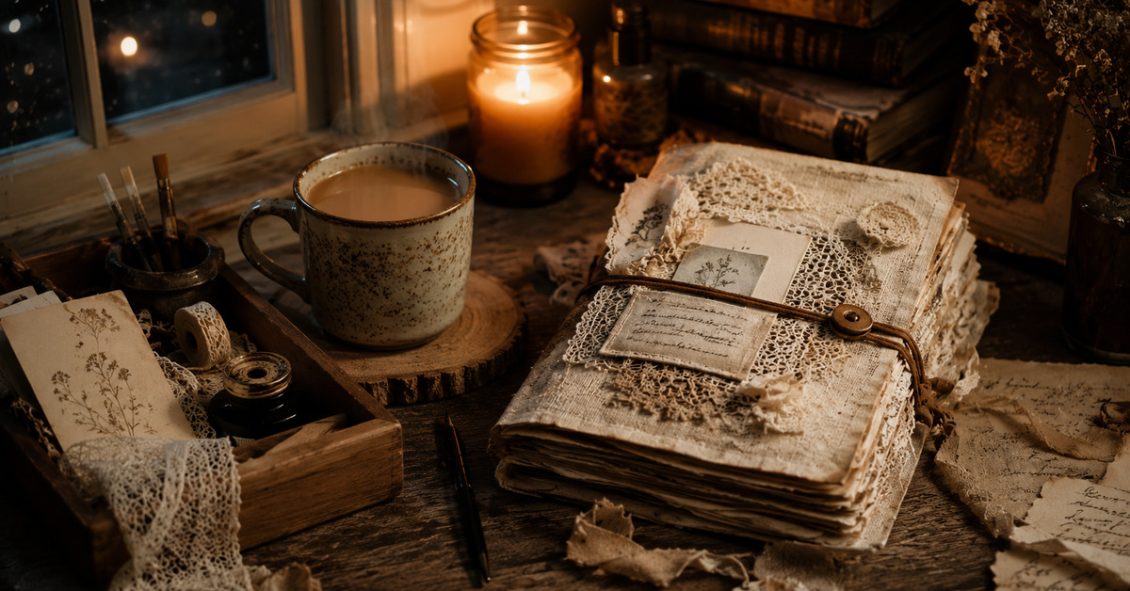

The Handmade Hour: A Gentle Return to Yourself
Author: Savera | Updated March 2026 | 12 Minute Read
How to Make Time for Creativity in a Busy Life
Quick Answer
You don’t need hours of free time to keep a creative practice alive. Even 10–15 minutes of intentional creative time — truly intentional, not squeezed in with one eye on the clock — can bring you back to yourself. It can help you preserve memories, stay connected to making, and remember who you are outside of everything you are responsible for. The secret isn’t a system. It’s a gentle rhythm. A return, rather than a restart.
In This Guide
- Why creativity often disappears during busy seasons
- The concept of a Handmade Hour
- Tiny creative rituals that fit into daily life
- A simple weekly rhythm for makers
- How to build a sustainable creative practice
- Returning to creativity without guilt
The Night My Handmade Hour Was Born
There are nights when the house finally exhales.
The dishes are done. The children are settled. The noise of the day — all of it — loosens its grip a little.
It was on one such night that I found my Handmade Hour.
Not because I planned it. Not because I read about it somewhere and decided to implement it like a productivity strategy. It arrived the way all the best things arrive — quietly, when I wasn’t looking.
I had just put away the last of the dinner things. The kitchen light was warm. I could hear the ceiling fan turning slowly in the next room. And something in me said: go to the craft table.
So I did.
My tea-dyed pages were waiting where I had left them three days earlier. A handful of scraps. A candle I had been meaning to light for a week. And I sat down — not to be productive, not to finish something — just to be there.
For the first time all day, I felt like myself.
Not a mother running through a mental checklist. Not a lawyer parsing language. Not a list of things left undone.
Just a person making something beautiful with her hands.
That is what I have come to call my Handmade Hour. And it changed things for me in ways I am still discovering.
Why We Struggle to Make Time for Creativity
Most of us who love making don’t stop because we stop loving it.
We stop because life gets full.
Work fills in around the edges of everything else. Family needs arrive in waves, sometimes all at once. Responsibilities have a way of expanding to fill whatever space you thought you had.
And slowly, without meaning to, we start telling ourselves things like: I don’t have time right now. I’ll start again when things are calmer. I’ll go back to it when I have a proper stretch of hours.
But here is the thing I have learned — and it took me a long time to learn it properly: life does not get calmer on its own. The stretch of hours doesn’t appear from nowhere.
Creativity survives because we choose to make space for it. Small space, imperfect space, stolen space — it doesn’t matter. What matters is that we show up for it, even briefly.
I think of the women I know who create. The ones who are raising children, caring for parents, working full-time, managing households that never quite stay managed. They are not creating in ideal conditions. They are creating in the margins. And the work they make in those margins is some of the most beautiful, most honest work I have ever seen.
What Is a Handmade Hour?
A Handmade Hour is not necessarily sixty minutes.
I want to say that clearly, because the name might suggest you need a full hour — and if you’re reading this in a season of life where sixty uninterrupted minutes feels impossible, I don’t want you to set this aside before you’ve even begun.
A Handmade Hour is a dedicated pocket of creative connection.
Some days it’s sixty minutes. Some days it’s thirty. Some days — during the school holidays, during the months when everything layers on top of everything else — it’s fifteen minutes while the chai is still hot and the house is quiet enough.
The length matters far less than the intention.
What makes it a Handmade Hour is that you have decided: this time is for making. Not for planning making. Not for watching videos about making. For actually sitting down with your hands and your materials and your pages.
It is simply a recurring moment of return. A place you come back to, so you never quite lose yourself entirely.
Tiny Creative Rituals for Busy Days
You do not need a clear afternoon. You need small opportunities — and the willingness to take them.
Over the years I have learned to find these pockets where they exist, rather than waiting for them to arrive in a form I planned for.
The Dawn Whisper
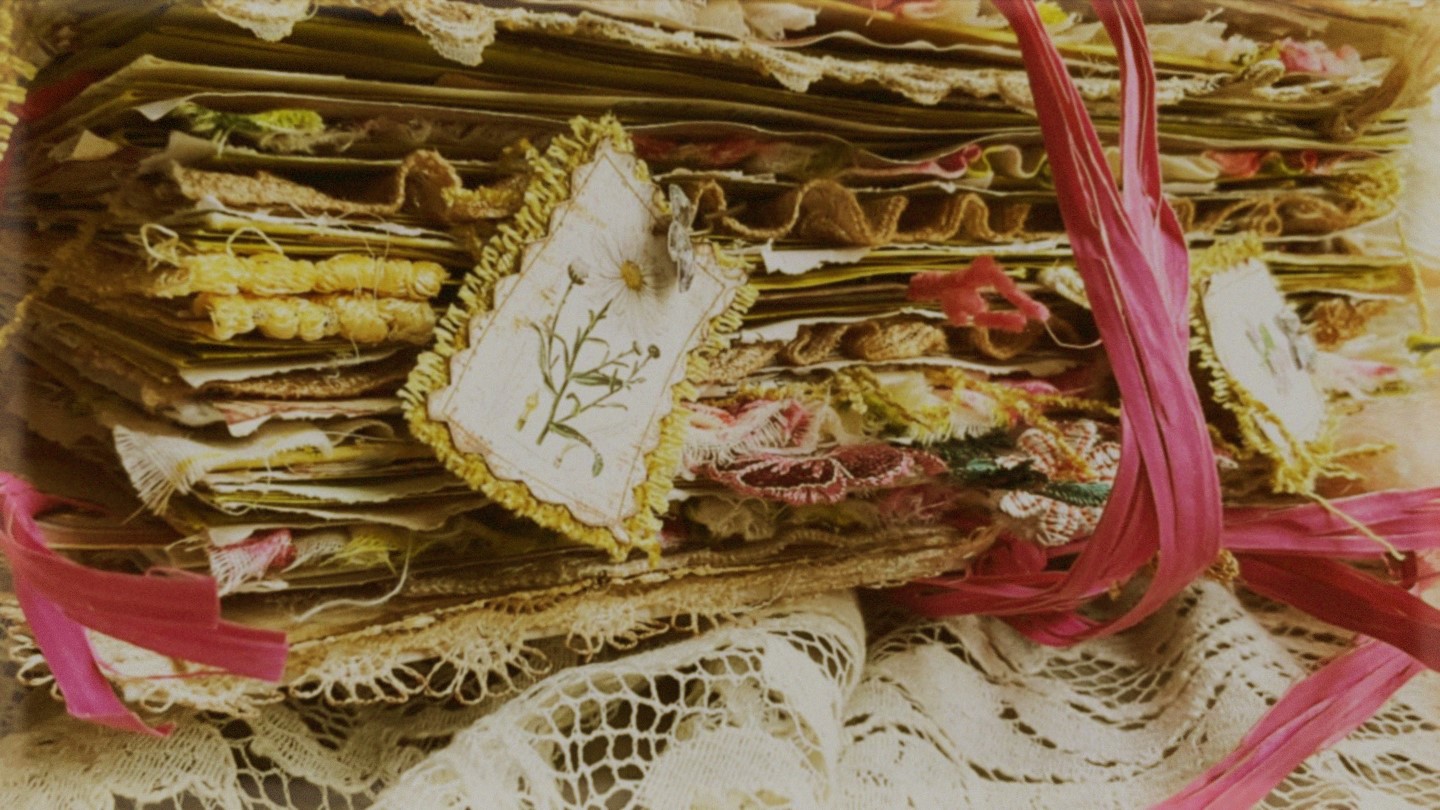
Before the house wakes fully — or while the chai is brewing, which in my house amounts to the same thing — there is a small window. Sometimes it is only three minutes. I use it. I add one element to a page that’s been sitting open. I tuck in one photograph. I write one line in the margin. Three minutes is not nothing. Over a week, those three-minute moments make something real.
The Afternoon Pause
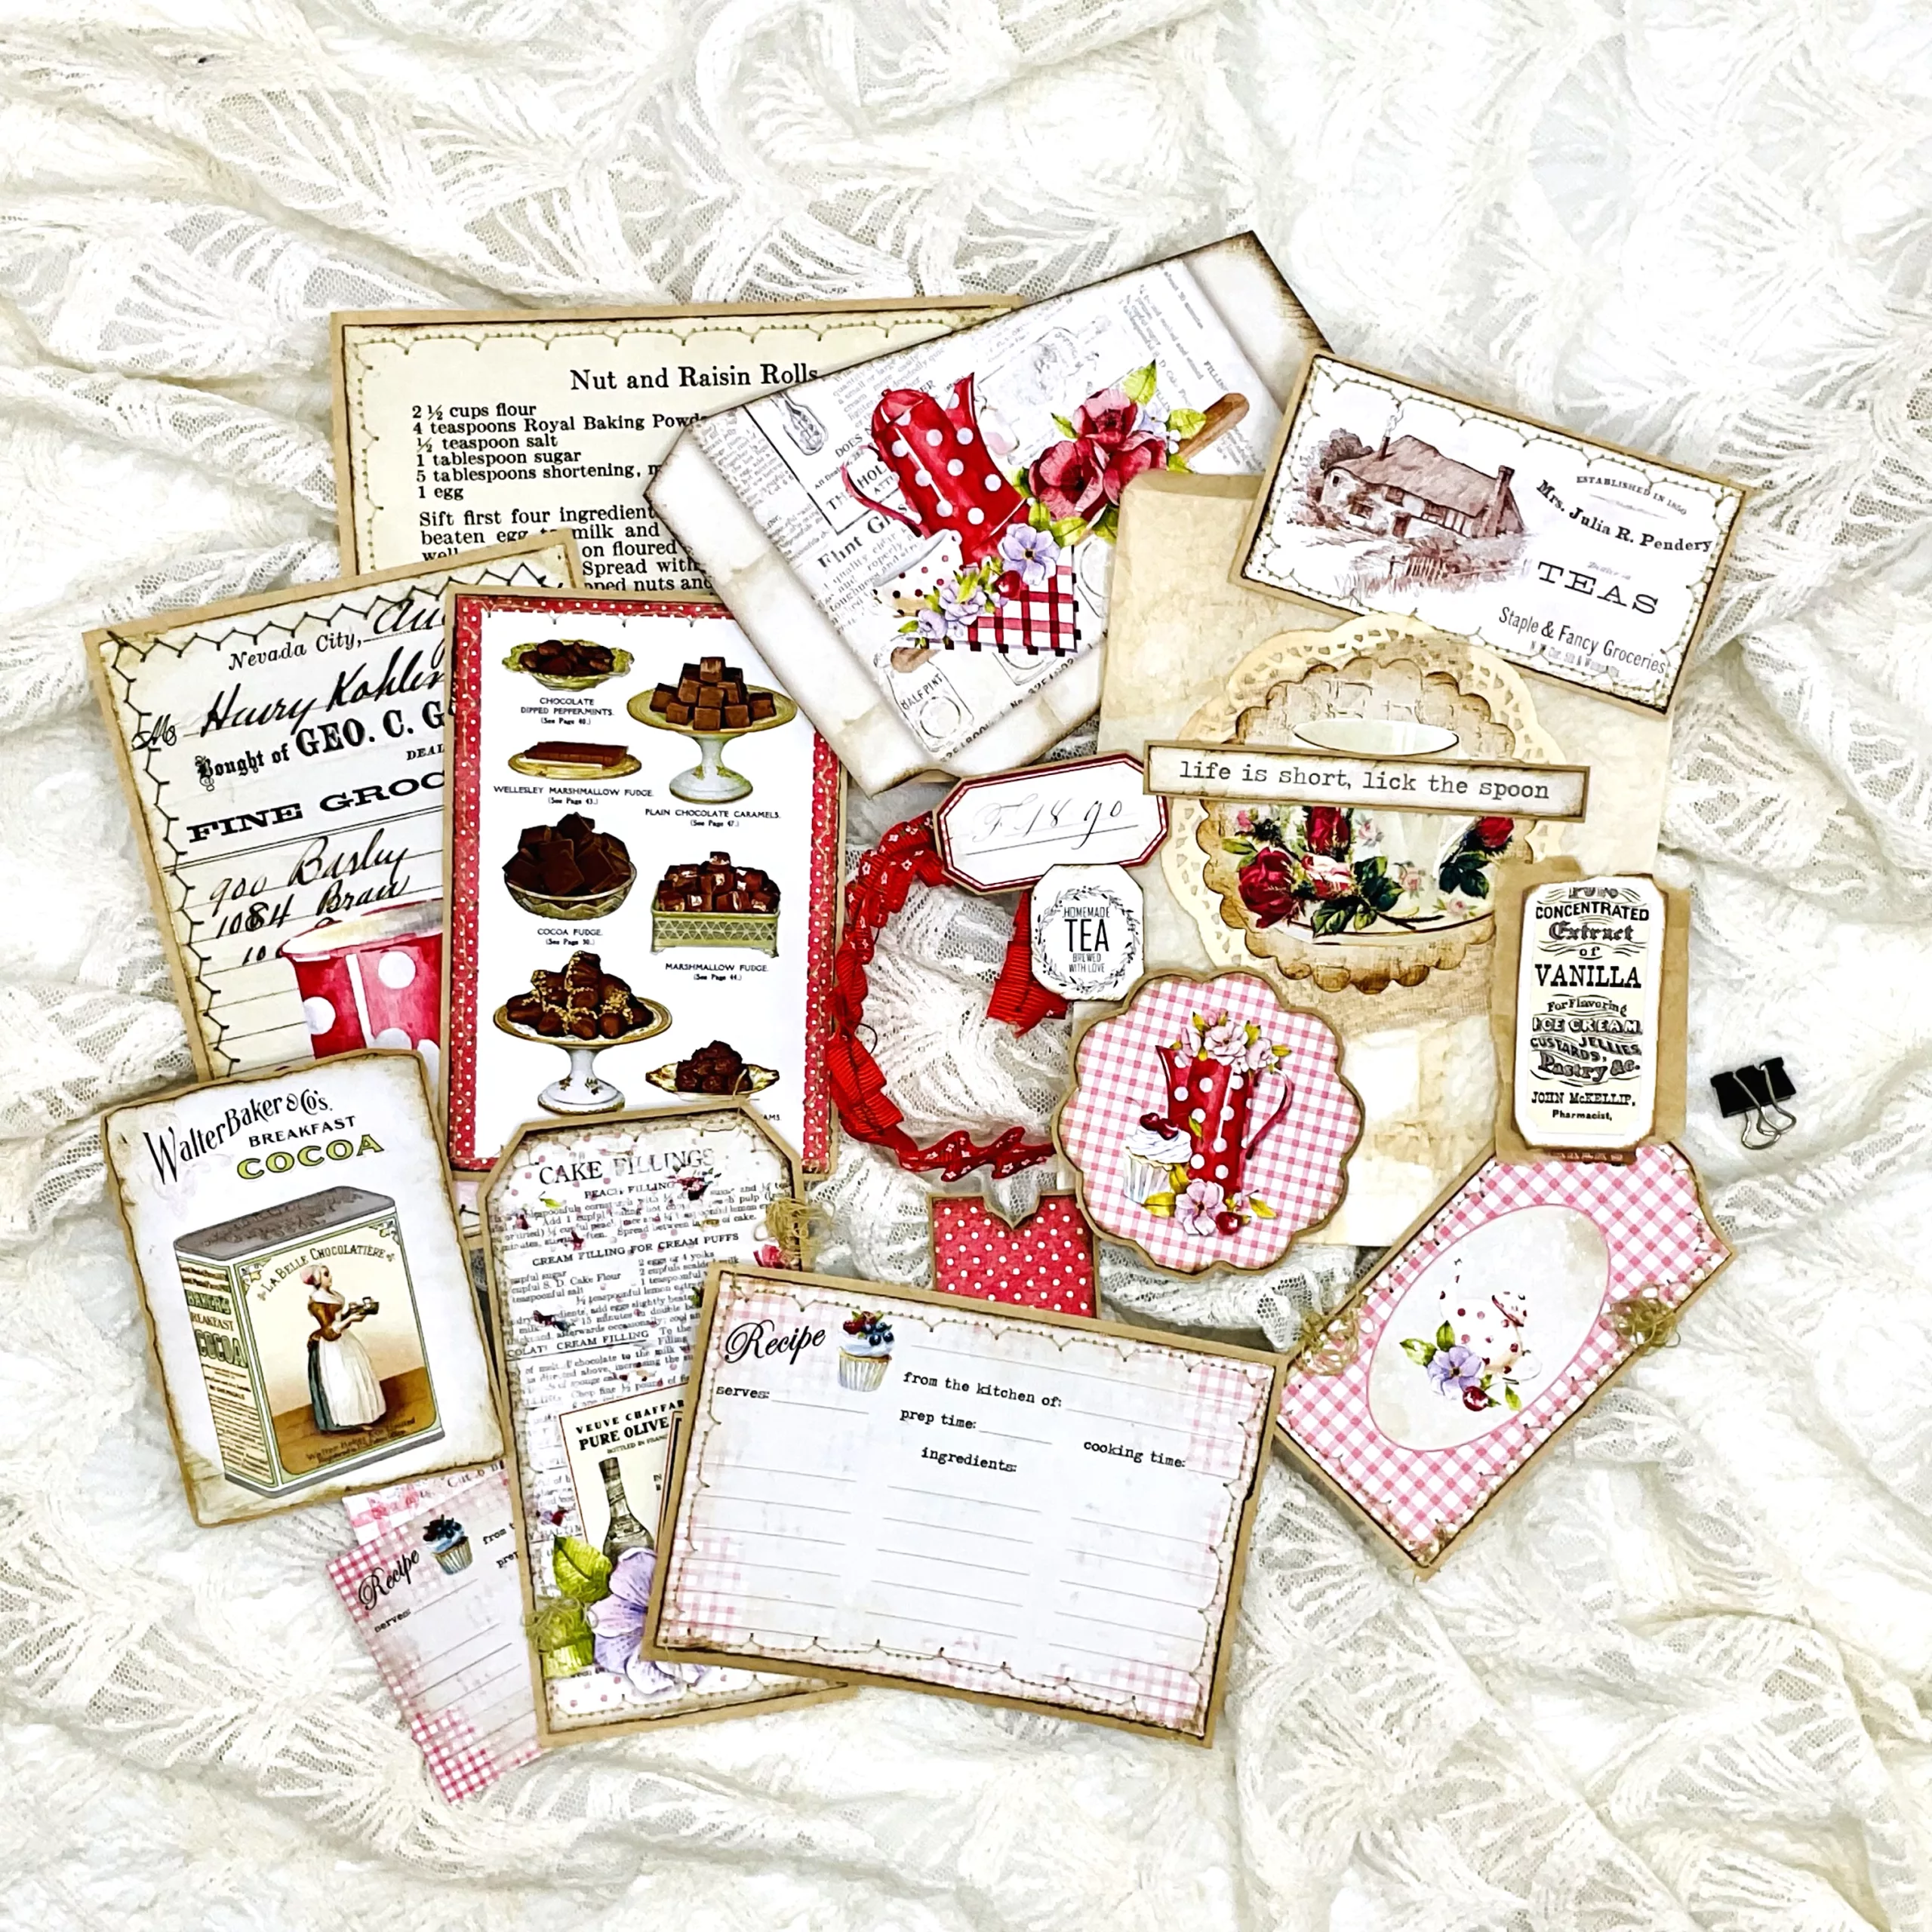
During the quieter part of the afternoon, when the heat settles over the city and everything slows a little, I might sort ephemera. Organise the scraps I’ve been gathering into a tin. Flip through a printable sheet and fussy-cut one or two things I’ve been meaning to use. Small actions like this keep the practice warm. They keep me connected to it, so I never feel I am starting from scratch.
The Evening Return
This is my favourite. After dinner, after the children, after everything — I come back to the craft table. Not always for long. But I come back. I journal for ten minutes. I add a keepsake from the day. I sit with whatever is in front of me and I give it a little time. Creative rituals thrive in the transitions between things. In the spaces between one responsibility and the next. That is where you will find your Handmade Hour, if you go looking.
A Gentle Weekly Rhythm
One reason creative habits fall apart is that we expect every session to look the same. We expect the same energy, the same amount of time, the same quality of focus. And when a session doesn’t match the ideal we’ve built in our heads, it feels like failure.
It isn’t failure. It’s just Tuesday.
What has helped me more than anything is giving different days different intentions. Not rules — intentions. Something gentle to reach toward, not something to measure myself against.
Sunday: Gather
This is the day I collect. Photographs from the week. A note I meant to save. A flower market find, still wrapped in its newspaper cone. A ticket, a label, a piece of packaging that was too beautiful to throw away. Sunday is for gathering without pressure to use anything yet.
Monday–Thursday: Create Lightly
Short sessions. No deadlines. No expectations about how much should be finished. Just showing up and adding something. One layer. One page. One thing.
Friday: Finish
I try to bring something to a close on Fridays. Complete a spread. Add the final touches to a page I’ve been working on through the week. There is something satisfying about ending the week with something finished — even something small.
Saturday: Appreciate
I look at what I’ve made. I photograph pages. I share if I feel like sharing. I celebrate the week’s small things without waiting for them to be grand things.
Creating a Space That Invites Creativity
One of the simplest things you can do to protect a creative practice is to make it visible.
When your supplies are tucked away in a cupboard — when you have to get everything out before you can begin and put everything away before you can feel finished — the barrier to starting becomes much higher than it needs to be.
My craft table is always set up. Not perfectly, not tidily, but set up. My tea-dyed papers are in a stack where I can see them. My scissors and a favourite pen are always nearby. There is almost always a current project somewhere in a visible state of in-progress.
This matters more than it sounds like it should. Because when you sit down for a fifteen-minute pocket of making, you want to be making within seconds, not still getting organised five minutes in.
Some things that help: a dedicated tray where current supplies live, a small basket of go-to materials that doesn’t need to be unpacked and repacked, a portable project pouch if you move between rooms. Whatever makes it easy to pick up where you left off — that is your creative infrastructure. It doesn’t need to be beautiful (though it can be). It just needs to work.
The easier it is to begin, the more often you will begin.
How to Stay Consistent Without Burnout
I have watched so many creative people — women I admire deeply — approach their practice the way they approach everything else in their lives: with the expectation that consistency means doing the same thing, the same way, with the same intensity, every single day.
And then they burn out. Or they have a hard week and miss several days and feel so far behind that starting again feels harder than just stopping.
I understand this. I have lived it.
Here is what I have come to believe instead:
Think Relationship, Not Routine
Creativity is something you return to. It is not something you complete. You would not tell a friendship it had failed because you went a week without speaking. You would simply call again. Your creative practice deserves the same understanding.
Lower the Bar — Genuinely Lower It
One page. One photograph. One sentence in the margin of your journal. That is enough. Not as a minimum before you allow yourself to do more — as the complete goal for the day. Let that be enough and mean it.
Keep Returning
Missed a day? Return. Missed a week? Return. Missed three months because life became something you did not plan for? Return. There is no penalty for beginning again. The journal does not keep score. The pages do not remember how long you were away. They simply wait, exactly as you left them, ready for whenever you come back.
Frequently Asked Questions
How much time do I need to start a journaling practice?
Genuinely — five to fifteen minutes is enough to begin. You don’t need a full afternoon. You need a cup of chai, a quiet corner, and the decision to sit down. Start there. Everything else comes from showing up even briefly, consistently.
What if I’m too busy to create every day?
Then don’t create every day. A weekly rhythm — even two or three times a week — is far more sustainable than an ambitious daily goal that collapses the moment life gets full. Consistency over time matters more than frequency in any given week.
How do I make creativity into a habit when I keep stopping and starting?
Stop expecting yourself to be perfect at it. Habits aren’t built by never breaking them — they’re built by always returning. Keep your supplies visible and accessible. Lower the bar for what counts as a creative session. And be genuinely kind to yourself when you miss days. Harsh self-talk is one of the fastest ways to make creativity feel like a chore.
What should I do during a short creative session when I don’t have a specific plan?
Add one thing. One memory. One photograph. One piece of ephemera you’ve been meaning to use. One decorative element. One line in your journal about what this particular week has felt like. You don’t need a plan — you just need a starting point, and the smallest action is always enough to be a starting point.
Isn’t taking time for creativity a bit selfish when there’s so much else to do?
No. I feel strongly about this. A creative practice is not something we steal away to at the expense of the people we love. It is something that helps us show up for the people we love — more fully, more patiently, more like ourselves. When I have spent even fifteen minutes making something, I am gentler. I am calmer. The rest of my day goes better. That is not selfishness. That is self-knowledge.
Key Takeaways
- You do not need large amounts of free time — small creative rituals are genuinely powerful.
- A Handmade Hour can be any amount of intentional creative time, however brief.
- Weekly rhythms tend to work better than strict daily goals for real, sustainable creative life.
- Making your supplies visible and accessible removes the biggest barrier to beginning.
- Returning — always returning — matters far more than perfection.
An Invitation to Begin
What if you gave yourself fifteen minutes this week?
Not to be productive. Not to achieve anything measurable. Not to create something worth sharing.
Just fifteen minutes to sit with your materials, your tea, your pages — and make something for no other reason than that making things is one of the ways you know yourself best.
Your Handmade Hour doesn’t need to look a certain way. It doesn’t need to happen at the same time every day or produce anything impressive. It simply needs to exist — a small recurring pocket of creative life that you protect because it protects something in you.
Because creativity isn’t something we earn once everything else is finished. It is often the very thing that makes everything else possible.
After years of making handmade junk journals from the materials around me — tea-dyed pages, my grandfather’s old papers, wedding invitation envelopes from the markets in Rawalpindi — I built the Trinketz Kit Builder to help journal makers like you create cohesive vintage collections and find your own creative rhythm.
Related Articles
The Art of Tea-Dyeing and Texture Making: A Ritual for Slowing Down
Author: Savera | Updated February 2026 | 9 Minute Read
How to Create Beautiful Tea-Dyed Paper for Junk Journals and Vintage Crafts
Quick Answer
Tea-dyeing paper is a simple technique that transforms plain paper into beautifully aged, vintage-style pages using black tea. Popular among junk journal makers, scrapbook artists, and paper crafters, tea-dyed paper creates rich textures, warm sepia tones, and a timeless handmade appearance perfect for memory keeping and creative projects.
In This Guide
• What tea-dyeing is
• Why junk journal makers love tea-dyed paper
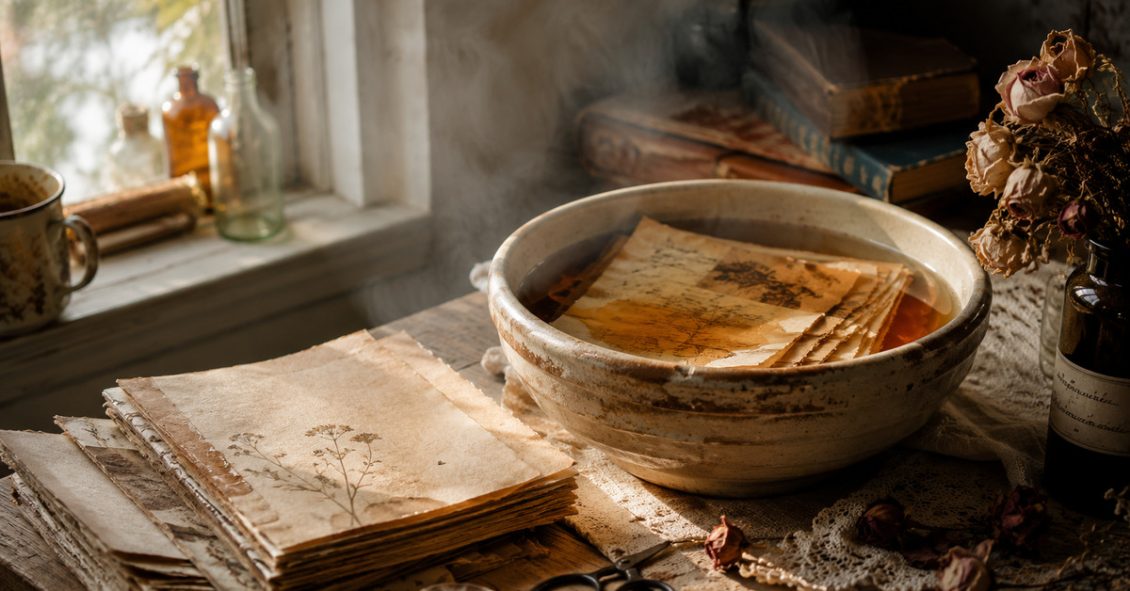
• How to tea dye paper step-by-step
• Ways to add texture and vintage character
• Common mistakes to avoid
• Creative ideas for using tea-dyed paper
When Paper Becomes Poetry
There’s something sacred about the moment when ordinary paper meets tea.
I still remember the first time I watched crisp white pages surrender to amber tones, curling gently as they absorbed the warmth of the liquid. The kitchen filled with the familiar comfort of black tea. But something deeper was happening. A transformation. Something that felt almost magical.
My father collected books throughout his life. Some were treasured family companions I would never dare touch. Others sat quietly on forgotten shelves. Now and then, a neglected page would find its way into my craft supplies, ready for a new beginning.
Years later, many of those papers had naturally aged into beautiful sepia tones.
That’s when I understood.
Tea-dyeing isn’t simply about making paper look old. It’s about honoring the stories paper already holds while preparing it to carry new ones.
For many people beginning their junk journaling journey, tea-dyeing becomes more than a technique. It becomes a ritual. A reminder to slow down. To notice. To create with intention.
Why Tea-Dyed Paper Is So Popular
Tea-dyed paper has become a favorite among junk journal makers because it instantly creates warmth and character.
Instead of bright white paper, you get pages that feel:
• Vintage
• Soft
• Weathered
• Timeless
• Handmade
Tea staining also creates natural variations. No two pages are ever exactly alike. The stains, wrinkles, and uneven coloring become part of the charm.
Many journal makers intentionally embrace these imperfections because they create pages that feel authentic and lived-in.
How to Tea Dye Paper
There is something magical about watching plain paper slowly transform. The tea spreads unevenly. The edges darken. The fibers wrinkle and soften. And suddenly, something ordinary begins to feel like it belongs to another time.
Tea dyeing has never been just a technique for me. It is a quiet ritual. A reminder that beauty often arrives slowly.
Supplies You’ll Need
• 2–3 black tea bags
• Hot water
• Shallow baking dish or tray
• Plain paper or book pages
• Drying rack or baking tray
• Towels for cleanup
Step 1: Brew a Strong Tea Bath
Place the tea bags in a shallow dish. Pour hot water over them and allow them to steep until the water becomes a rich amber color. The darker the tea, the deeper the vintage effect.
Step 2: Let the Tea Cool Slightly
Allow the tea mixture to cool before placing paper into it. Warm tea works best because it helps prevent tearing delicate pages.
Step 3: Soak the Paper
Gently place the paper into the tea bath. Allow it to soak for several minutes.
For lighter vintage effects: 2–3 minutes
For darker antique tones: 5–10 minutes
Trust your eyes more than the clock. Every paper reacts differently.

Step 4: Dry the Pages
Carefully remove each sheet and place it on a drying rack.
You can dry paper:
Naturally — Sunlight, warm room, air drying
In the Oven — Low heat, short periods, close monitoring
Oven drying often creates darker tones and additional texture.
Step 5: Embrace the Imperfections
As the paper dries, wrinkles, stains, and uneven coloring will naturally appear. These aren’t mistakes. They’re part of what makes each page unique.
The stains won’t be even. Some pages will wrinkle more than others. Some corners may darken unexpectedly.
Let them. Those imperfections are what make tea-dyed paper feel alive. Much like our own stories, the beauty often lies in the places we didn’t plan.
Adding Texture and Character
Tea-dyeing creates color. Texture brings the page to life.
Try experimenting with:
Fabric Impressions — Lay lace or muslin over damp paper and allow the fibers to leave their quiet mark.
Cinnamon — Dust lightly for warmth and an old-world scent.
Pressed Flowers — Leave botanical impressions and natural organic shapes.
Vintage Doilies — Create delicate lace-like patterns.
Coffee Granules — Add darker speckles and aged effects.
Crumpling — Lightly crumple paper before staining for antique wrinkles.

The Beauty of Slow Making
What I love most about tea dyeing isn’t the finished page. It’s the pace. The quiet waiting. The gentle surprise of watching plain paper transform into something that feels cherished and old.
Tea dyeing reminds me that beautiful things rarely arrive in a hurry. You cannot rush the soaking. You cannot predict every stain. You cannot control every wrinkle or weathered edge.
And perhaps that is exactly where the magic lives. Each page dries differently. Each mark tells its own story. Each imperfection becomes part of the beauty.
In a world that constantly asks us to move faster, tea dyeing invites us to do the opposite. To slow down. To pay attention. To be fully present with our hands and our thoughts.
And to remember that sometimes the most meaningful creations are not the ones we perfect — but the ones we allow to unfold gently, in their own time.
You Might Be Wondering…
Can I tea dye ordinary printer paper?
Absolutely. Some of my favorite pages began as the simplest sheets of paper. Tea dyeing isn’t about using expensive materials — it’s about transforming something ordinary into something beautiful. Even plain printer paper can become soft, vintage, and full of character with a little patience and creativity.
Which tea works best for tea dyeing?
Black tea is my personal favorite because it creates rich, warm vintage tones that pair beautifully with junk journals. Green tea produces softer earthy shades, while herbal teas can create more subtle variations. There is no perfect choice. Part of the joy lies in experimenting and allowing the paper to surprise you.
Can I use coffee instead of tea?
Yes, absolutely. Coffee creates deeper sepia tones and a slightly different aged appearance. Many journal makers enjoy using both tea and coffee depending on the mood they want to create. Tea feels soft and nostalgic. Coffee feels old, weathered, and wonderfully timeworn.
Why did my paper wrinkle?
Because paper has its own personality. Some sheets wrinkle gently. Others curl dramatically. And honestly, those wrinkles are often my favorite part. They add texture, depth, and the feeling that the paper has lived a life before finding its place in your journal. Imperfection is not a mistake here. It is part of the story.
Can I print on tea-dyed paper?
Yes, once the paper is completely dry. Tea-dyed paper works beautifully for printing journal pages, ephemera, quotes, and vintage designs. The aged background often makes printed elements feel even more meaningful and timeless.
What if my pages don’t turn out perfectly?
Then they may become your most treasured pages. Some stains will spread unexpectedly. Some edges will darken more than others. Some papers may wrinkle in ways you never planned. Let them. Tea dyeing is not about control. It is about embracing the unexpected and finding beauty in the little surprises along the way.
Do I need to be artistic to try tea dyeing?
Not at all. You don’t need perfect techniques. You don’t need expensive supplies. And you certainly don’t need to call yourself an artist. All you need is curiosity. A cup of tea. A few sheets of paper. And the willingness to slow down for a while. Sometimes that is where the most beautiful creativity begins.
Frequently Asked Questions about Tea-Dyeing Paper
What is tea-dyeing?
Tea-dyeing is a simple technique that transforms plain paper into beautifully aged, vintage-style pages using black tea. It creates warm sepia tones, rich textures, and a timeless handmade appearance perfect for junk journals and paper crafts.
What type of paper works best for tea-dyeing?
Uncoated papers work best — plain printer paper, watercolour paper, music paper, and vintage book pages all absorb tea beautifully. Coated or glossy papers resist the tea and won’t colour evenly.
How long should I soak the paper in tea?
For light vintage tones soak for 2-3 minutes. For deeper antique tones soak for 5-10 minutes. Trust your eyes more than the clock — every paper reacts differently.
Can I tea-dye paper at home without special supplies?
Yes — all you need is black tea, hot water, a bowl, and plain paper. Everything else like lace impressions, pressed flowers, and cinnamon are optional extras for adding texture.
How do I stop tea-dyed paper from wrinkling?
Some wrinkling is natural and adds to the vintage character. To reduce wrinkling, press damp pages between heavy books while drying. For a flatter finish dry in the oven on very low heat with close monitoring.
What can I do with tea-dyed paper?
Tea-dyed paper is perfect for junk journal pages, ephemera, tags, envelopes, pocket inserts, scrapbook backgrounds, and vintage-inspired card making.
Key Takeaways
• Tea-dyeing creates vintage-looking paper using simple household materials.
• Every sheet develops unique patterns and textures.
• Additional elements like lace, flowers, and coffee add depth.
• Imperfection is part of the beauty.
• The process encourages slower, more intentional creativity.
A Quiet Invitation
What if this weekend you gave yourself permission to slow down? Not to create something perfect. Not to create something impressive. Simply to create.
A few sheets of paper. A cup of tea. An hour of quiet attention. That’s all this practice asks.
The stories are already waiting. The paper is ready. All that’s missing is your gentle touch.
After years of creating handmade junk journals, I designed the Trinketz Kit Builder to help journal makers create cohesive vintage aesthetics, printable collections, and beautiful journal kits with ease.
Related Articles
• What Is a Junk Journal?
• Tea-Dyed Paper vs Coffee-Dyed Paper
• Beginner Junk Journaling Supplies
• Vintage Texture Techniques
• How to Create Handmade Journal Pages